
Crochet Button
Buttons and crochet complement each other very well as buttons can be added to any crocheted project – not just for closures, but for embellishments as well.

Although purchased buttons look great, sometimes you might want to add a button that matches the entire crocheted project. And that’s where crocheted buttons come in. They can be made with leftover scraps of yarn making it super easy to get the right match in color.
These easy crochet buttons are not only sturdy little buttons for holding things together, but they can also be used to add more style.
This button here is perfect for my mug cozies and kitchen towel holders. But you could use them in many other projects from cushions to bags and cell phone cozies. Another option would be to arrange them in a row along the brim of a hat or a bag. Or, arrange three of them into a small triangle on a headband or hat.
There’s lots of fun to be had with different yarns to create colorful buttons as well as various sizes. Thicker yarns will result in larger buttons and vice versa. Just remember to go down a couple of hook sizes than what is recommended by the yarn.
I’ll give you the pattern first followed by a photo tutorial.

Crochet Button Pattern
Skill Level
Materials
- Yarn: Any worsted weight yarn or crochet thread. I find cotton yarn works best if you are in need of a sturdy button.
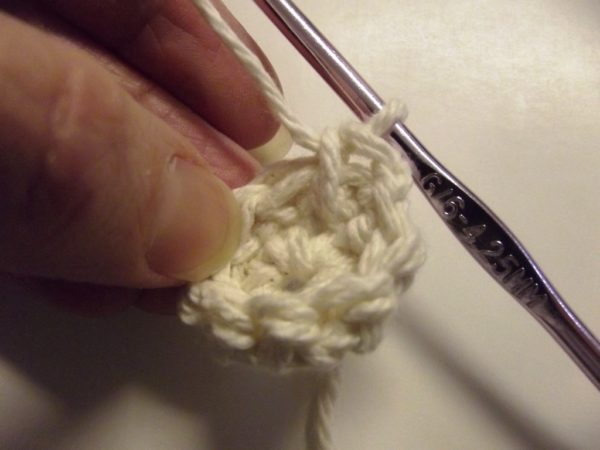
- Crochet Hook: A G/6-4.25mm hook for worsted weight yarns and a 3.00mm hook for a Size 3 Crochet Thread.
- Tools: Scissors, Yarn Needle.
Measurements
- The one in Worsted weight is just over 1" across. The one in Size 3 thread is just over 1/2" across.
Abbreviations
- Ch/Chs = Chain/Chains
- FO = Fasten Off
- Hk = Hook
- Rnd/Rnds = Round/Rounds
- Sc = Single Crochet
- Sl St = Slip Stitch
- St/Sts = Stitch/Stitches
- See the Crochet Abbreviations chart for more details.
Notes
- The buttons may not be perfectly round, but you can shape them and lightly starch them so they hold their shape if you want. Instead of starch, you can also use a mixture of glue and water.
Instructions
- Rnd 1: Ch 2, work 8 sc into 2nd ch from hk, join with sl st in first sc. (8 sts)
- Rnd 2: Ch 1, sc in same st as join and into each st around; join with sl st in first sc. (8 sts)
- Rnd 3: Ch 1, Encase rnd 2 by working 1 sc into each st of rnd 1; join with sl st in first sc. FO leaving a long tail for sewing.
- Weave the tail end through the sts of rnd 3. Then bring your other tail through the center hole and secure the two ends with a knot. Now it’s ready to be sewn or tied to your finished crochet project.
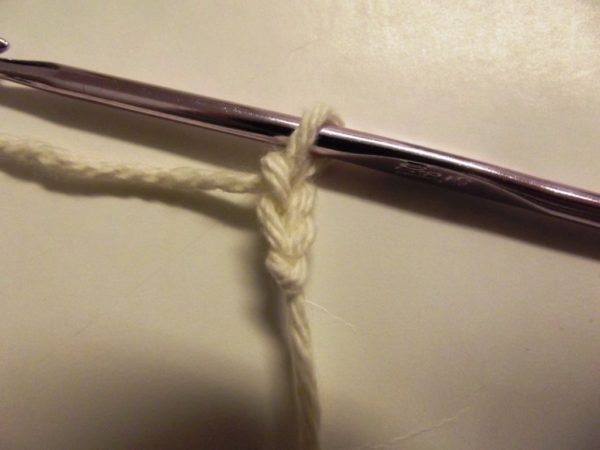
Step 1: Choose your yarn and appropriate hook size.
Make a slip knot and place it on your hook. Chain 2.

Step 2:
Round 1: Then work 8 single crochets into the 2nd chain from the hook. If you want a quick and easy way to attach the button, leave the tail end free for later.
Step 3
Join the round with a slip stitch in first stitch.
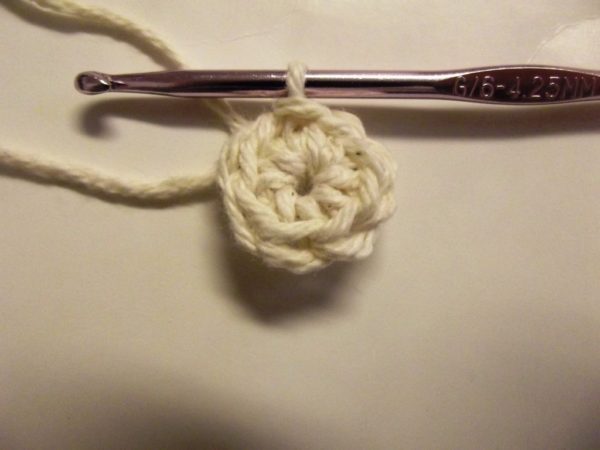
Step 4
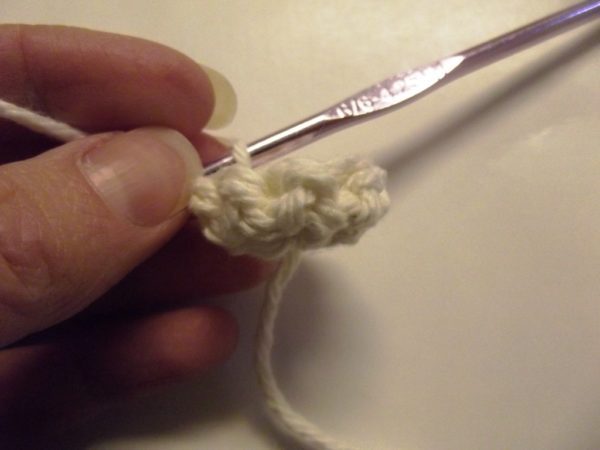
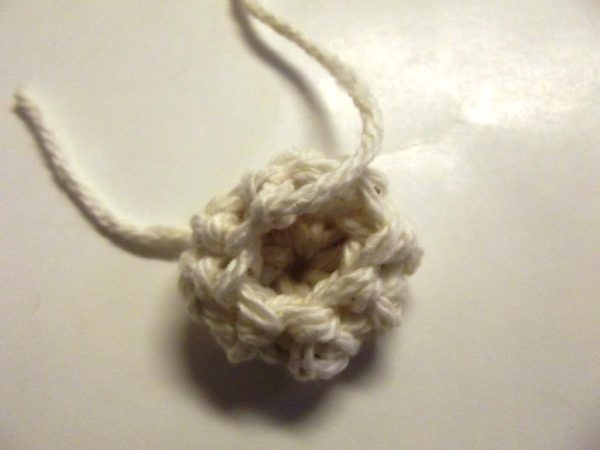
Round 2: Now work 1 single crochet into each stitch around and join it with a slip stitch in the first stitch. This causes the work to curl up as you can see in the image.
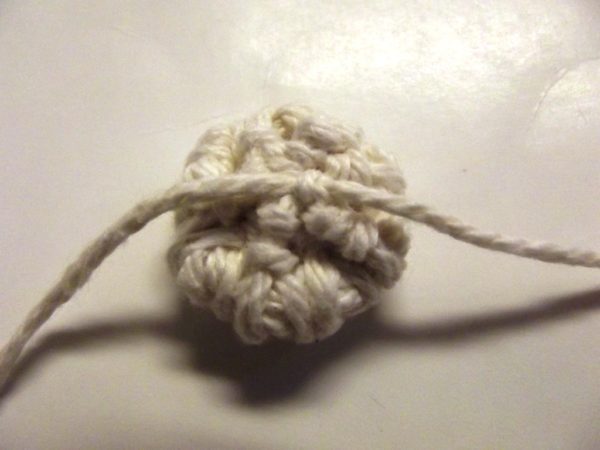
Step 5
Here is the other side pictured, which is going to be your right side.
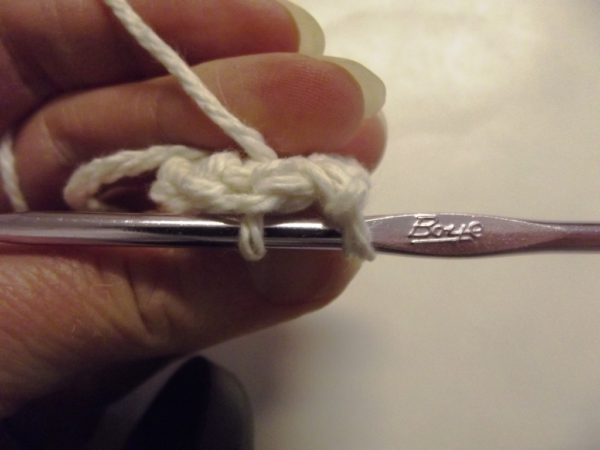
Step 6
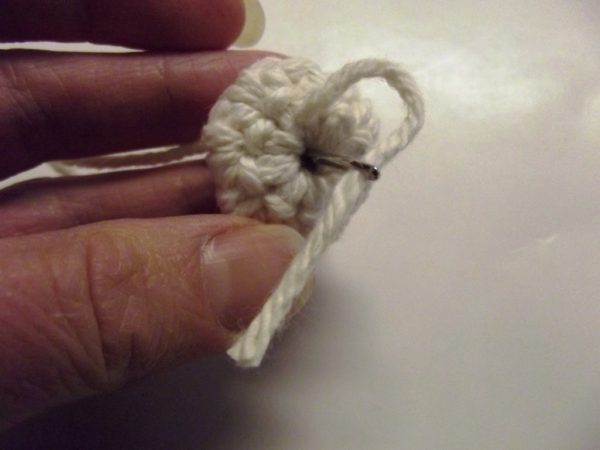
Here is a view from the side.
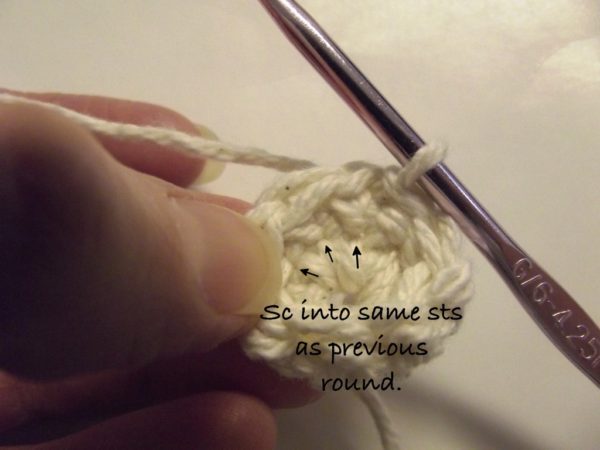
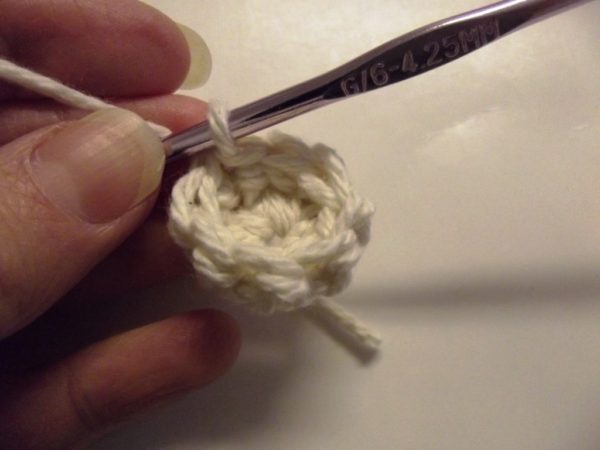
Step 7
Round 3: For the last round you will crochet into the same stitches as the previous round. In other words, round 3 is worked into the stitches of round 1. This encases the second round and also adds some sturdiness to the button.
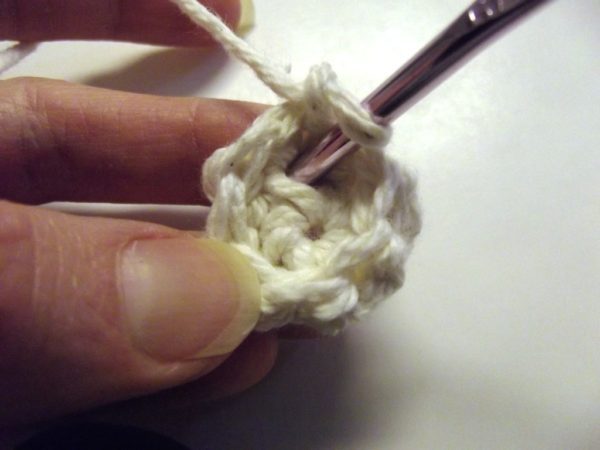
Step 8
To begin round 3, insert your hook into first stitch made in round 1.
Step 9
Wrap the yarn over at the back and pull through
Step 10
Yarn over once more and pull through to complete the single crochet.
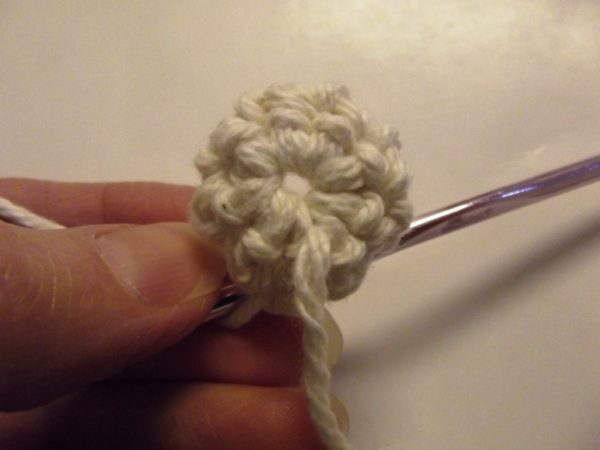
Step 11
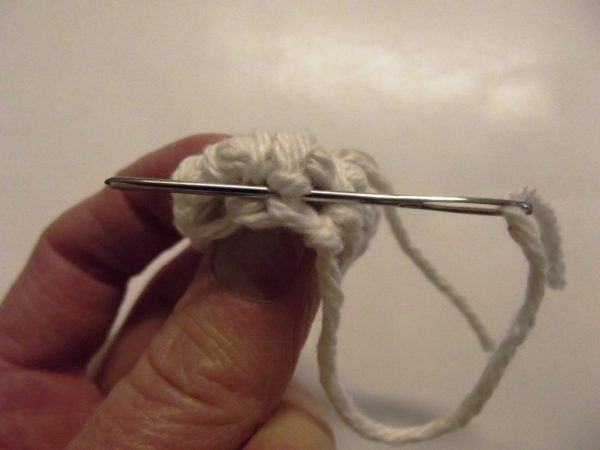
Continue around and join with a slip stitch. Fasten Off leaving a fairly long tail.
Step 12
Weave the tail end in through the last round:
Step 13
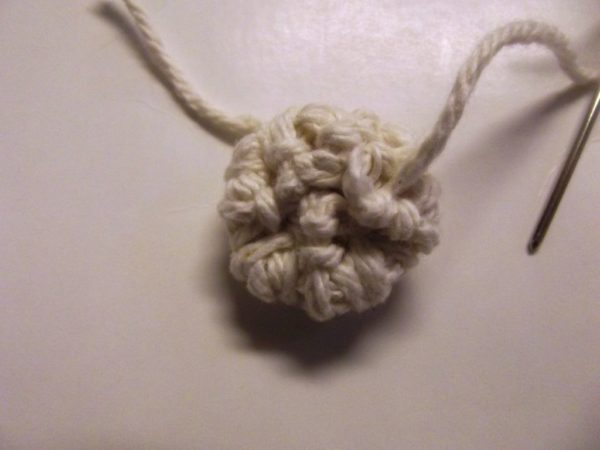
Pull the tail tight:
Step 14
Now take your first tail and weave it through the center to the wrong side:
Step 15
Tie the two tails and ta-da … it’s ready to be tied (or sewn) onto your finished project.


I love the idea of making buttons. Thank you so much. Cannot wait to make a few!