
Standing Crochet Stitches
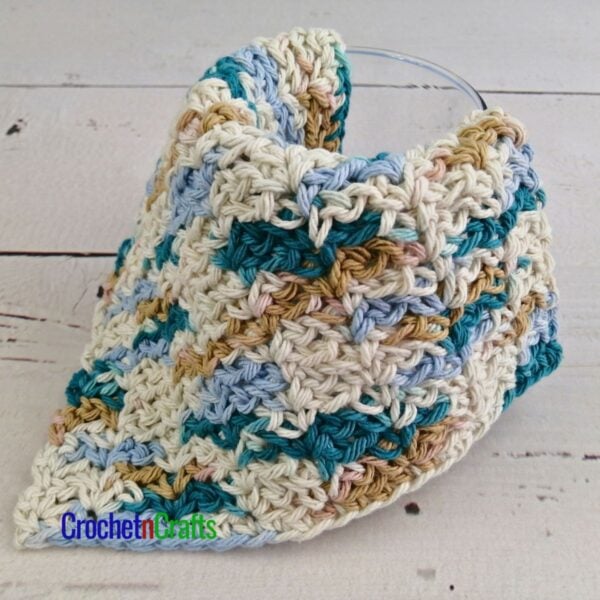
Standing crochet stitches are a simple way to a start the beginning of a round or a new row when you are working with multiple colors, or you want the first stitch to look like a normal stitch.
With the standing stitch crochet you can fasten off your old color and then join the new color clean so it blends in nicely with the other stitches. It basically eliminates the need for the beginning chain to bring it up to height of the first stitch, which can either leave a hole or add extra bulk. It also eliminates the need
This nifty crochet technique can be used with any crochet stitch, regardless of the height. It can be used to join the new color for single crochets, half, double, triple crochet stitches and even taller stitches. Even bullion stitches can be started with this.
Much to my surprise, standing crochet stitches are not only neater, but they are also a lot quicker and easier to make. It beats the standard way and can be used in just about all crochet patterns to keep them clean and professional-looking.
Plus, it’s a great technique for crocheters of all skill levels to learn.

To make a standing stitch, start off with a slip knot on your hook, then work your stitch with the new yarn as normal. It’s that simple!
- For a standing single crochet, simply insert your hook into the designated stitch, chain or space. Then finish the stitch as normal.
- For the standing half double and standing double crochet stitches wrap the yarn over the hook once, insert the hook where specified and finish the stitch as normal.
- For the standing treble crochet (or triple crochet), wrap the yarn over twice and finish the stitch as normal.
- For triple treble crochet stitches, wrap the yarn over three times and finish the stitch as normal, and so on.
For the more visual learners, here are some photo tutorials showing a few stitches so you get the idea. Please note that I’m starting each stitch with a slip knot on my hook.

Standing Crochet Stitches
Instructions
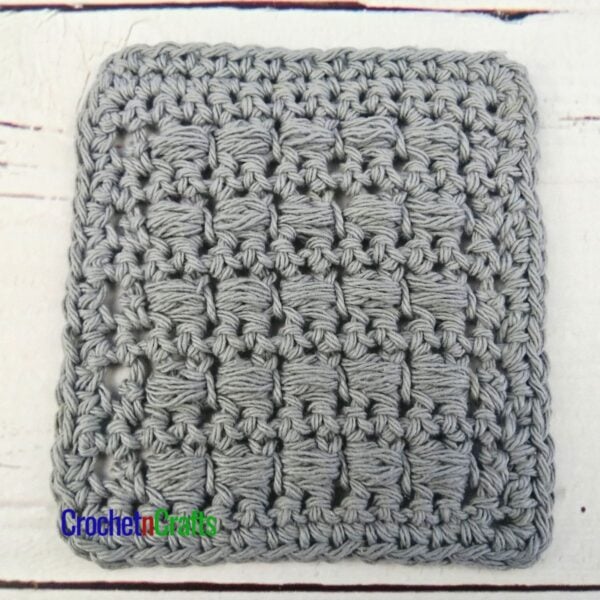
Standing Single Crochet Stitch
- Step 1: Start off with a slip knot on your hook

- Step 2: Insert your hook in stitch, loop or space.
- Step 3:Wrap the yarn over and pull up a loop
- Step 4: Yarn over and pull through the last two loops on hook.
- Standing single crochet completed.


Standing Half Double Crochet
- Step 1: Start off with a slip knot and wrap yarn over once.
- Step 2: Insert your hook into stitch, loop or space.
- Step 3: Wrap the yarn over and pull up a loop.
- Step 4: Yarn over and pull through all three loops. Standing Half Double Crochet Stitch Complete.


Tip
- Regardless of what stitch you are working with, make a slip knot on your hook, which acts as the active loop on the hook. Then work your first sitch as normal.
Crochet Stitch Tutorials
See More Crochet Stitches


Merci infiniment pour toutes ses explications très claires!!