
Crochet Peplum Top Pattern – Hdc V-st and Tr
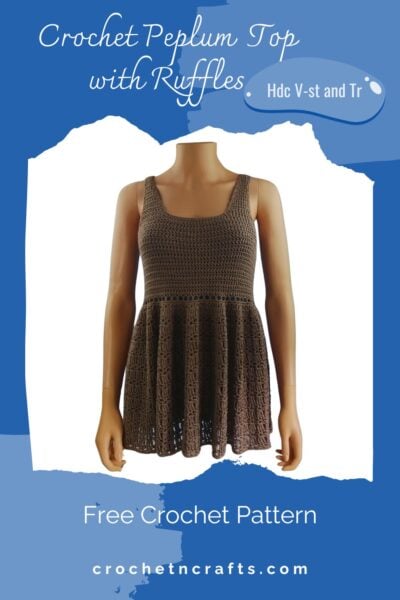
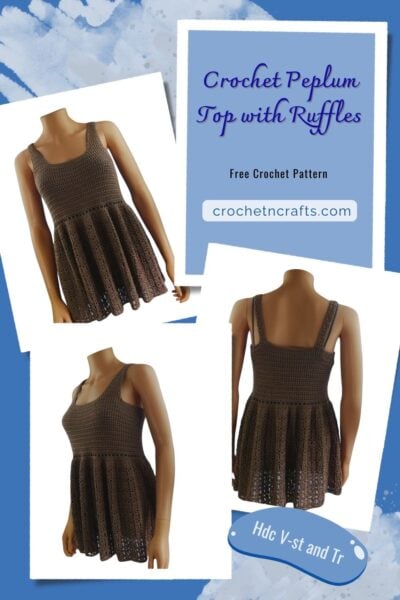
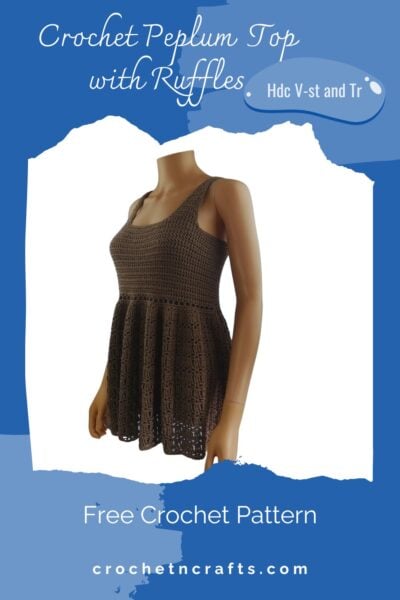
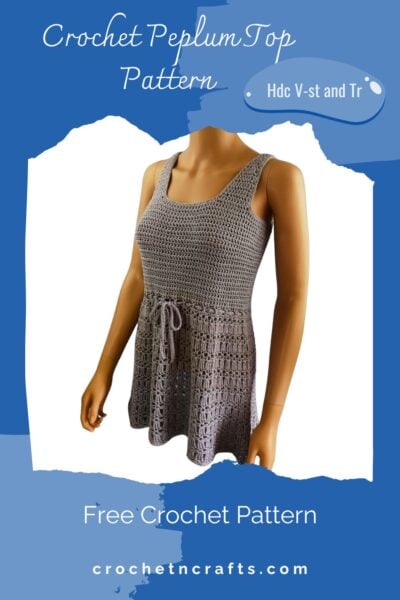
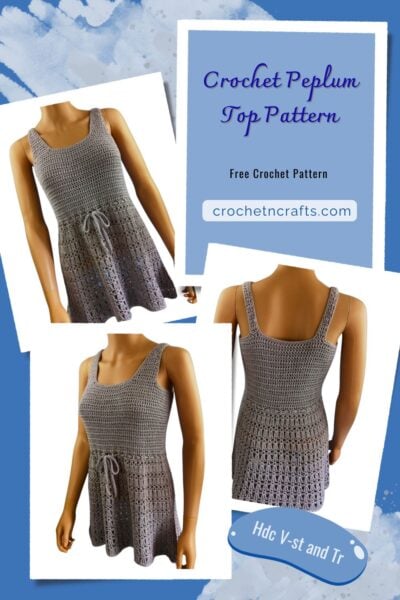
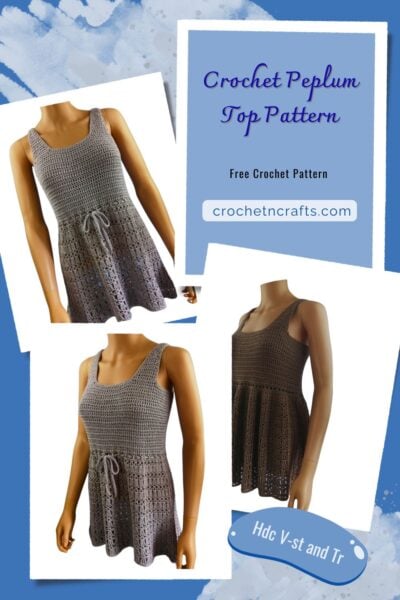
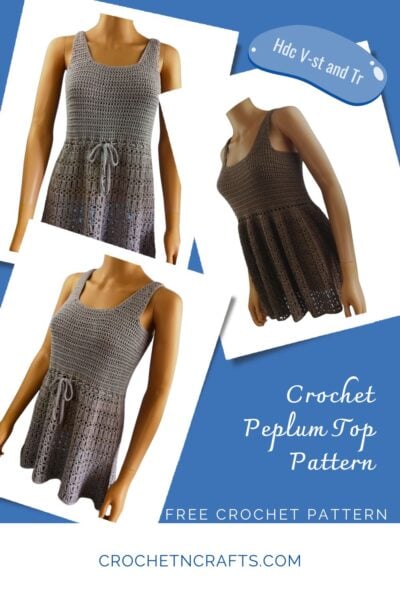
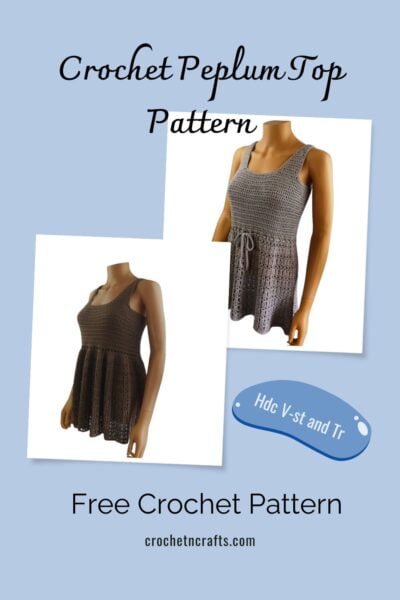
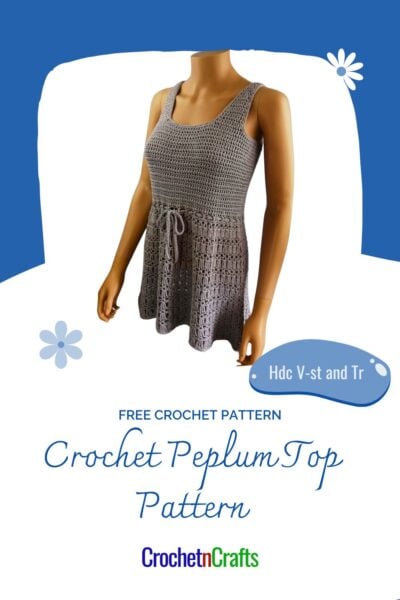
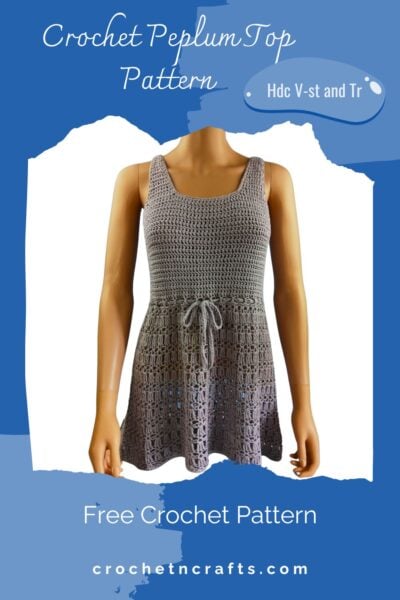
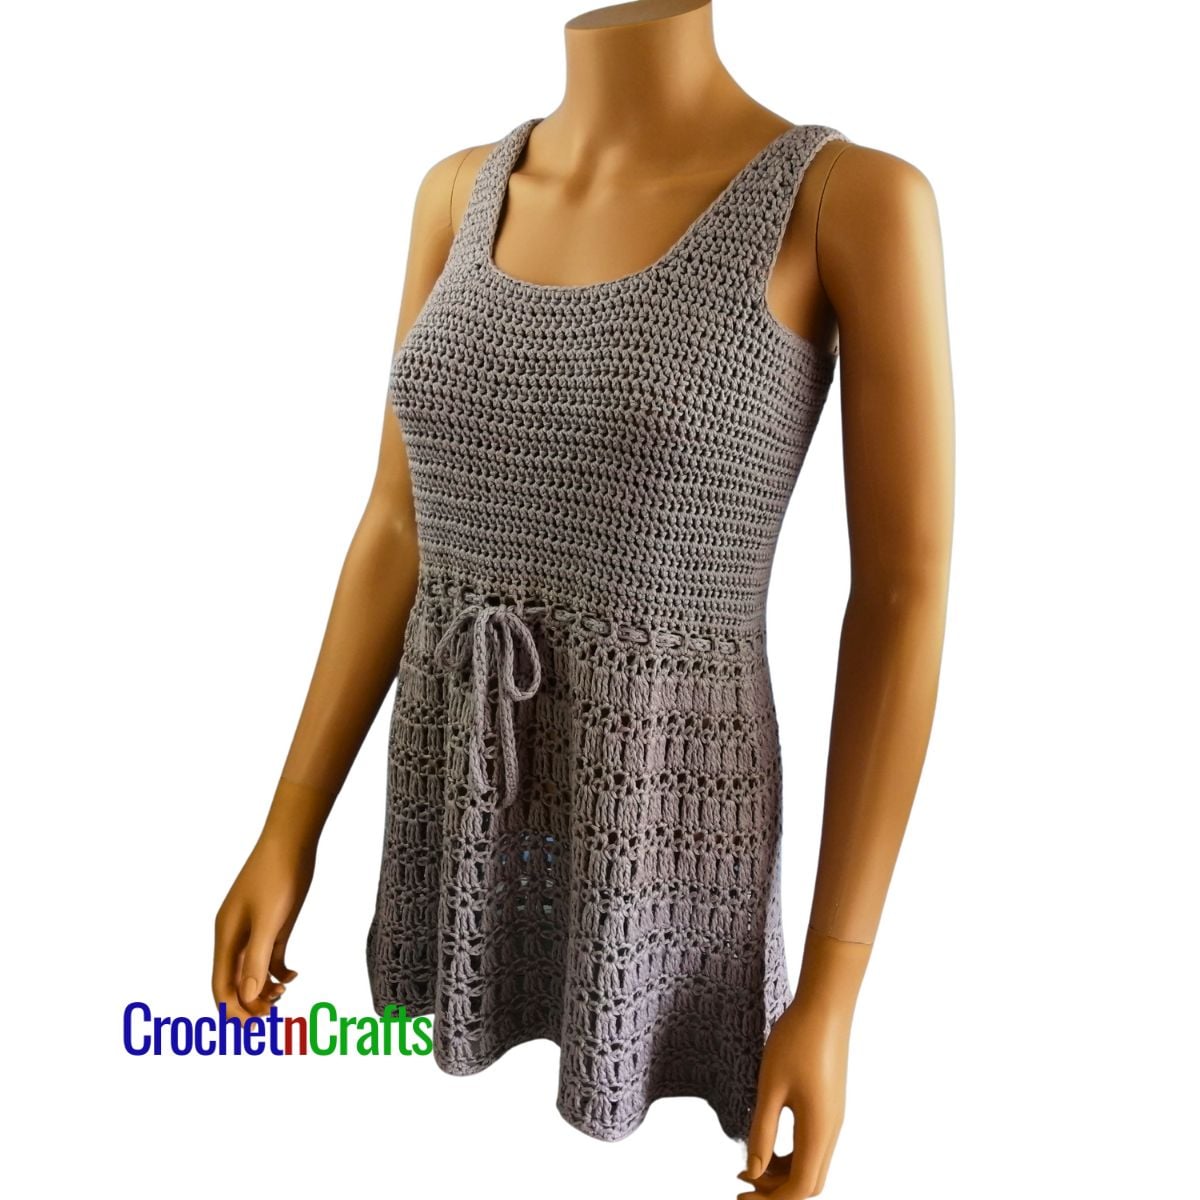
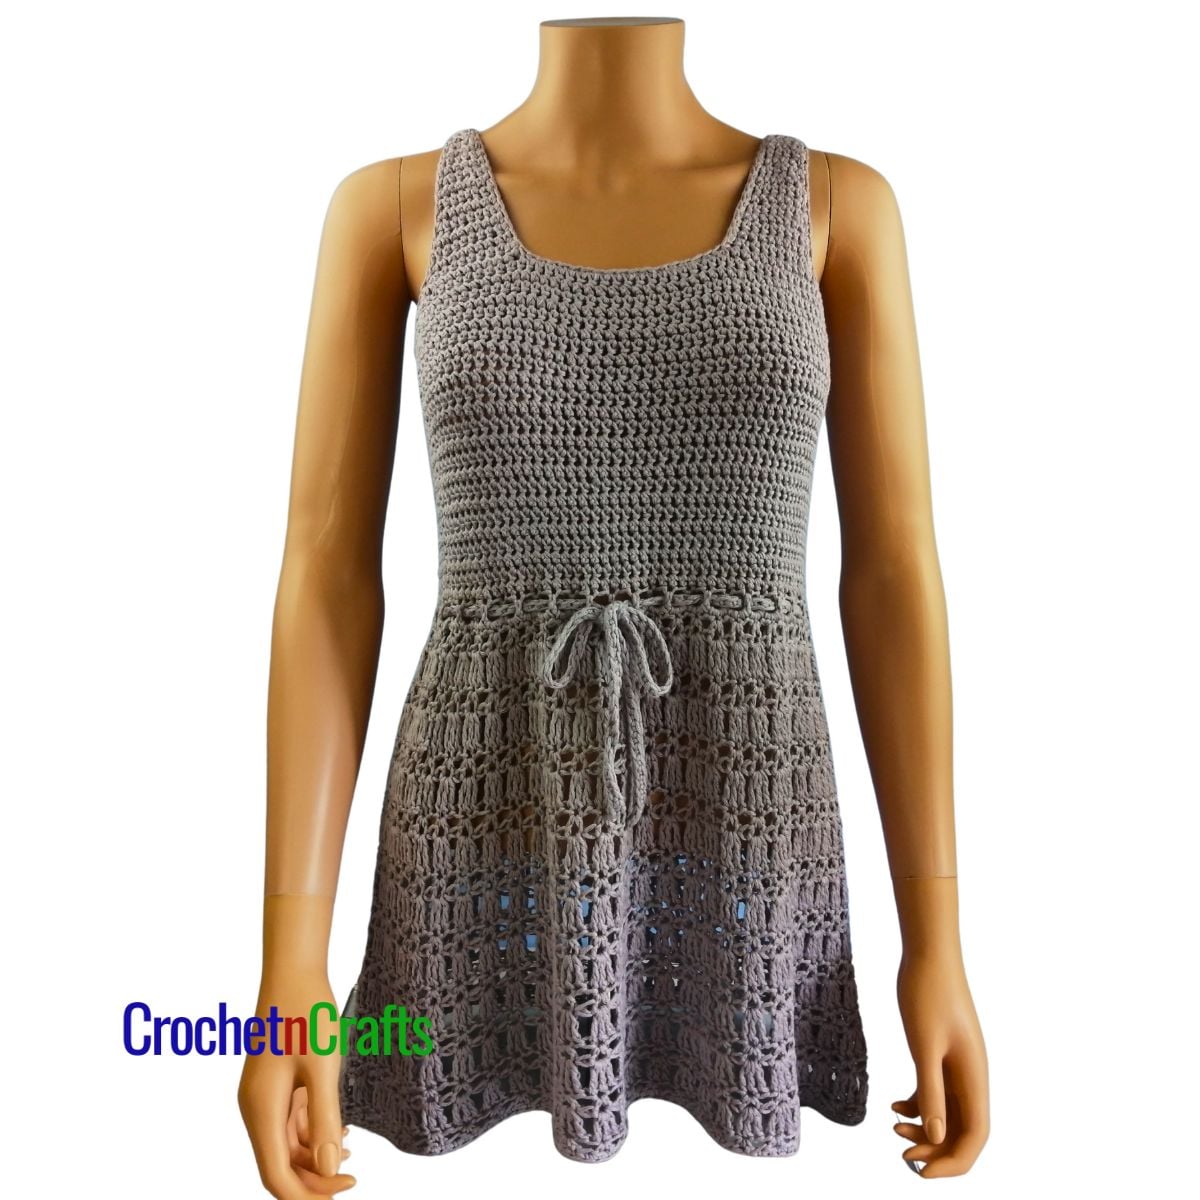
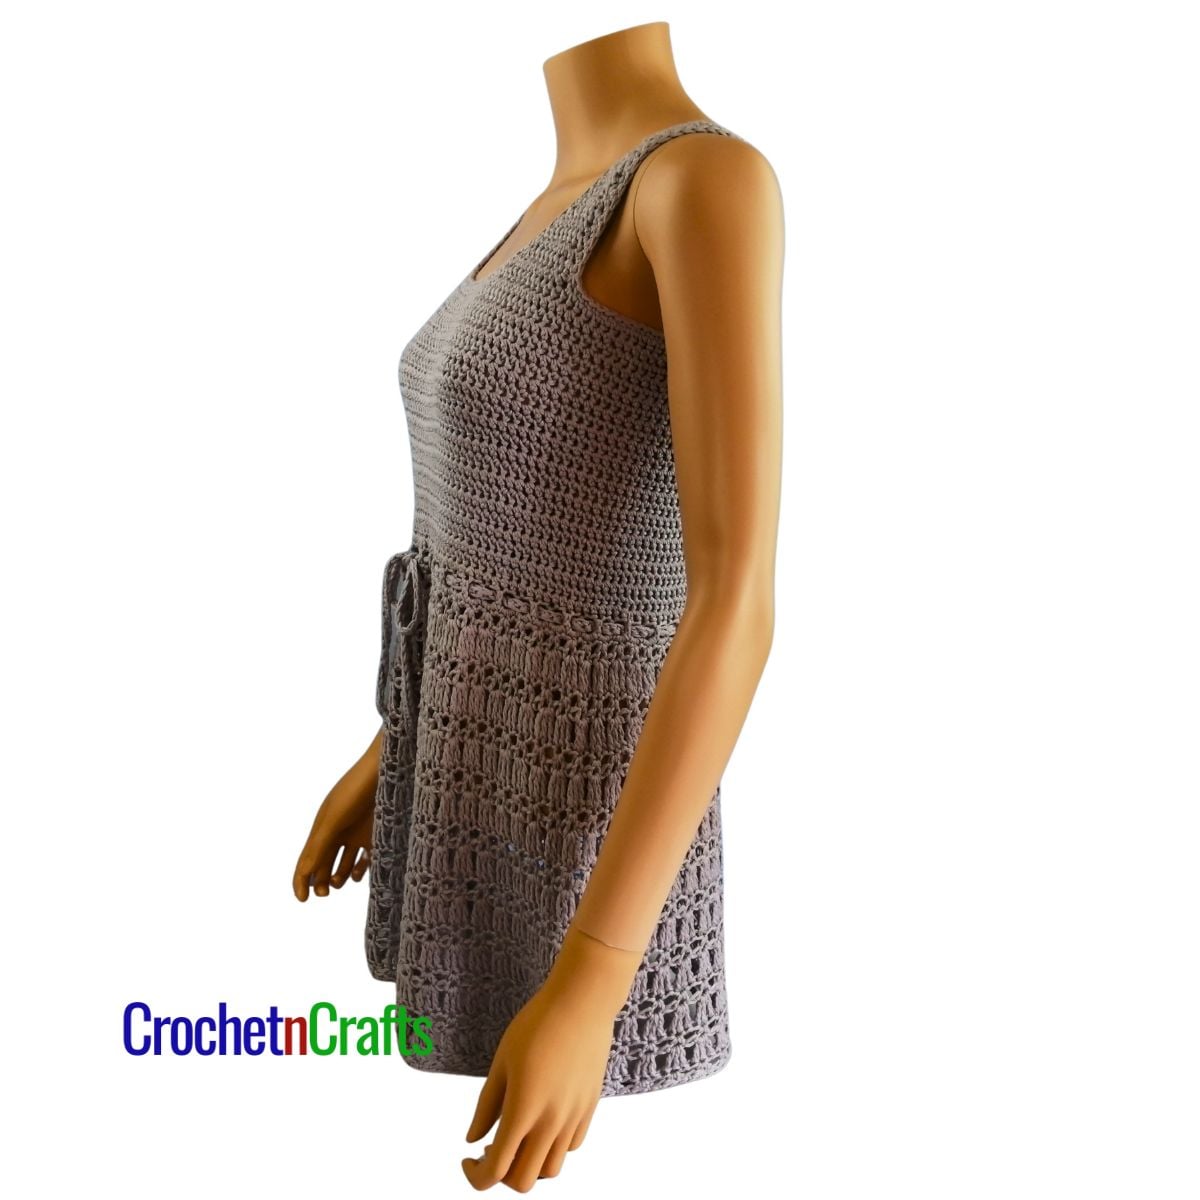
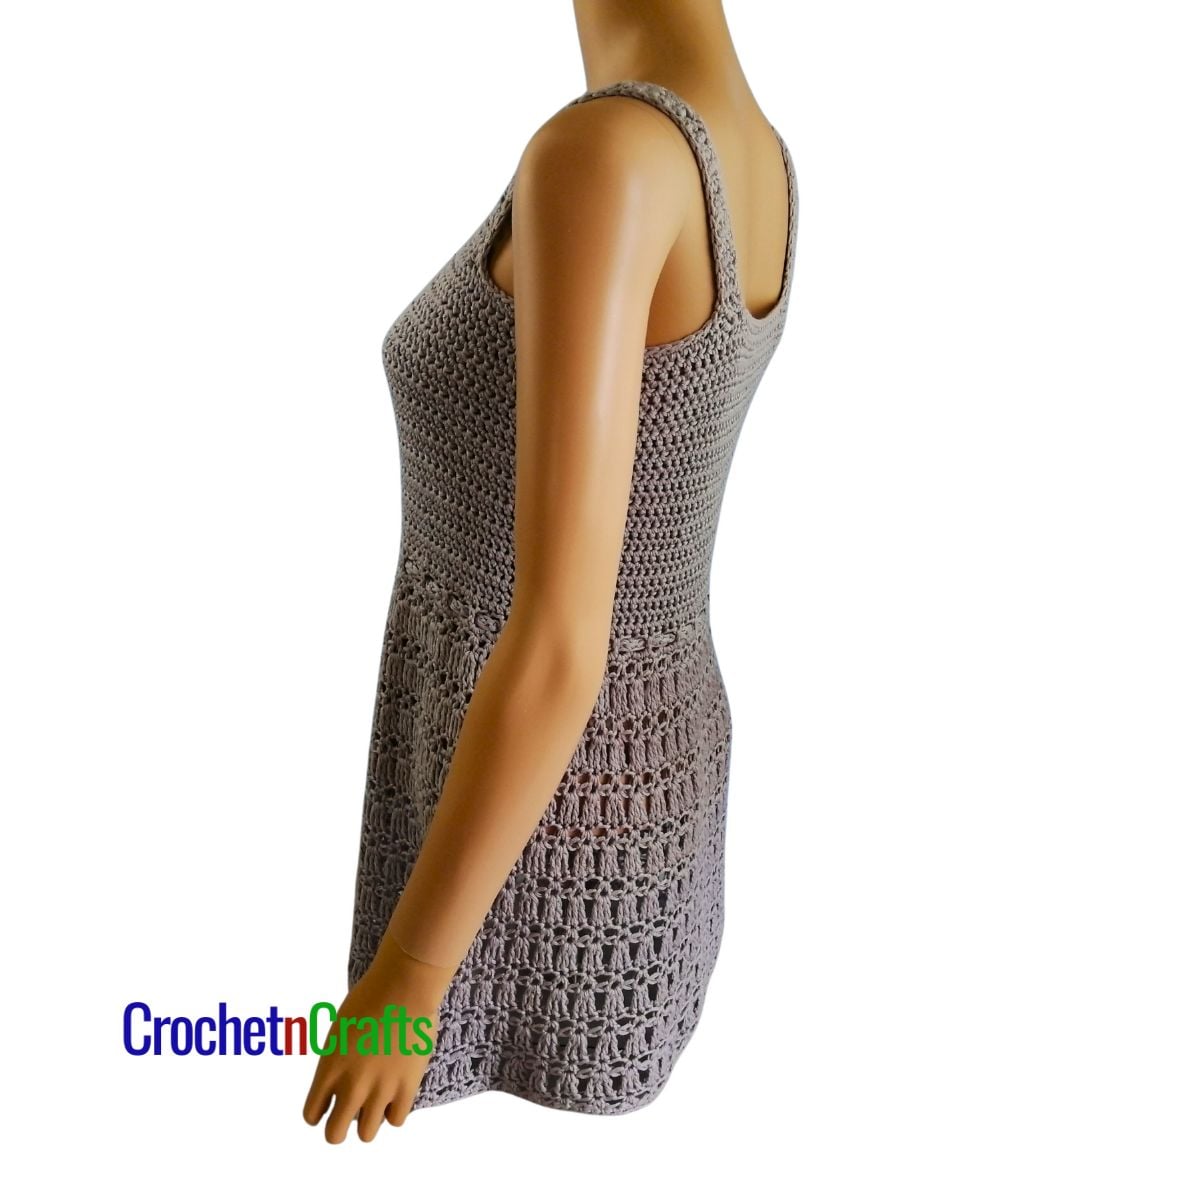
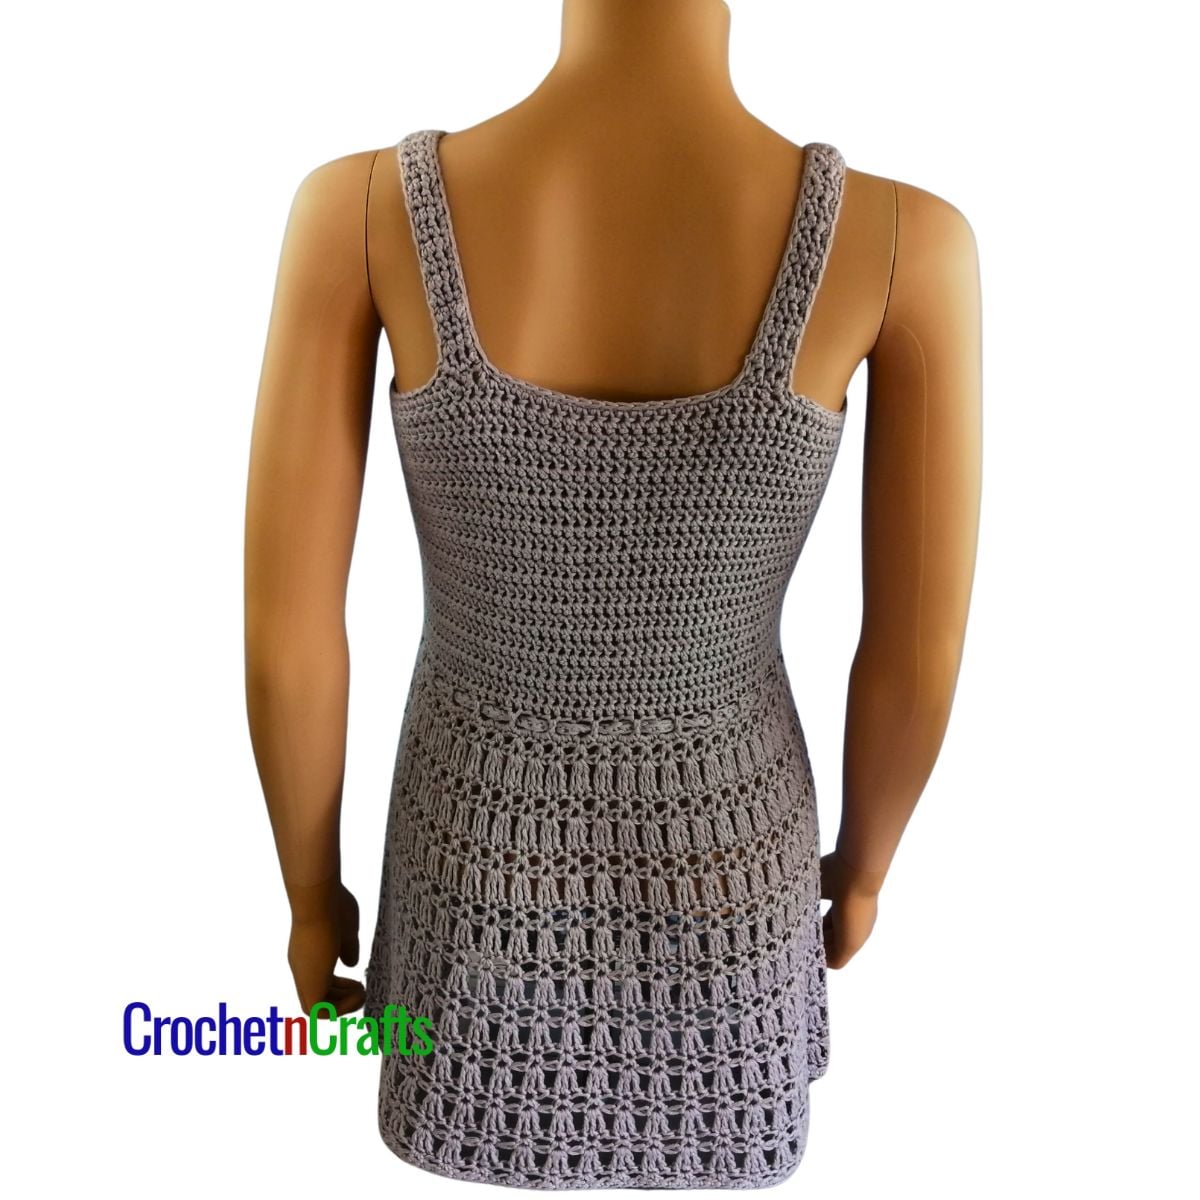
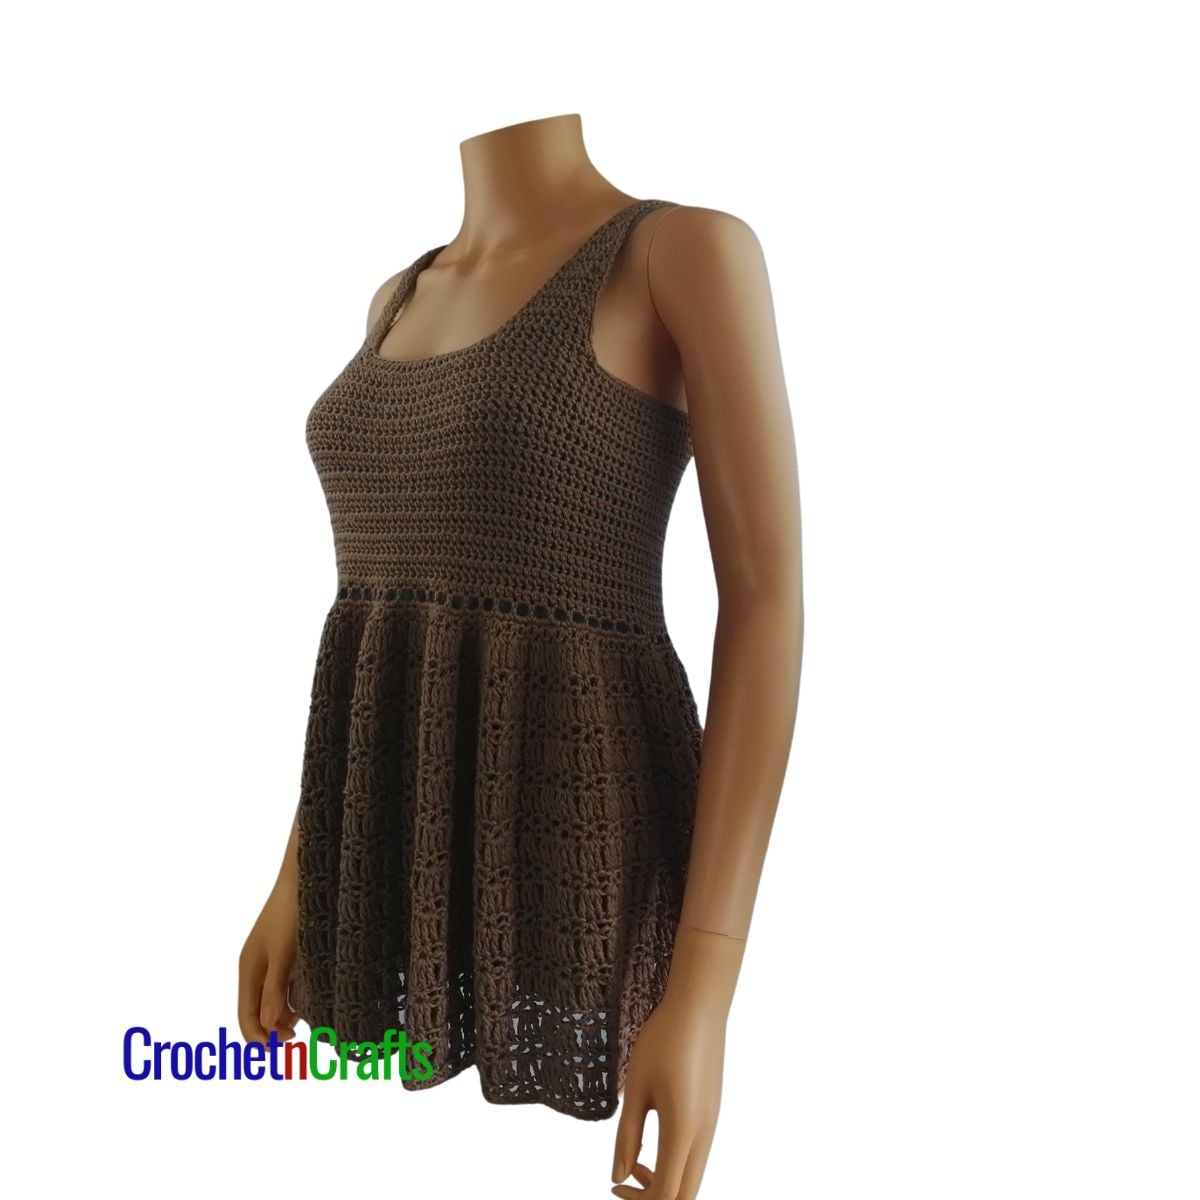
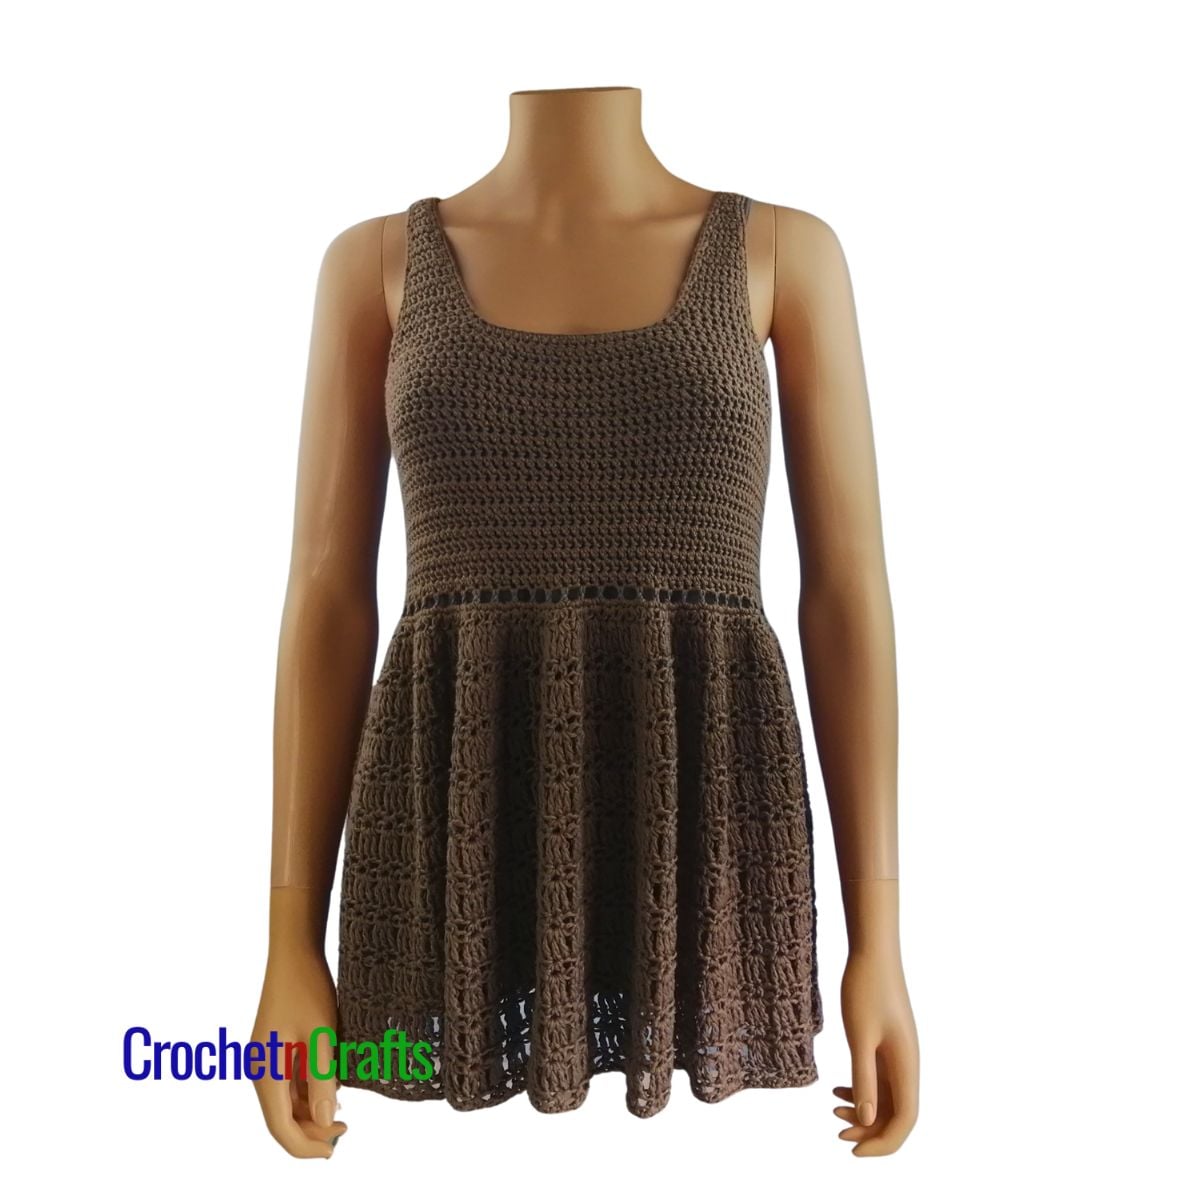
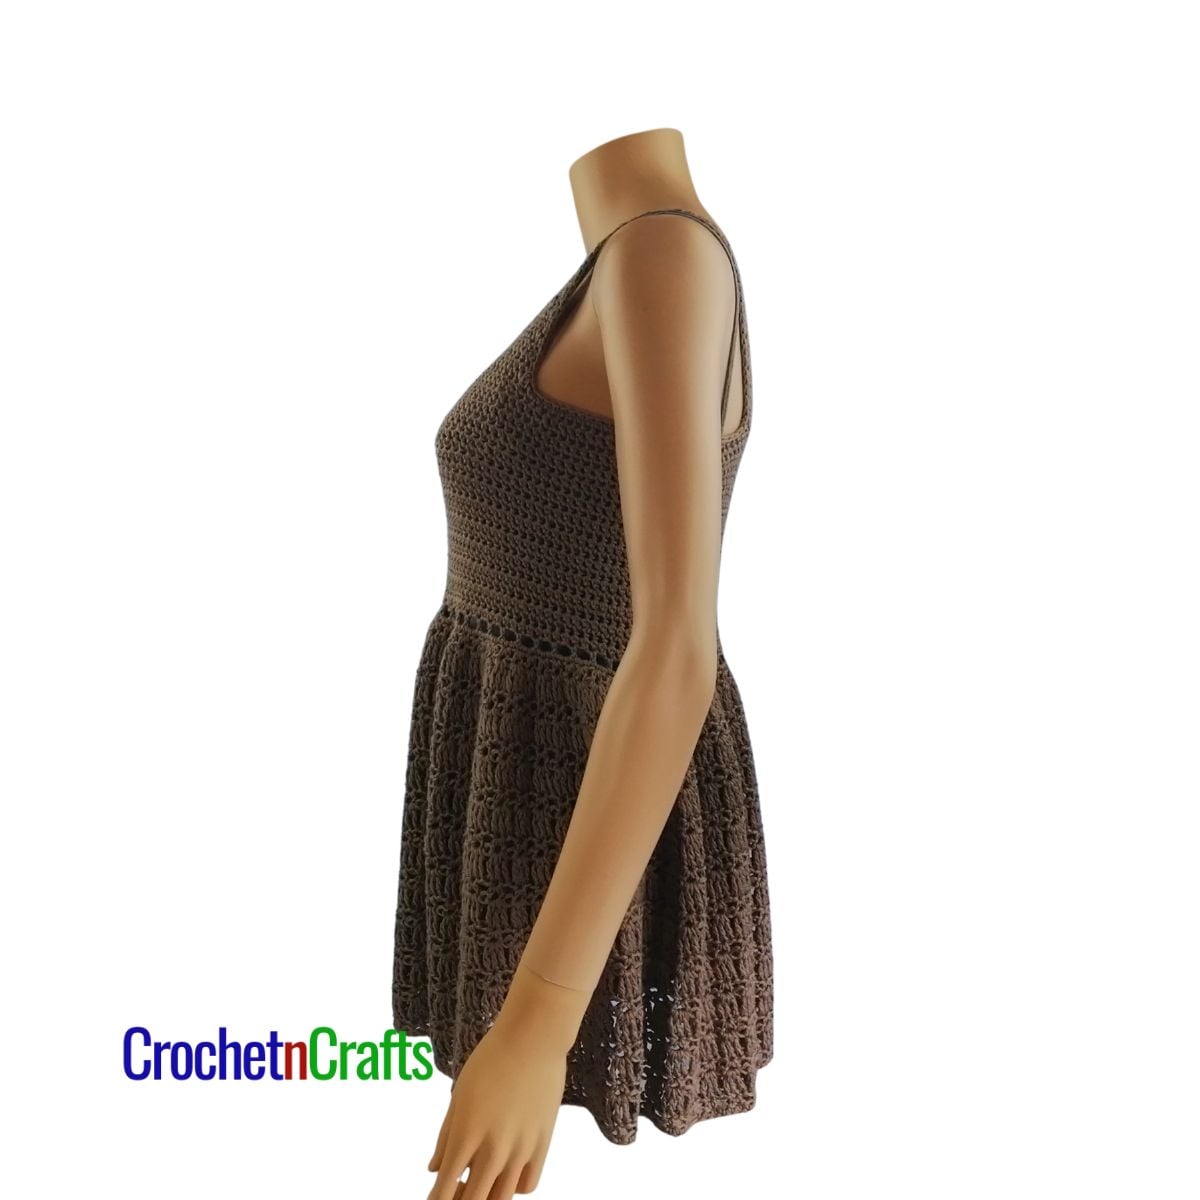
This crochet peplum top pattern is a great addition to your wardrobe, regardless of the season. While designed with summer in mind, it can be worn underneath a cardigan for a stylish look any time of the year.
Not only is it great for year-round wear, but it can also be the perfect top for any occasion. It pairs effortlessly with jeans, shorts, dress pants, or a skirt, making it a versatile choice.
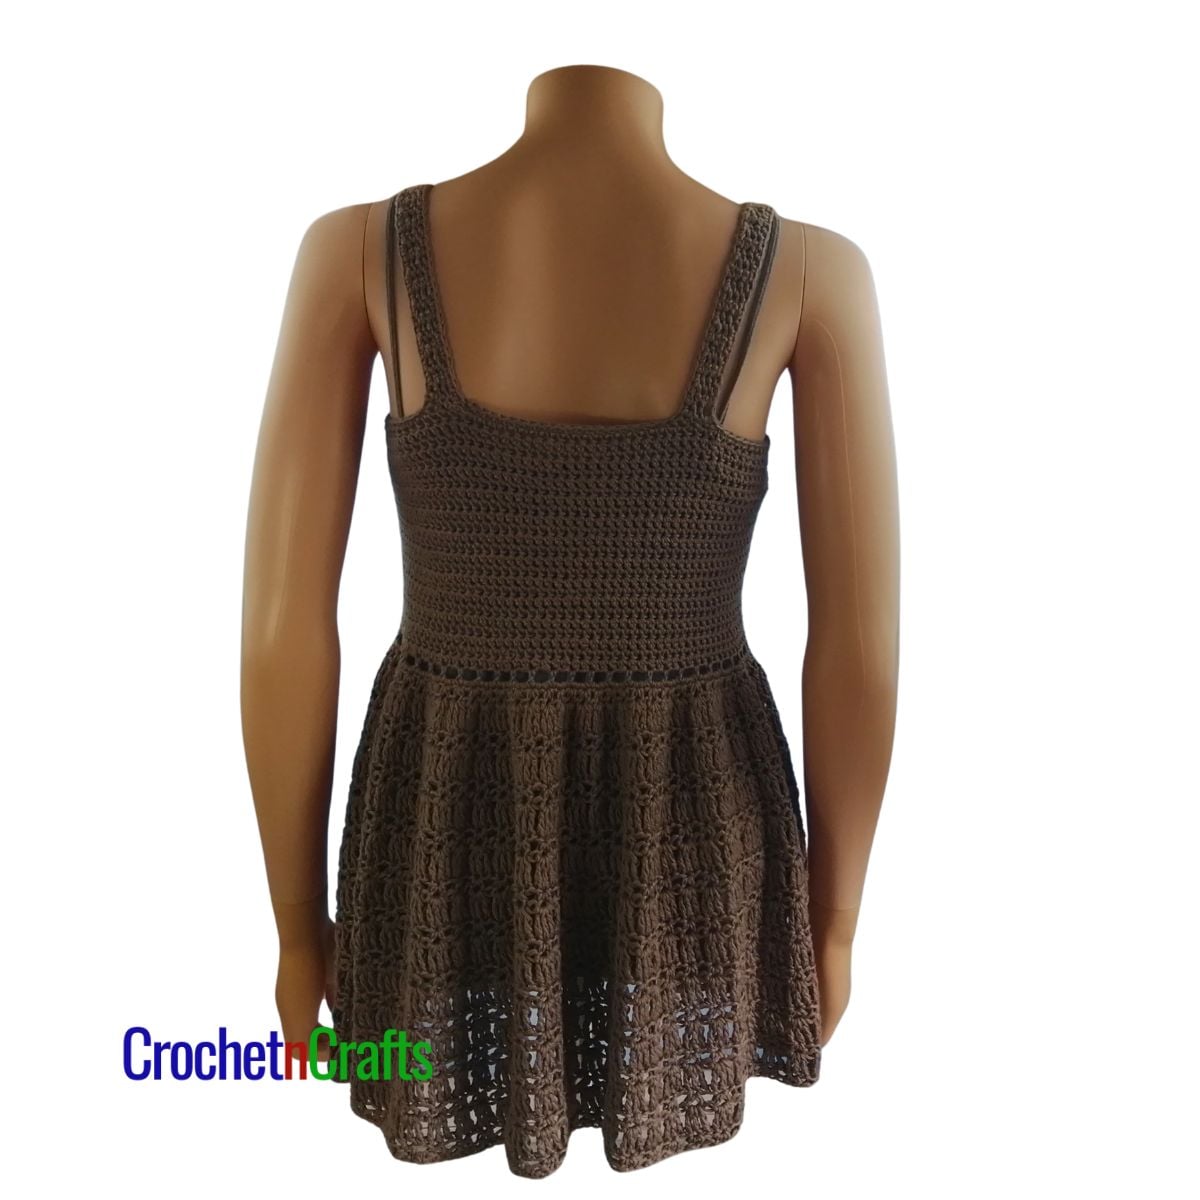
Best yet, the peplum top crochet pattern is available in multiple women’s sizes and can easily be modified in terms of strap length and the amount of ruffles you like for the skirt.
This post contains Affiliate Links from Yarn Crafts and Coffee. If you click on them and make a purchase, I earn a small commission. See our Privacy Policy for more information on affiliate links.
Get Your PDF Copy. Shop Etsy & Save 25% with coupon code: CNC25
Also in the Ravelry Bundle:
A few more patterns with this stitch will be added, and with each new addition, the price will go up.
Purchase today, and you’ll have access to new additions at no extra cost.


Subscribe for Free Crochet Patterns, Coupons, and Other Crafty Promotions.
You will also receive a PDF copy of the Simple Summer Poncho pattern.
Your email will not be shared. Unsubscribe any time. By subscribing, you agree to our privacy policy and terms of use.
Crochet Peplum Top Pattern Information
Make this crochet peplum top pattern your way. You have two options for the skirt in terms of the amount of ruffles you want. Another option for the skirt is the length; it can be increased to make a dress.
Also, adjust the straps as needed to make them longer so the garment sits a bit lower. This also gives you more room for your arms and helps to keep you cooler in hot summer weather.
Skill Level: Easy
Materials
- Yarn: Lion Brand Yarns – Coboo (Light, #3; 51% Cotton; 49% Rayon from Bamboo; 3.5oz/100g; 232yds/212m)
- Skirt with Moderate Amount of Ruffles: 3, (4, 4, 5, 5) balls.
- Skirt with Lots of Ruffles: 4, (5, 5, 6, 6) balls.
- Crochet Hook: G 4.00mm
- Other: Measuring Tape, Scissors, Yarn Needle, Area or Mat for Blocking.
Get your Coboo yarn at Yarn Crafts and Coffee here. (affiliate link) Get free shipping within the United States on orders of $75 or more.
Measurements
- Gauge: 15 esc sts and 12 esc rows = 4″. 14 tr sts = 4″.
- Finished Sizes: XS, (S, M, L, XL).
- To fit bust sizes: 28, (32, 36, 40, 44)”
- Bust Circumference: 28.8, (32, 36, 40.5, 44.8)”
- Finished Lengths:
- Strap Option 1: 26.7, (27.7, 28, 29.2, 29.5)”
- Strap Option 2: 27, (28, 28.5, 29.5, 29.8)”
- Strap Option 3: 27.3 (28.5, 28.7, 29.8, 30.2)”
Crochet Abbreviations
- RS = Right Side
- WS = Wrong Side
- Beg V-st = Beginning V-stitch
- Ch/Chs = Chain/Chains
- Esc = Extended Single Crochet
- FO = Fasten Off
- Hdc = Half Double Crochet
- Hk = Hook
- Lp/Lps – Loop/Loops
- Opt = Option
- Rep = Repeat
- Rnd/Rnds = Round/Rounds
- Sc = Single Crochet
- Sc3tog = Single Crochet 3 Stitches Together
- Sk = Skip
- Sl St = Slip Stitch
- Sp/Sps = Space/Spaces
- St/Sts = Stitch/Stitches
- Tr = Triple Crochet
- V-St = V Stitch
- Yo = Yarn Over
Special Stitch Instructions
- Extended Single Crochet (ESC): Insert hk in st indicated, yo and pull up a lp, yo and pull through 1 lp, yo and pull through both lps on hk.
- Standing Esc: Make a slip knot on your hook, then work the esc as normal. Refer To This Tutorial
- Beg V-st: Ch 3 (counts as first hdc and ch-1 sp), hdc in same st to complete the v-st.
- V-st: (hdc, ch 1, hdc) in designated st.
- See the stitch tutorial: Hdc V-st and Tr (Shell Stitch Variation)
- See this tutorial to help with the bust area and edging: A tutorial is available in the paid version.
Notes
The small size is shown on a 33″ bust.
The pattern is given for XS. Changes for sizes S, M, L, and XL are given in parentheses.
The top of the garment is designed to fit close to the body with 0 ease.
The garment is worked basically in one piece from the top down with no seaming. It is fastened off after the first shoulder strap. After the second strap is done, the shoulder straps are connected with chains, so you can begin working in rounds for the Bust.
This pattern is turned after each row and round.
Gauge and measurements are given after blocking.
Choose Your Strap Length: This crochet top includes three lengths for the strap. The length is adjusted by doing more or fewer repeats of the narrow strap section at the back before starting the armhole and front strap shaping.
Consider that the longer you make these straps, the lower the garment will sit at your bust.
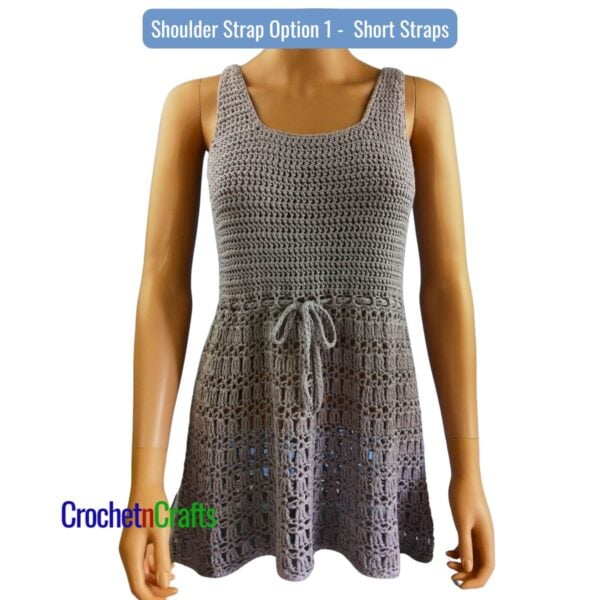
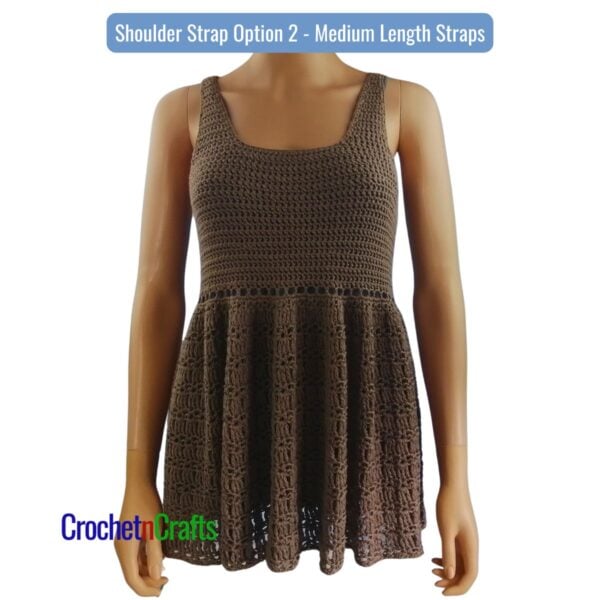
Choose Your Skirt: Choose from Option 1 with a moderate amount of ruffles, or Option 2 for lots of ruffles. Also, you have the option to make the skirt long enough for a dress.
Crochet Peplum Top Pattern Instructions
Choose how long you would like your straps to be—option 1, 2, or 3.
Shoulder Straps – Narrow Strap at the Back
Ch 4,
Row 1 (WS): Esc in 2nd ch from hk and into each ch across. Turn. [3 sts]
Row 2 (RS): Ch 1, esc in first st and into each st across. Turn. [3 sts]
Option 1 for Short Straps
Rows 3-18, (20, 22, 24, 26): Rep Row 2.
Option 2 for Medium Length Straps
Rows 3-20, (22, 24, 26, 28): Rep Row 2.
Option 3 for Longer Straps
Rows 3-22, (24, 26, 28, 30): Rep Row 2.
Shoulder Straps – Armhole and Front Strap Shaping
Row 1 (WS): Ch 1, 2 esc in first st, esc in next st, 2 esc in last st. Turn. [5 sts]
Row 2 (RS): Ch 1, esc in first st and into each st across. Turn. [5 sts]
Rows 3-4: Rep Row 2. [5 sts]
Row 5 (WS): Ch 1, 2 esc in first st, esc in next st and into each st up to the last st, 2 esc in last st. Turn. [7 sts]
Rows 6-13: Rep Rows 2-5 two times. [11 sts after Row 13]
FO for the first strap. Make another strap. Do not FO after the 2nd strap; continue with the Bust.
Note: After the 2nd strap is done, the shoulder straps are connected with chains, so you can begin working in rounds for the Bust. A tutorial is available in the paid version.
Bust
Rnd 1 (RS): Ch 1, esc in first st and into each st across the last row made in the 2nd strap. Do not turn. Ch 16, (20, 24, 28, 32), with RS facing, bring the next strap up to your work and esc into each st of last Row made; ch 24, (26, 30, 34, 38), with RS facing of corresponding (same) strap, esc into the 3 sts of Row 1; ch 16, (20, 24, 28, 32), With RS facing, esc into the 3 sts of Row 1 of the next strap; ch 24, (26, 30, 34, 38); join with sl st in first esc. FO. Turn. [28 sts and 80, (92, 108, 124, 140) chs]
Note: The seam naturally falls more towards the front side of the garment. To change the location of the seam, simply fasten off after Rnd 1, turn your work, and rejoin the yarn at the arm opening so it falls neatly at the side.
Rnd 2 (WS): Rejoin yarn with a standing esc in any of the chs that fall at the arm opening. Esc in next ch and into each ch and st around; join with sl st in first esc. Turn. [108, (120, 136, 152, 168) sts]
Rnds 3-23, (25, 25, 27, 27): Ch 1, esc in first st and into each st around; join with sl st in first esc. Turn. [108, (120, 136, 152, 168) sts]
Sizing Note: Do more or fewer repeats of the last round to get the bust height you want, making sure to end with the RS.
Skirt – Option 1 – Moderate Amount of Ruffles
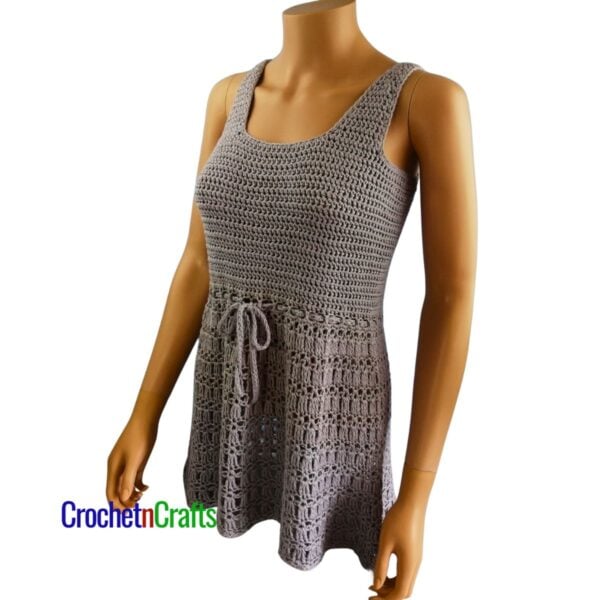
Rnd 1 (WS): Sl st into first st, ch 3 (counts as first hdc and ch 1), *sk next st, (hdc, ch 1) in next st; rep from * around to last st; sk last st; join with sl st in first hdc (2nd ch). Turn. [54, (60, 68, 76, 84) ch-1 sps]
Rnd 2 (RS): Ch 1, 3 sc into first ch-1 sp and into each ch-1 sp around; join with sl st in first sc. Turn. [162, (180, 204, 228, 252) sts]
Rnd 3 (WS): Sl st in first 2 sts, work beg v-st, *sk next 2 sts, v-st in next st; rep from * around; join with sl st in first hdc (2nd ch of beg v-st). Turn. [54, (60, 68, 76, 84) v-sts]
Rnd 4: Sl st into first v-st, ch 4 (counts as first tr), work another 2 tr in same v-st, 3 tr in next v-st and into each v-st around; join with sl st in first tr (4th ch). Turn. [162, (180, 204, 228, 252) sts]
Rnds 5-20: Rep Rnds 3 &4 until you are about 1/2 inch away from the length you want.
Rnd 21: Rep Rnd 3.
Rnd 22: Ch 1, sc in first st and into each st and ch around. FO. [162, (180, 204, 228, 252) sts]
Skirt – Option 2 – Lots of Ruffles
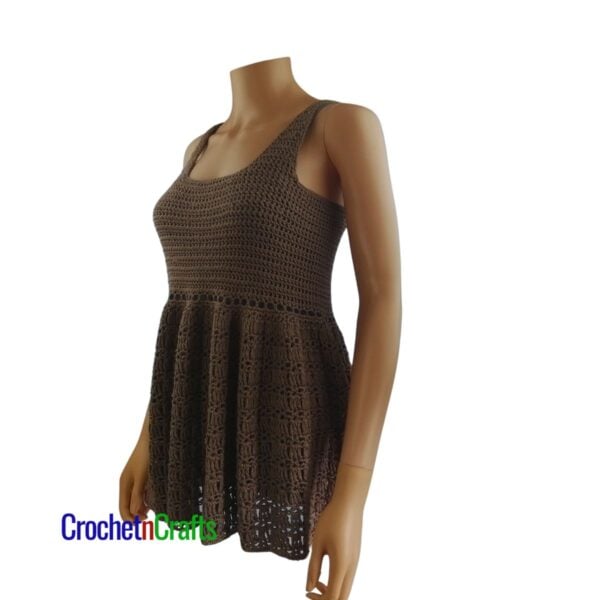
Rnd 1 (WS): Sl st into first st, ch 3 (counts as first hdc and ch 1), *sk next st, (hdc, ch 1) in next st; rep from * around to last st; sk last st; join with sl st in first hdc (2nd ch). Turn. [54, (60, 68, 76, 84) ch-1 sps]
Rnd 2 (RS): Ch 1, 3 sc into first ch-1 sp and into each ch-1 sp around; join with sl st in first sc. Turn. [162, (180, 204, 228, 252) sts]
Rnd 3 (WS): Sl st in first st, work beg v-st, *sk next st, v-st in next st; rep from * around; join with sl st in first hdc (2nd ch of beg v-st). Turn. [81, (90, 102, 114, 126) v-sts]
Rnd 4: Sl st into first v-st, ch 4 (counts as first tr), work another 2 tr in same v-st, 3 tr in next v-st and into each v-st around; join with sl st in first tr (4th ch). Turn. [243, (270, 306, 342, 378) sts]
Rnd 5 (WS): Sl st in first 2 sts, work beg v-st, *sk next 2 sts, v-st in next st; rep from * around; join with sl st in first hdc (2nd ch of beg v-st). Turn. [81, (90, 102, 114, 126) v-sts]
Rnds 6-21: Rep Rnds 4 & 5 until you reach the length you want.
Rnd 22: Ch 1, sc in first st and into each st and ch around. FO. [243, (270, 306, 342, 378) sts]
Edging for Neck and Arm Openings
With RS facing, join yarn anywhere along the seam and sc evenly around, working a sc3tog in each corner.
String
Ch 180, (200, 220, 245, 265), working into back bumps, sc into 2nd ch from hook and into each ch across. FO. Weave into the open stitches made in the first round for the skirt.
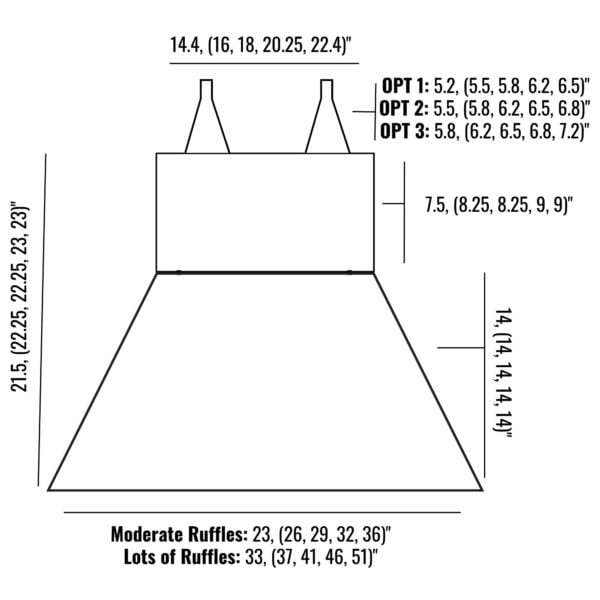
Schematic
More Crochet Top Patterns
See More Crochet Top Patterns.


Pattern Instructions
- Choose how long you would like your straps to be—option 1, 2, or 3. Shoulder Straps – Narrow Strap at the BackCh 4,Row 1 (WS): Esc in 2nd ch from hk and into each ch across. Turn. [3 sts]Row 2 (RS): Ch 1, esc in first st and into each st across. Turn. [3 sts]Option 1 for Short Straps: Rows 3-18, (20, 22, 24, 26): Rep Row 2.Option 2 for Medium Length Straps: Rows 3-20, (22, 24, 26, 28): Rep Row 2.Option 3 for Longer Straps: Rows 3-22, (24, 26, 28, 30): Rep Row 2.Shoulder Straps – Armhole and Front Strap ShapingRow 1 (WS): Ch 1, 2 esc in first st, esc in next st, 2 esc in last st. Turn. [5 sts]Row 2 (RS): Ch 1, esc in first st and into each st across. Turn. [5 sts]Rows 3-4: Rep Row 2. [5 sts]Row 5 (WS): Ch 1, 2 esc in first st, esc in next st and into each st up to the last st, 2 esc in last st. Turn. [7 sts]Rows 6-13: Rep Rows 2-5 two times. [11 sts after Row 13] FO for the first strap. Make another strap. Do not FO after the 2nd strap; continue with the Bust.Note: After the 2nd strap is done, the shoulder straps are connected with chains, so you can begin working in rounds for the Bust. A tutorial is available in the paid version.BustRnd 1 (RS): Ch 1, esc in first st and into each st across the last row made in the 2nd strap. Do not turn. Ch 16, (20, 24, 28, 32), with RS facing, bring the next strap up to your work and esc into each st of last Row made; ch 24, (26, 30, 34, 38), with RS facing of corresponding (same) strap, esc into the 3 sts of Row 1; ch 16, (20, 24, 28, 32), With RS facing, esc into the 3 sts of Row 1 of the next strap; ch 24, (26, 30, 34, 38); join with sl st in first esc. FO. Turn. [28 sts and 80, (92, 108, 124, 140) chs]Note: The seam naturally falls more towards the front side of the garment. To change the location of the seam, simply fasten off after Rnd 1, turn your work, and rejoin the yarn at the arm opening so it falls neatly at the side.Rnd 2 (WS): Rejoin yarn with a standing esc in any of the chs that fall at the arm opening. Esc in next ch and into each ch and st around; join with sl st in first esc. Turn. [108, (120, 136, 152, 168) sts]Rnds 3-23, (25, 25, 27, 27): Ch 1, esc in first st and into each st around; join with sl st in first esc. Turn. [108, (120, 136, 152, 168) sts]Sizing Note: Do more or fewer repeats of the last round to get the bust height you want, making sure to end with the RS.Skirt – Option 1 – Moderate Amount of RufflesRnd 1 (WS): Sl st into first st, ch 3 (counts as first hdc and ch 1), *sk next st, (hdc, ch 1) in next st; rep from * around to last st; sk last st; join with sl st in first hdc (2nd ch). Turn. [54, (60, 68, 76, 84) ch-1 sps]Rnd 2 (RS): Ch 1, 3 sc into first ch-1 sp and into each ch-1 sp around; join with sl st in first sc. Turn. [162, (180, 204, 228, 252) sts]Rnd 3 (WS): Sl st in first 2 sts, work beg v-st, *sk next 2 sts, v-st in next st; rep from * around; join with sl st in first hdc (2nd ch of beg v-st). Turn. [54, (60, 68, 76, 84) v-sts]Rnd 4: Sl st into first v-st, ch 4 (counts as first tr), work another 2 tr in same v-st, 3 tr in next v-st and into each v-st around; join with sl st in first tr (4th ch). Turn. [162, (180, 204, 228, 252) sts]Rnds 5-20: Rep Rnds 3 &4 until you are about 1/2 inch away from the length you want.Rnd 21: Rep Rnd 3.Rnd 22: Ch 1, sc in first st and into each st and ch around. FO. [162, (180, 204, 228, 252) sts]Skirt – Option 2 – Lots of RufflesRnd 1 (WS): Sl st into first st, ch 3 (counts as first hdc and ch 1), *sk next st, (hdc, ch 1) in next st; rep from * around to last st; sk last st; join with sl st in first hdc (2nd ch). Turn. [54, (60, 68, 76, 84) ch-1 sps]Rnd 2 (RS): Ch 1, 3 sc into first ch-1 sp and into each ch-1 sp around; join with sl st in first sc. Turn. [162, (180, 204, 228, 252) sts]Rnd 3 (WS): Sl st in first st, work beg v-st, *sk next st, v-st in next st; rep from * around; join with sl st in first hdc (2nd ch of beg v-st). Turn. [81, (90, 102, 114, 126) v-sts]Rnd 4: Sl st into first v-st, ch 4 (counts as first tr), work another 2 tr in same v-st, 3 tr in next v-st and into each v-st around; join with sl st in first tr (4th ch). Turn. [243, (270, 306, 342, 378) sts]Rnd 5 (WS): Sl st in first 2 sts, work beg v-st, *sk next 2 sts, v-st in next st; rep from * around; join with sl st in first hdc (2nd ch of beg v-st). Turn. [81, (90, 102, 114, 126) v-sts]Rnds 6-21: Rep Rnds 4 & 5 until you reach the length you want.Rnd 22: Ch 1, sc in first st and into each st and ch around. FO. [243, (270, 306, 342, 378) sts]Edging for Neck and Arm OpeningsWith RS facing, join yarn anywhere along the seam and sc evenly around, working a sc3tog in each corner.StringCh 180, (200, 220, 245, 265), working into back bumps, sc into 2nd ch from hook and into each ch across. FO. Weave into the open stitches made in the first round for the skirt.


