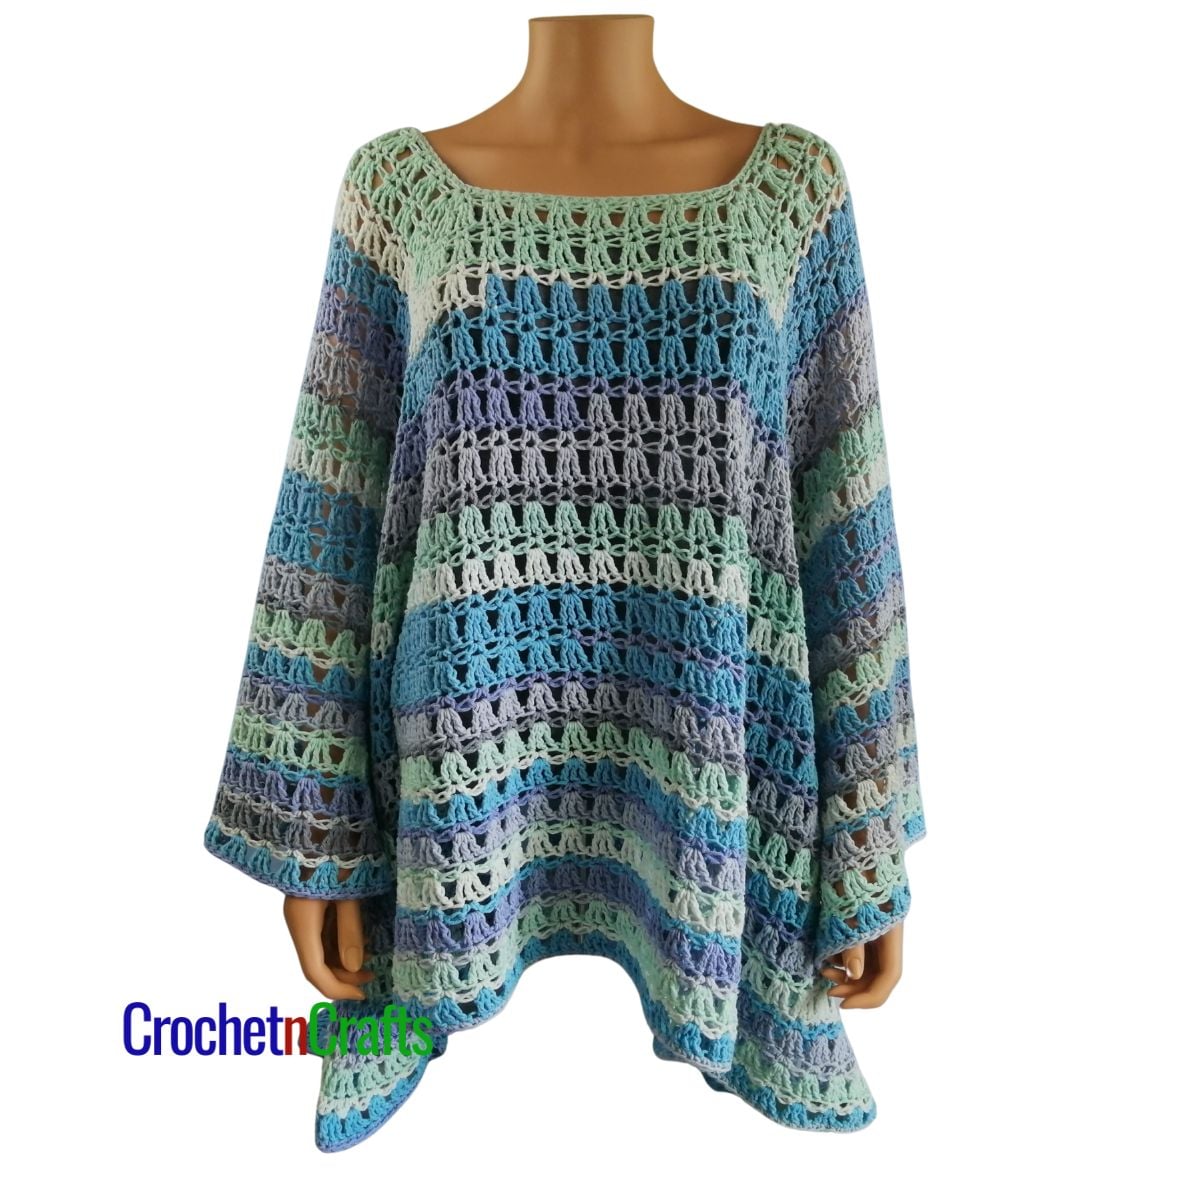
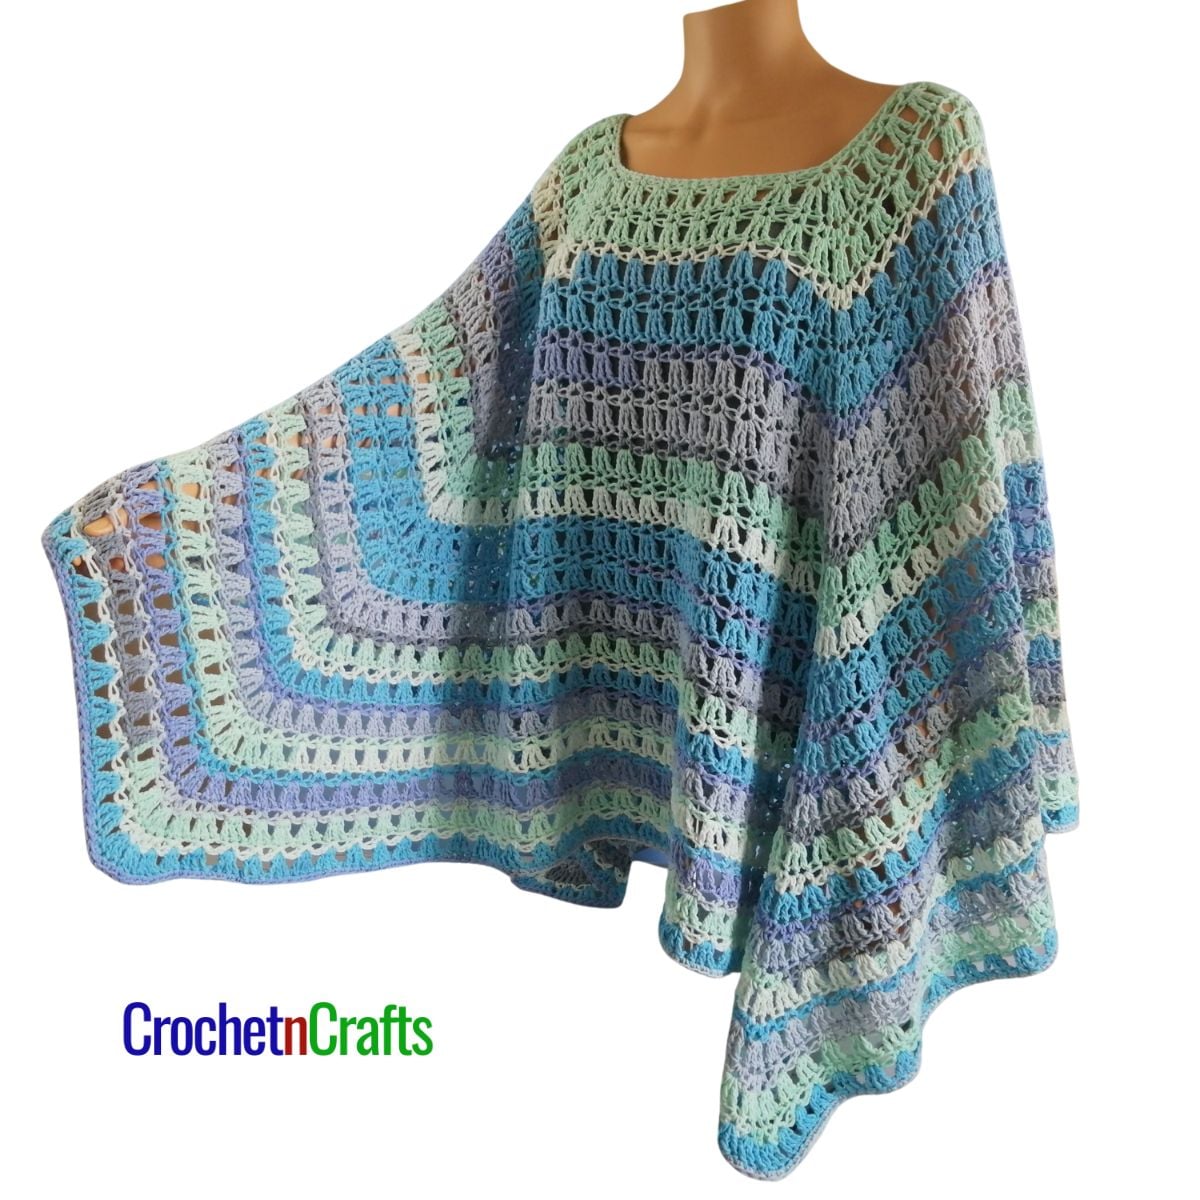
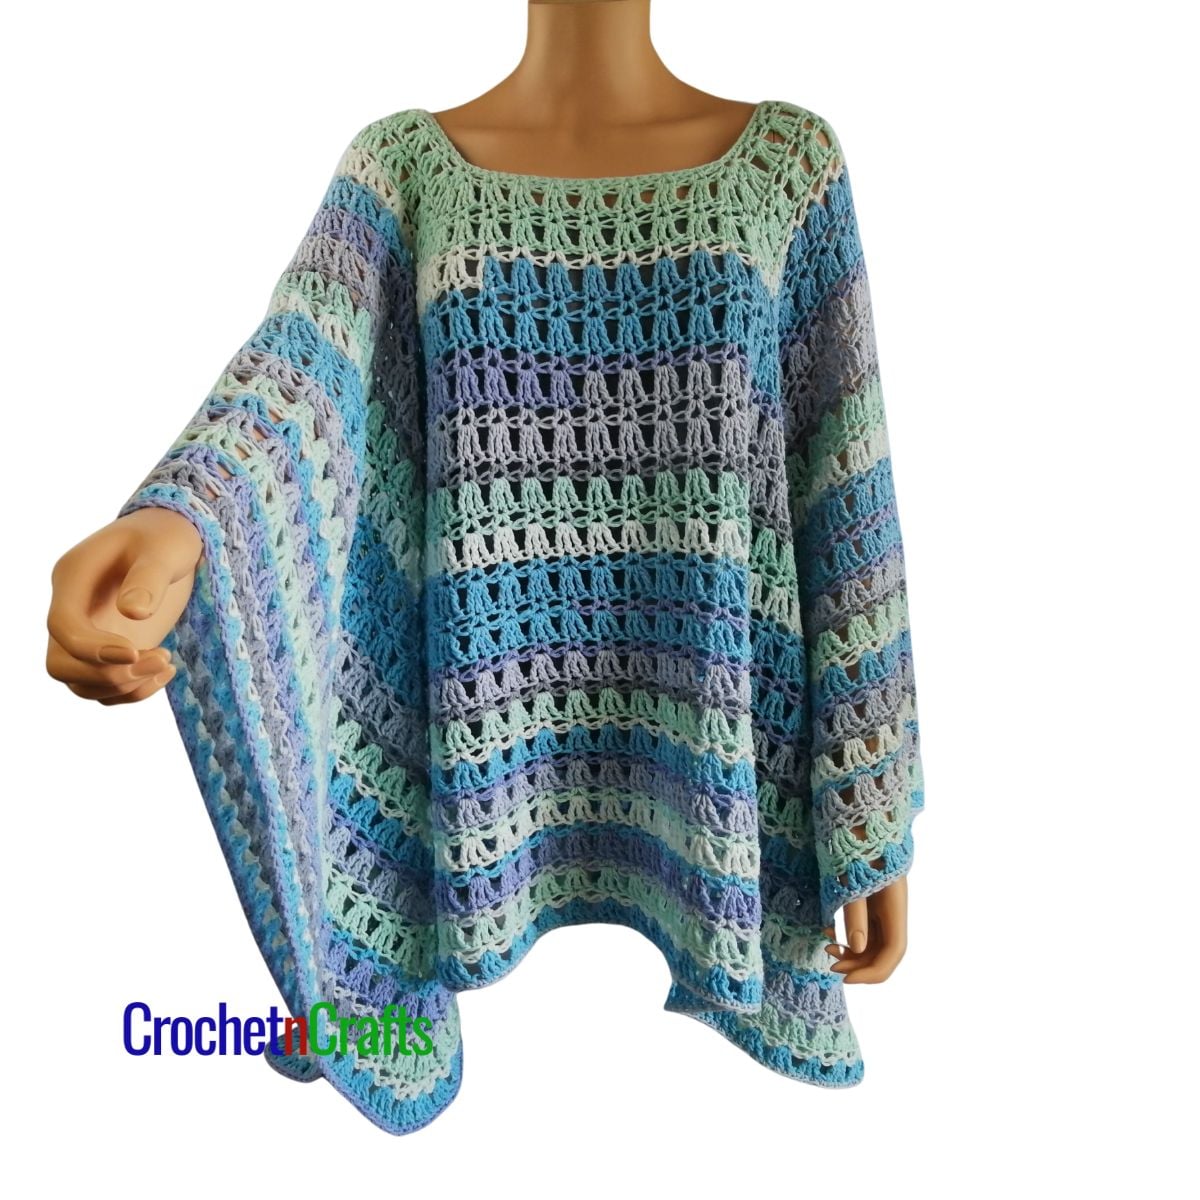
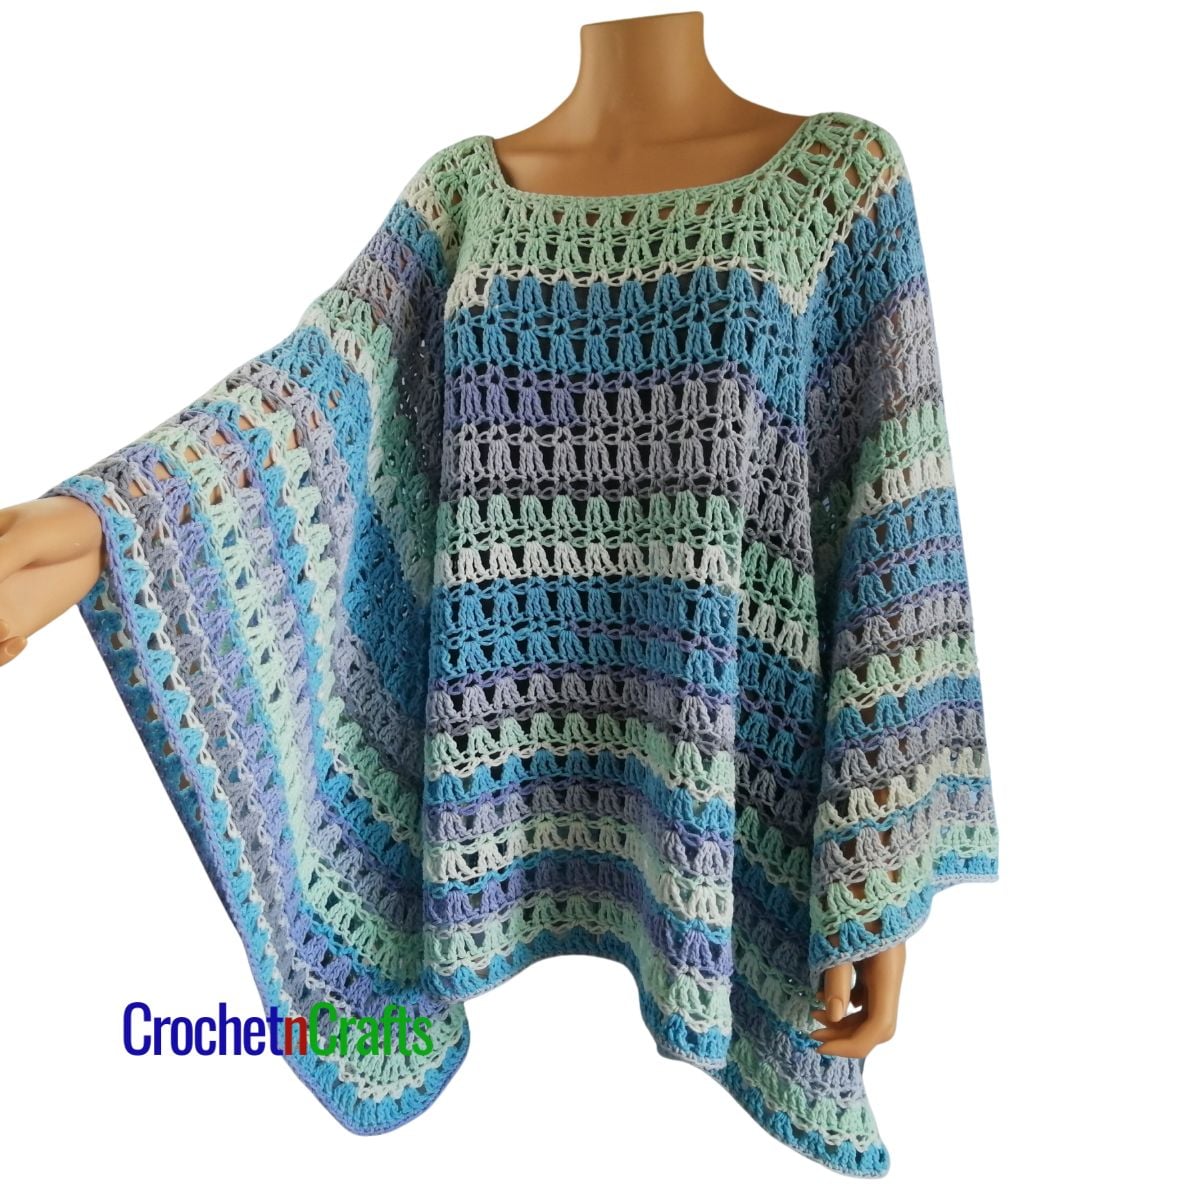
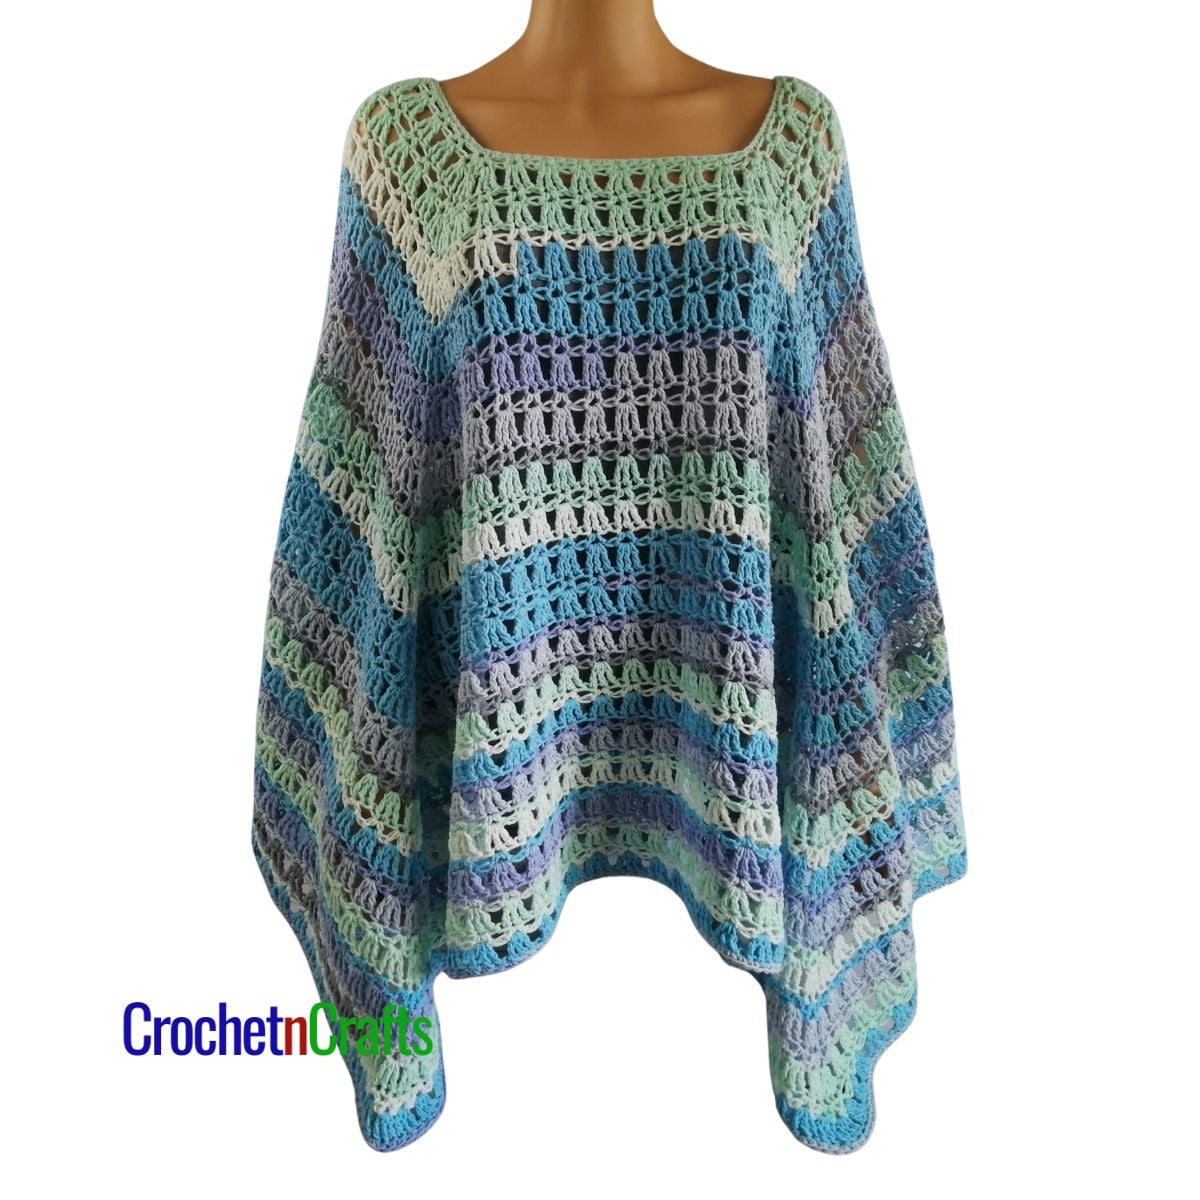
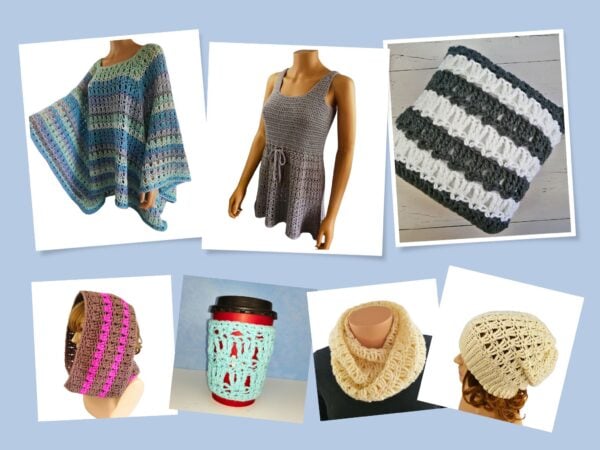
Elegant Poncho Crochet Pattern – Hdc V-st and Tr
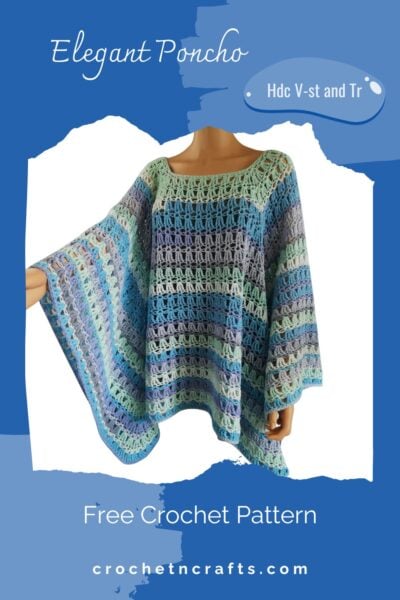
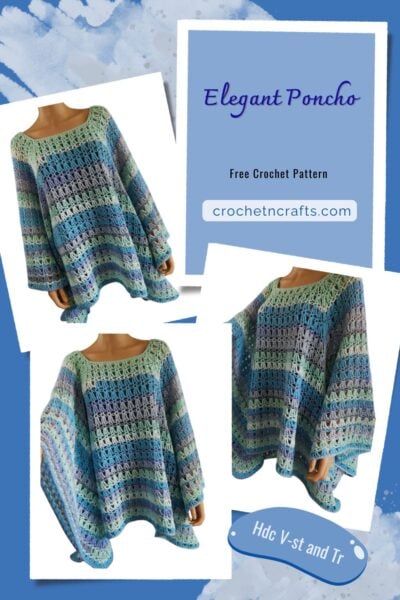
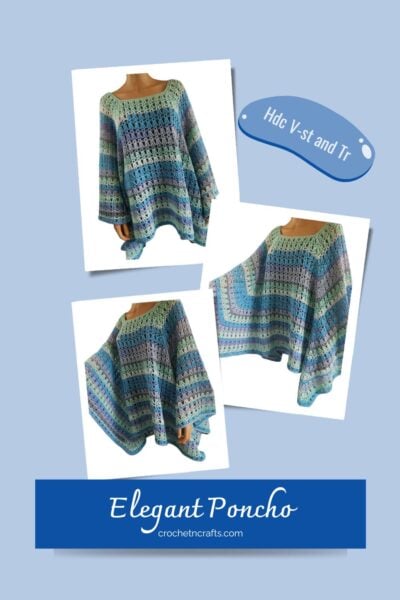
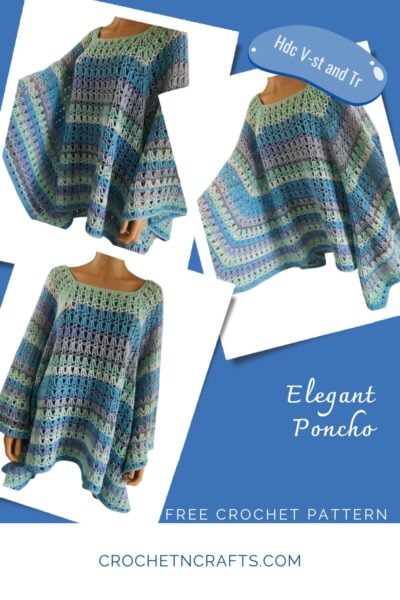
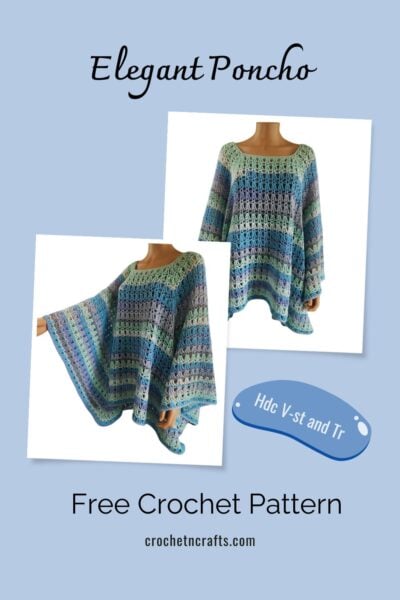
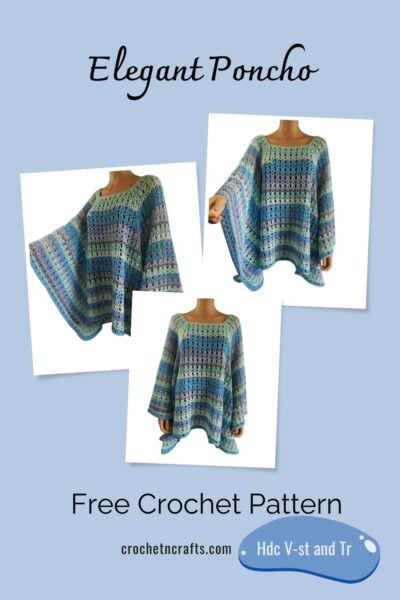
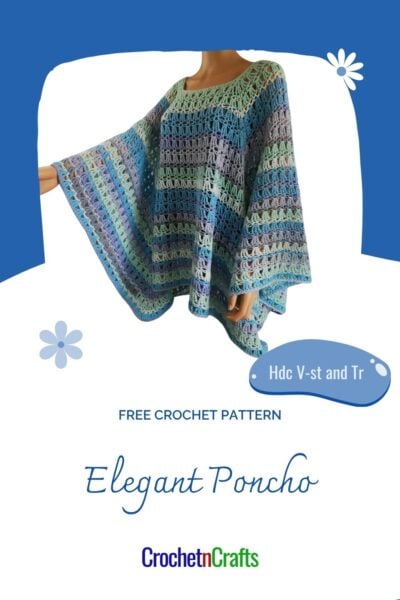
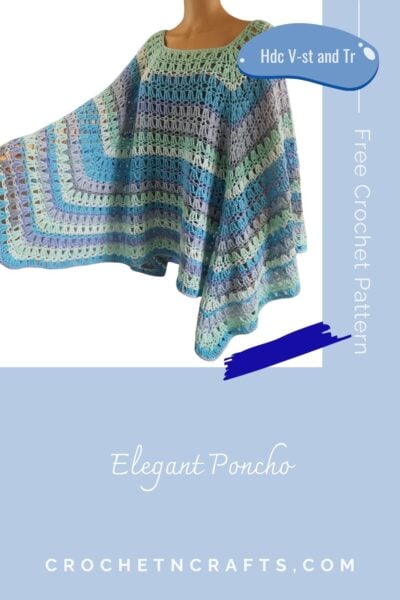
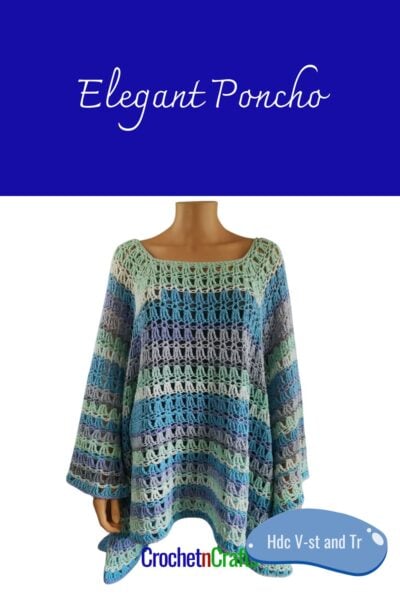
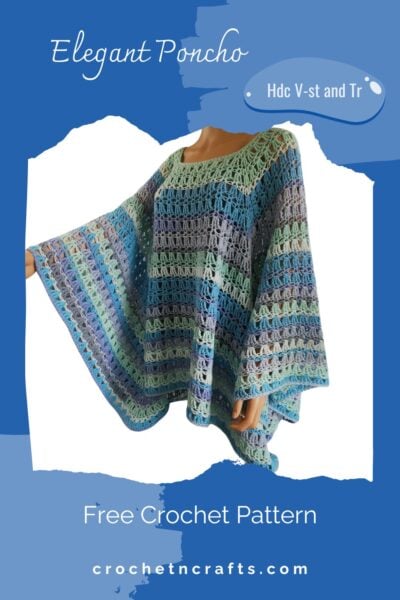
Are you ready for a stylish new poncho pattern? If so, you’ve found it! Not only is this an elegant poncho crochet pattern, but it is also easy to crochet.
The stitches are very simple, but when worked with a cotton-and-acrylic blend yarn, they give you a beautiful drape. I chose a self-striping yarn to give you lots of colors, without having to coordinate.
Make this crochet poncho pattern to any length you want simply by doing more or fewer repeats of the pattern rounds. The neckline can also be adjusted from child to adult in the stitch multiple provided within the pattern.
This is a square poncho, started off with a square neckline, and then worked down. If you love this type of design, you might also enjoy this summer poncho crochet pattern or this granny-stitch square poncho.
Get Your PDF Copy. Shop Etsy & Save 25% with coupon code: CNC25
Also in the Ravelry Bundle:
A few more patterns with this stitch will be added, and with each new addition, the price will go up.
Purchase today, and you’ll have access to new additions at no extra cost.


Subscribe for Free Crochet Patterns, Coupons, and Other Crafty Promotions.
You will also receive a PDF copy of the Simple Summer Poncho pattern.
Your email will not be shared. Unsubscribe any time. By subscribing, you agree to our privacy policy and terms of use.
Elegant Poncho Crochet Pattern Information
Skill Level: Easy
Materials
- Yarn: Caron Cotton Painterly Cakes (Worsted Weight, #4; 60% Cotton, 40% Acrylic; 8oz/227g; 481yds/440m) 3 balls (I had only a very small amount left of the third ball, so depending on how you crochet, you may need 4 balls.)
- Crochet Hook: H-5.00mm
- Tools: Measuring Tape, Scissors, Yarn Needle, Stitch Markers, Area or Mat for Blocking, Pins for Blocking.
Measurements
- Gauge: 13 sts/chs = 4″.
- Neck Circumference: Approximately 32″.
- Length from Neckline Down: Approximately 24″.
Crochet Abbreviations
- RS = Right Side
- WS = Wrong Side
- Beg V-st = Beginning V-Stitch
- Ch/Chs = Chain/Chains
- FO = Fasten Off
- Hdc = Half Double Crochet
- Rep = Repeat
- Rnd/Rnds = Round/Rounds
- Sc = Single Crochet
- Sk = Skip
- Sl St = Slip Stitch
- Sp/Sps = Space/Spaces
- St/Sts = Stitch/Stitches
- Tr = Triple Crochet
- V-St = V Stitch
Special Stitch Instructions
Beg V-st: Ch 3 (counts as first hdc and ch-1 sp), hdc in same st to complete the v-st.
V-st: (hdc, ch 1, hdc) in designated st.
See the Stitch Tutorial.
Video Tutorial for the Stitch Pattern
Elegant Poncho Crochet Pattern Instructions
Ch 96, or any multiple of 12, to get the neck opening you want. Join with sl st in first ch, being careful not to twist.
Rnd 1 (RS): Ch 1, working into back bumps, sc in same ch as join and into each ch around; join with sl st in first st. Do not turn yet. [96 sts]
Place markers to mark increasing points. Sk the st where join was made, place marker in next st. *Count over 24 sts and place next marker in 24th st. Rep from *. You should have 4 markers, with 23 sts in between each marker. Turn.
Making Adjustments: If you made adjustments to your starting chains, divide your number by 4 to give you the number of stitches to count for placing your markers. Example for a smaller neckline: 84 divided by 4 equals 21. In this case, you would place a stitch marker in every 21st stitch.
Rnd 2 (WS): With WS facing, sl st in first 2 sts, work beg v-st, *sk next 2 sts, [v-st in next st, sk next 2 sts] up to marked stitch; 3 v-sts in marked st, (move st marker up to the middle of the 3 v-sts to mark the corner); rep from * around; join with sl st in first hdc (2nd ch of beg v-st). Turn. [40 v-sts]
Rnd 3: Sl st into first v-st, ch 4 (counts as first tr, now and throughout pattern), work another 2 tr in same v-st, 3 tr into next v-st and into each v-st around, moving marker up to mark the 3 tr at the corner points; join with sl st in first tr (4th ch). Turn. [120 sts]
Rnd 4: Sl st in first 2 sts, work beg v-st, *[sk next 2 sts, v-st in next st] until you get to the 3 tr that mark the corner point; sk next st, v-st in next 3 sts at the corner. (Place marker into the middle v-st to mark the corner point.) Sk next st, v-st in next; rep from * around; join with sl st in first hdc (2nd ch of beg v-st). Turn. [48 v-sts]
Rnd 5: Sl st into first v-st, ch 4, work another 2 tr in same v-st, 3 tr into next v-st and into each v-st around, moving marker up to mark the 3 tr at the corner points; join with sl st in first tr (4th ch). Turn. [144 sts]
Rnd 6: Sl st in first 2 sts, work beg v-st, *[sk next 2 sts, v-st in next st]** until you get to the 3 tr that mark the corner point; sk next st, v-st in next 3 sts at the corner. (Place marker into the middle v-st to mark the corner point.) Sk next st, v-st in next; rep from * 3 times; then rep from * to ** for remaining stitches; join with sl st in first hdc (2nd ch of beg v-st). Turn. [56 v-st]
Rnds 7-36: Rep Rnds 5 and 6 until you have reached the desired size.
Rnd 37 (Last Rnd): Rep Rnd 5.
Optional Edging
With RS facing: Ch 1, sc evenly around; join with sl st in first sc. FO.