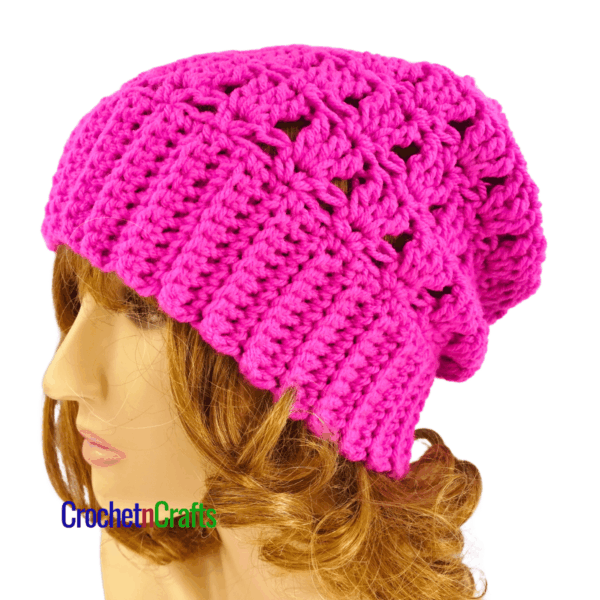
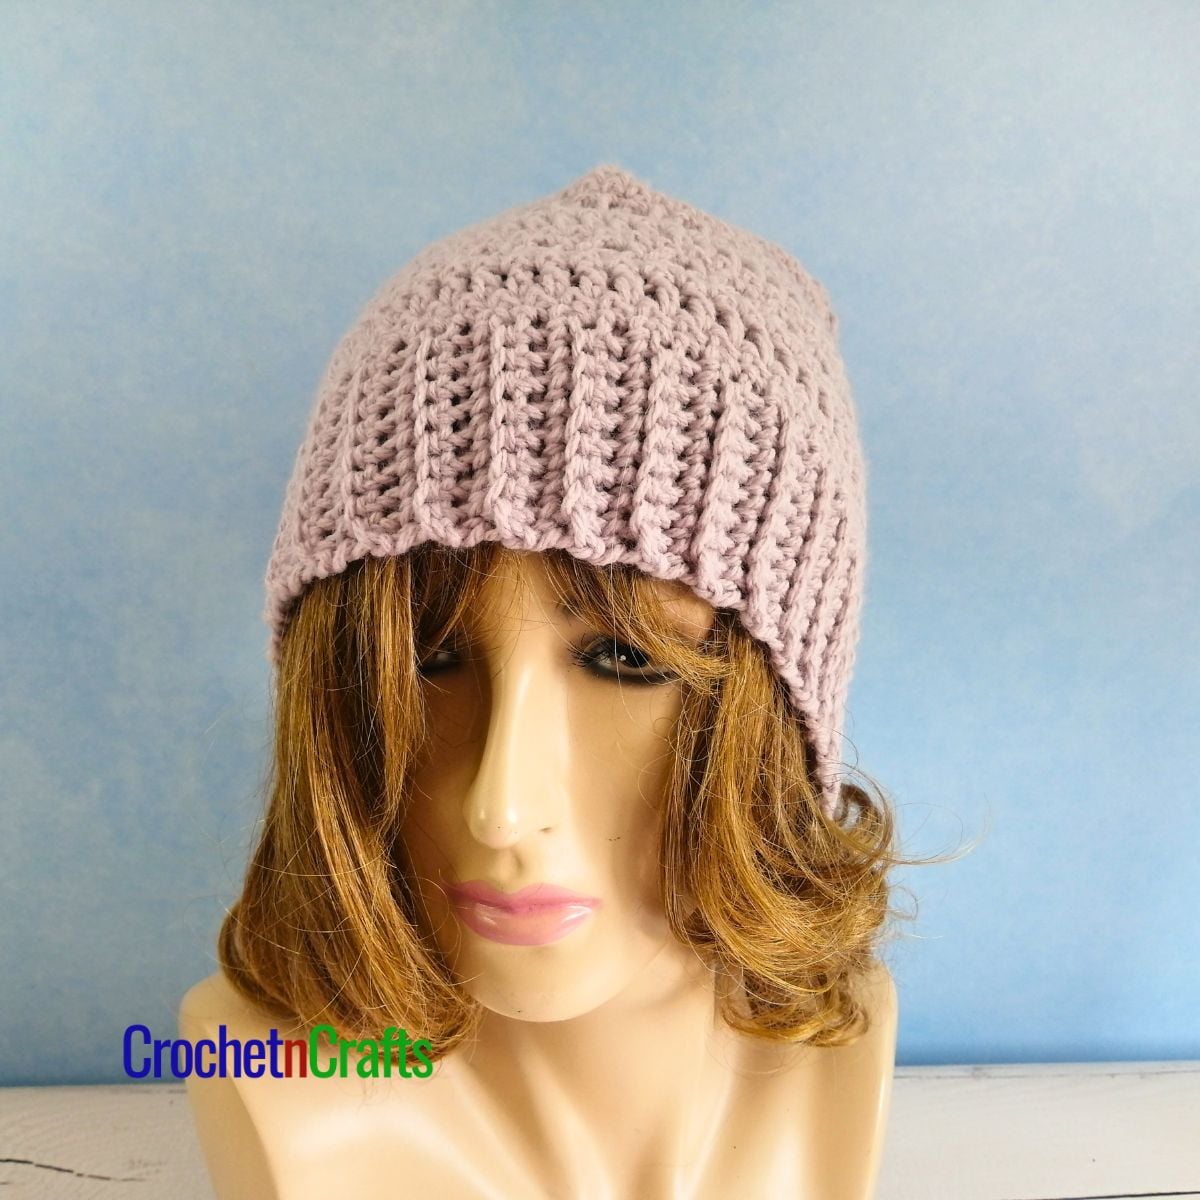
Simple Crochet Hat Pattern – Spring Lane
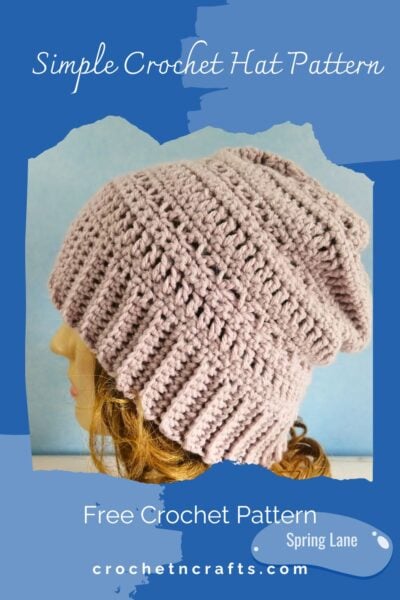
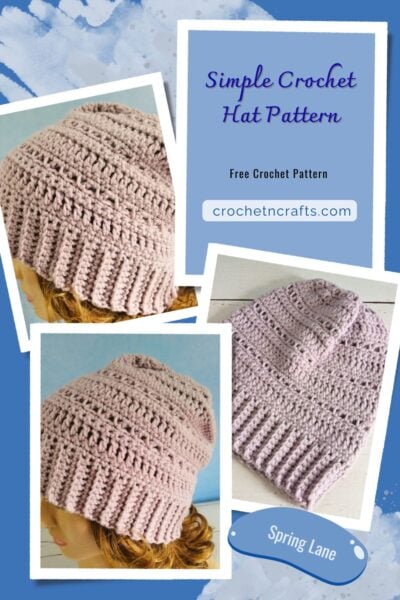
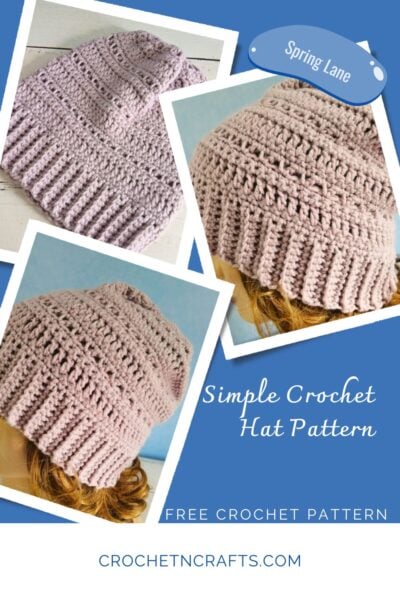
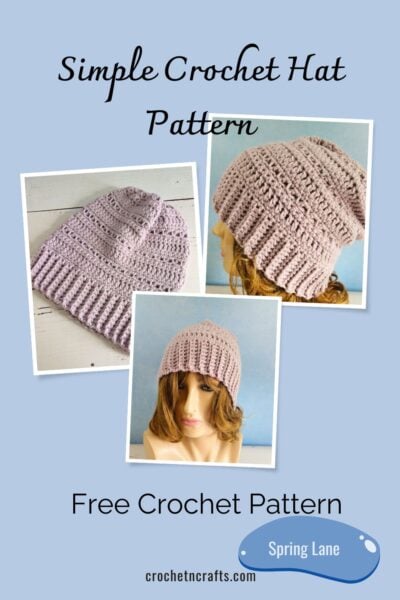
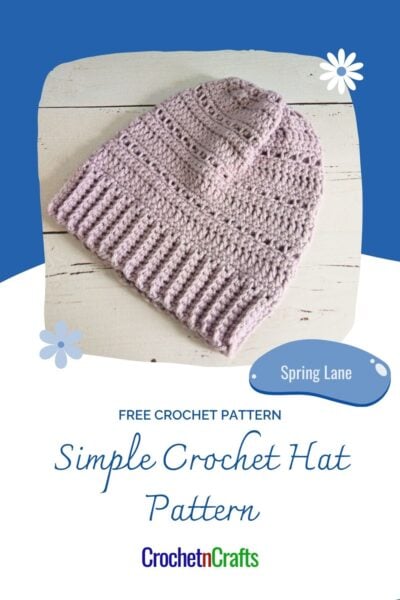


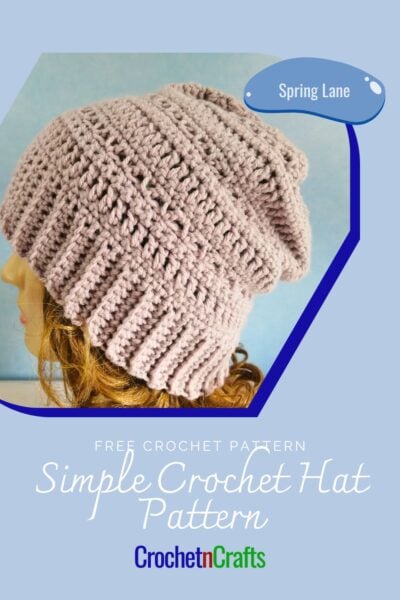
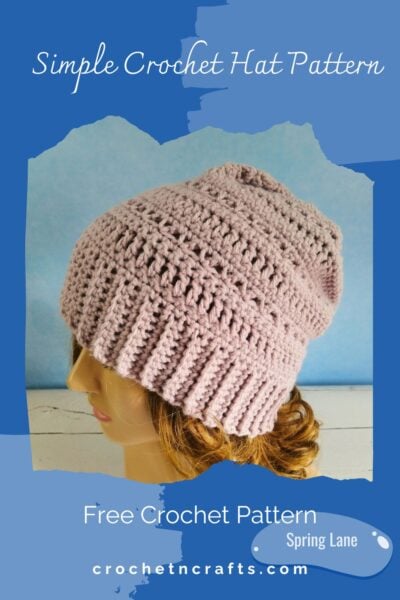
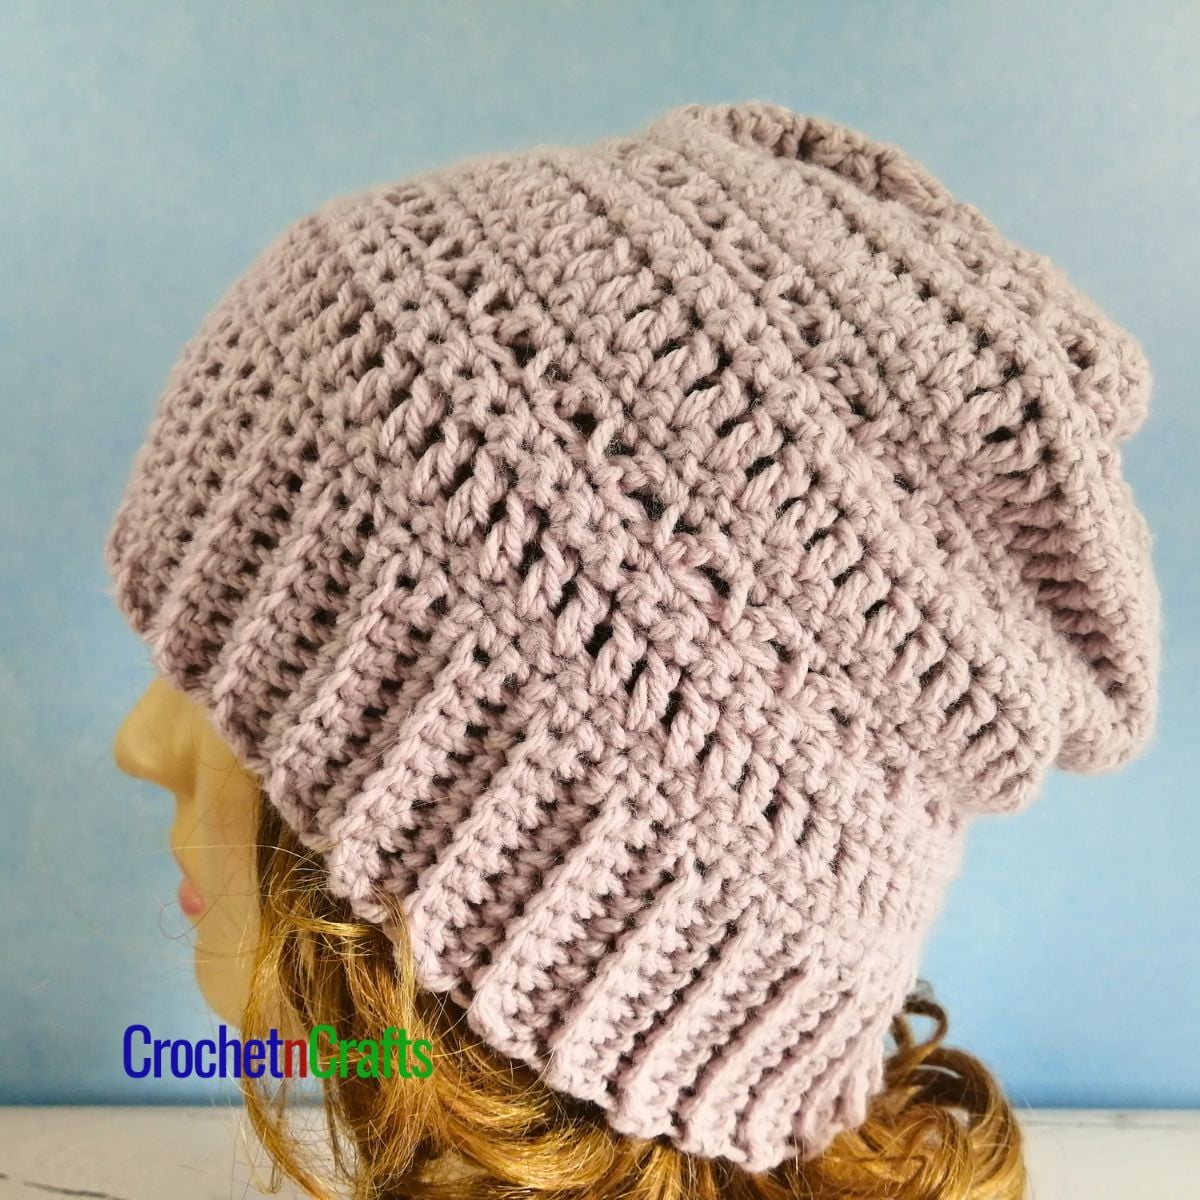
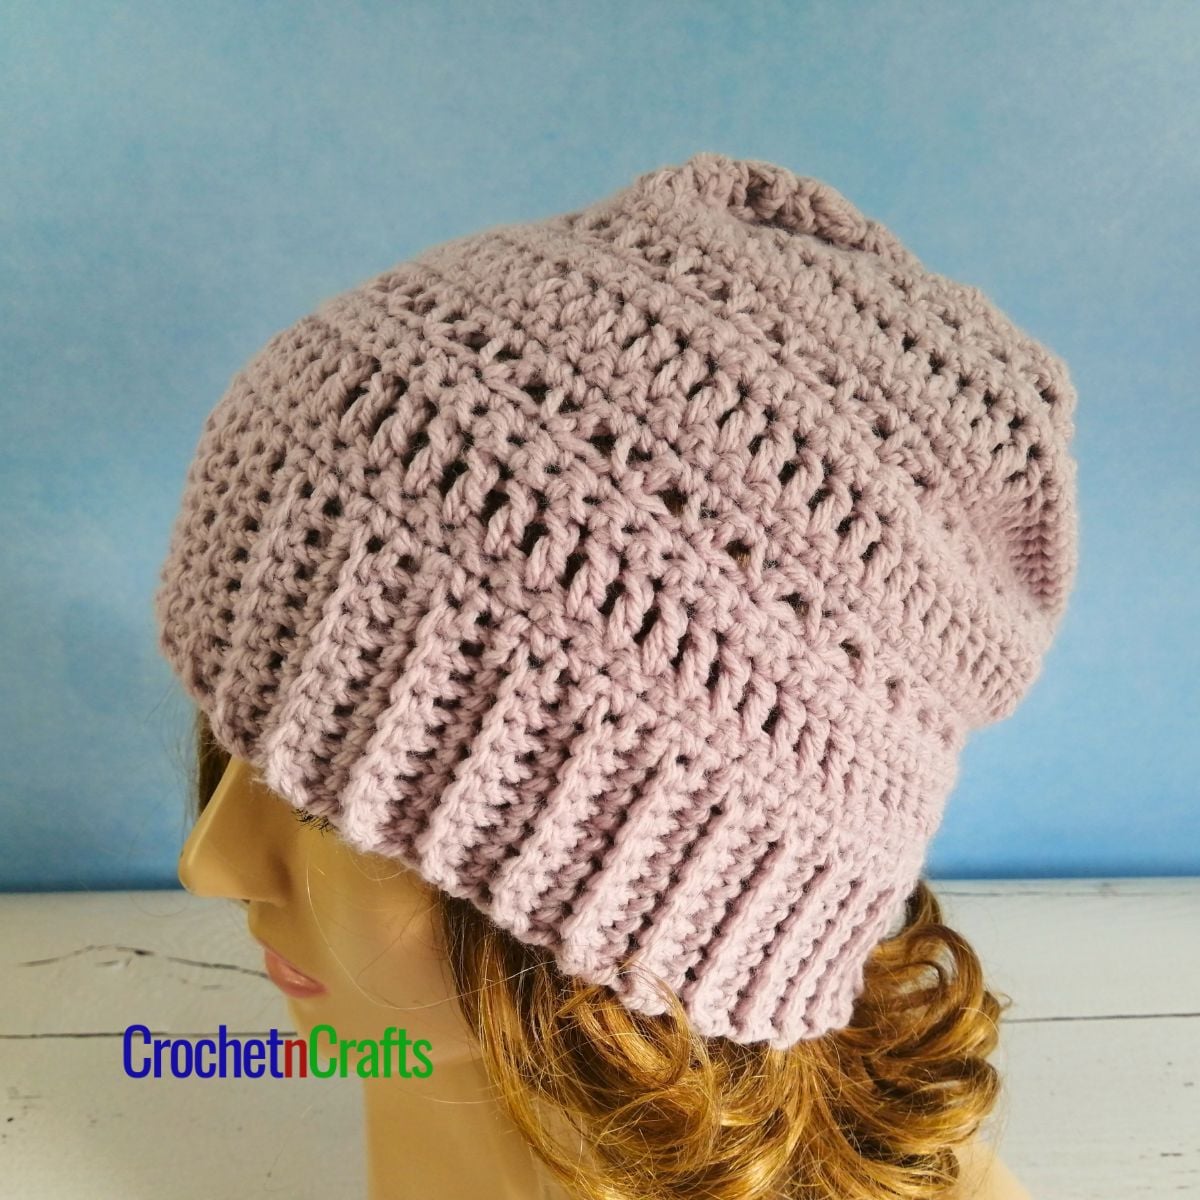
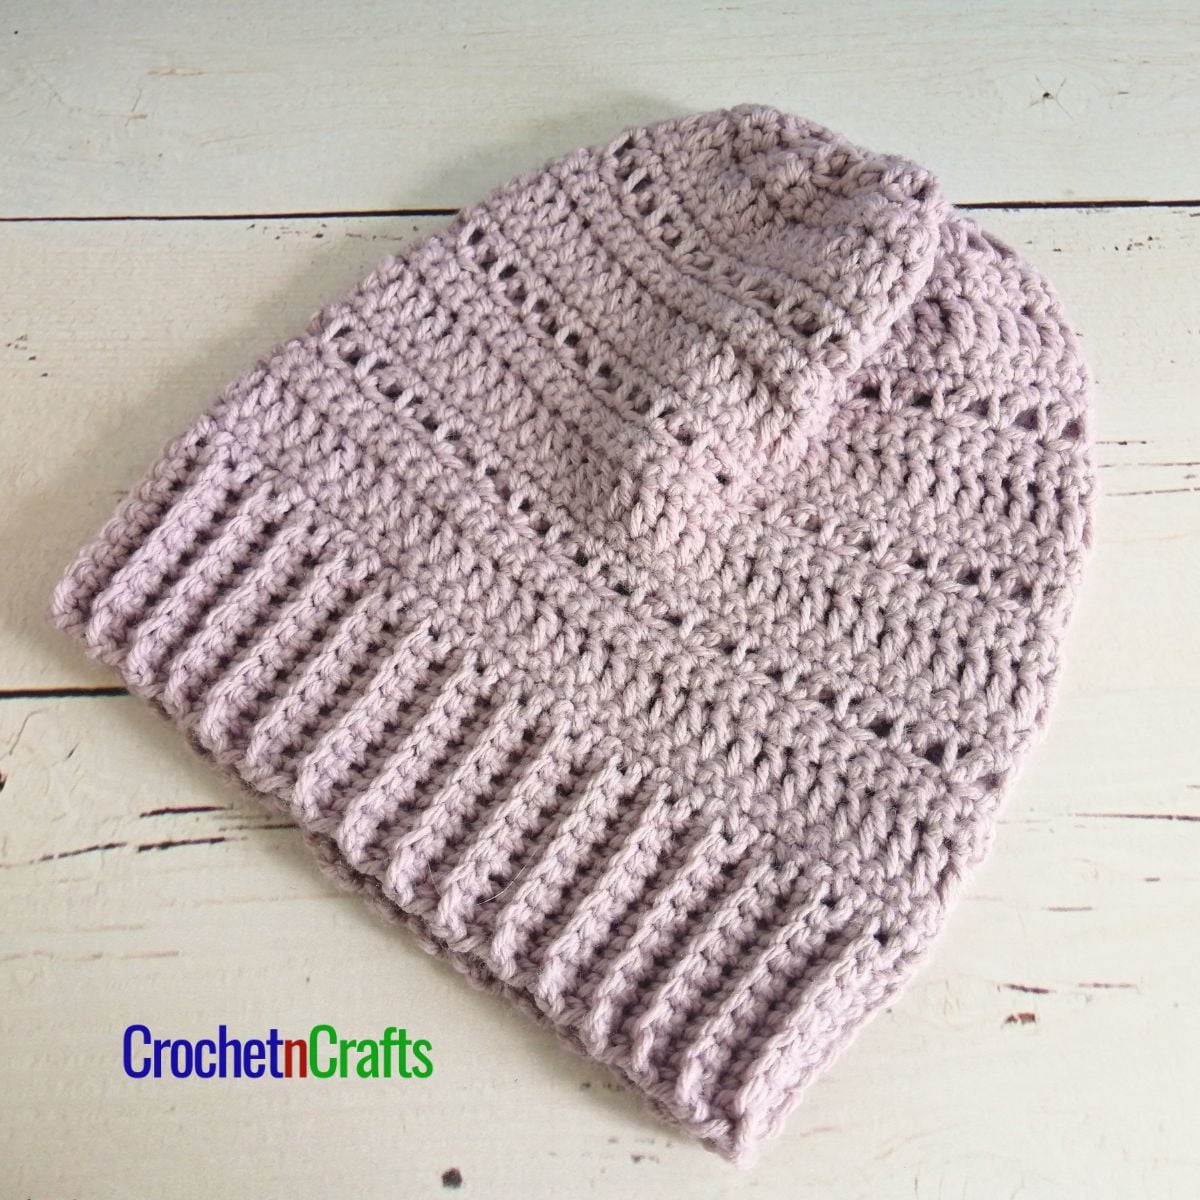
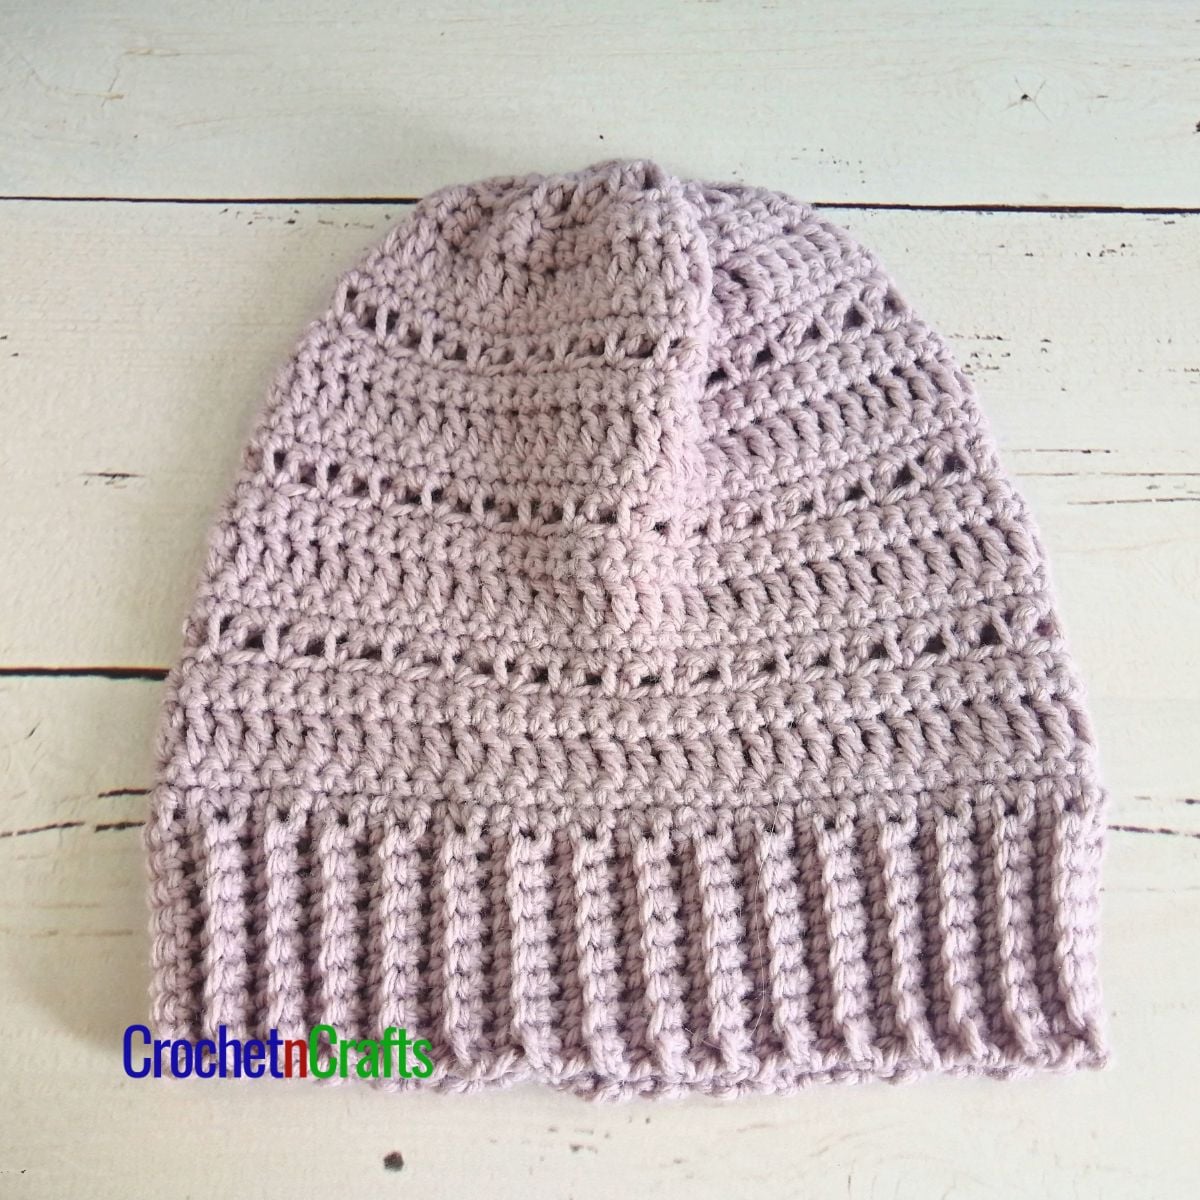
This simple hat crochet pattern is worked with easy stitches, making it a great project for advanced beginners ready to take their crochet to the next level. It incorporates an open stitch that gives the hat a somewhat lacy look.
Although simple, the stitch pattern results in a pretty fabric that crocheters of all skill levels will enjoy making and wearing. Plus, it is a quick and easy gift idea.
The size is given in one size, but it can easily be modified as needed, from child to adult. A crochet hat sizing guide is available to use as a reference.
For something even simpler, you might enjoy the single crochet beanie, or for something prettier, this shell stitch beanie is a good choice.

Subscribe for Free Crochet Patterns, Coupons, and Other Crafty Promotions.
You will also receive a PDF copy of the Pretty Simple Slouch Hat pattern.
Your email will not be shared. Unsubscribe any time. By subscribing, you agree to our privacy policy and terms of use.
Simple Crochet Hat Pattern Information
Skill Level: Easy
Materials
- Yarn: Lion Brand Yarns – Pound Of Love (Medium, #4; 100% Premium Acrylic; 1020yds/932m; 16oz./454g) Color: Quartz, 1 ball.
- Crochet Hook: J/10-6.00mm
- Other: Measuring Tape, Scissors, Yarn Needle.
Measurements + Size Chart
- Gauge: 13 sts = 4″.
- Finished Size: 19″ in circumference by 9.5″ tall.

Crochet Abbreviations
- Blsc = Back Loop Single Crochet
- Ch/Chs = Chain/Chains
- Dc = Double Crochet
- Esc = Extended Single Crochet
- Hk = Hook
- Lp/Lps = Loop/Loops
- Rep = Repeat
- Rnd/Rnds = Round/Rounds
- RS = Right Side
- Sc = Single Crochet
- Sc2tog = Single Crochet 2 Stitches Together
- Sk = Skip
- Sl St = Slip Stitch
- Sp/Sps = Space/Spaces
- St/Sts = Stitch/Stitches
- WS = Wrong Side
- YO = Yarn Over
Special Stitch Instructions
Extended Single Crochet (ESC): Insert hk in st indicated, yo and pull up a lp, yo and pull through 1 lp, yo and pull through both lps on hk.
Simple Crochet Hat Pattern Instructions
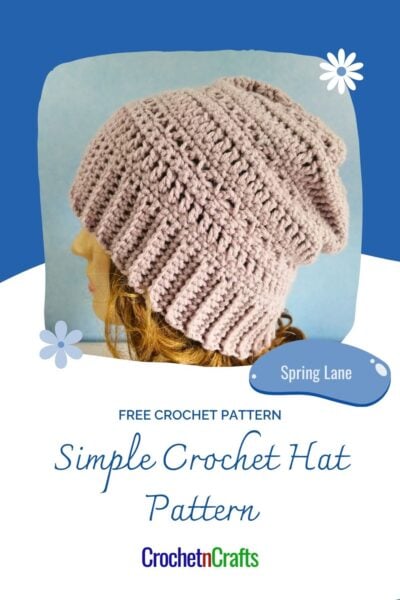
This easy crochet hat pattern is worked from the bottom up. It starts with the ribbing rows until you reach a desired circumference. The ribbing is then joined, and you begin working in the round until you have the desired height.
Ribbing Rows
Row 1: Ch 10, sc in 2nd ch from hk and into each ch across. Turn. [9 sc]
Rows 2-64: Ch 1, blsc in first st and into each st across. Turn. [9 sts] Continue this row until you reach the desired circumference, making sure to end on an even number of rows.
Ch 1 and join the ribbing rows by slip stitching the last row to the free lps of the starting chs. See this tutorial on how to crochet ribbing.
Working in the Round (Body of Hat)
Rnd 1: (RS) Working along the ribbing edge, ch 1, sc in the end of the first row and into each row around; join with sl st in first sc. Turn. [64 sts]
Rnd 2 (WS): Ch 1, sc in first st and into each st around; join with sl st in first sc. Turn. [64 sts]
Rnd 3: Ch 2 (does not count as st), dc in first st and into each st around; join with sl st in first dc. Turn. [64 sts]
Rnd 4: Rep Rnd 2.
Rnd 5: Rep Rnd 2.
Rnd 6: Ch 1, (esc, ch 1) into first st, *sk next st, (esc, ch 1) in next st; rep from * around; sk last st; join with sl st in first esc. Turn. [32 ch-1 sps]
Rnd 7: Ch 1, sc in first ch-1 sp and into each st and ch-1 sp around; join with sl st in first sc. Turn. [64 sts]
Rnds 8-24: Rep Rnds 2-7, ending last repeat with Rnd 6.
Rnd 25: Ch 1, sc in first ch-1 sp and into each ch-1 sp around; join with sl st in first sc. Turn.[32 sts]
Rnd 26: Ch 1, sc2tog around; join with sl st in first sc2tog. [16 sts]
Fasten off, leaving an 8″-10″ tail to weave in through last Rnd. Pull tight to close and secure. Leave as is, or add an optional pom pom.