Crochet Ribbing
In this tutorial I’m going to show you how to crochet ribbing from start to finish. The tutorial not only covers how to make it, but also how to join edges, and crochet along the edge, as well as how to attach a crochet vertical ribbing in the round.

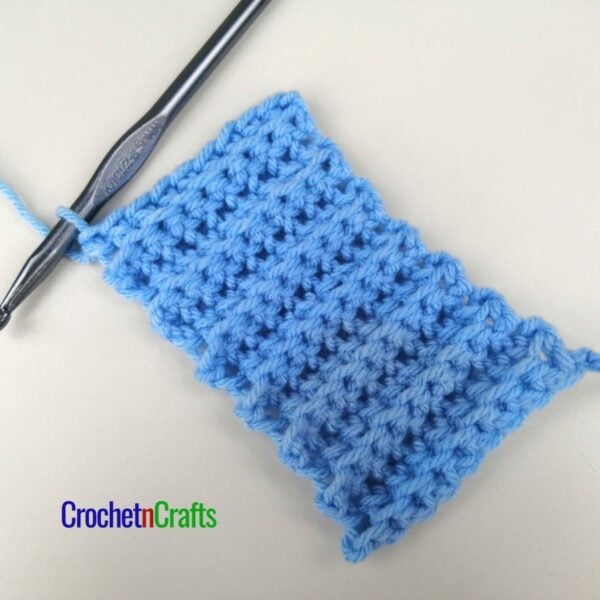
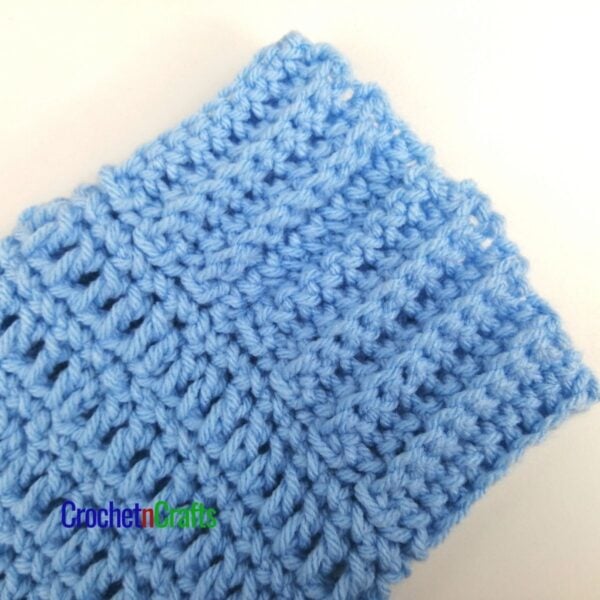
The rib stitches are made simply by working into the back loops only. This leaves the front loops free and raised up slightly. It gives you a zig-zag shape in the fabric, which then gives you an amazing amount of stretch.
It’s the perfect stitch to add a nice stretchy brim to a hat, fingerless gloves, leg warmers and many other projects.

The vertical rib stitch is perfect for hat brims to make them more comfortable to wear. Other projects where you can use this is in fingerless gloves and legwarmers. You can also use this technique to create an elegant sweater and other tops, shawls, cowls and other creations.
You can add a vertical ribbing into any crochet project that you like for added stretch and texture! The technique shown here makes it super easy to work it along the bottom and top edges, as well as in the middle of any project!
Best of all, it is easy enough for a beginner to master.

For this tutorial I used a worsted weight yarn, but any yarn weight will work with the crocheted rib stitch.
Free Crochet Patterns That Use this Technique
- Easy Crochet Hat Pattern
- Crochet Bernat Satin Legwarmers
- Criss Cross Fingerless Gloves Crochet Pattern
- Criss Cross Slouchy Beanie
- Pretty Simple Slouch Hat Crochet Pattern

Crochet Ribbing
Skill Level
Materials
- Yarn Used for This Tutorial: Lion Brand Pound of Love (Medium, #4; 100% Premium Acrylic; 1020yds/932m; 16oz./454g)
- Crochet Hook: K/6.5mm
- Other: Measuring Tape, Scissors, Yarn Needle.
Helpful Links
Instructions
Crocheting the Ribbing
- Chain 10 for the foundation chain, also known as the starting chain. You can make any number of chains that you need to obtain the width of the ribbing suitable for your project.
- For the first row, work your first single crochet into the 2nd chain from the hook.
- I like to catch the top two strands of the chains, but you can also go with just the top. Just be consistent with whatever you choose.
- Single crochet into each chain across. You should have one less stitch than the number of starting chains. (In this case I started with 10 chains, and ended up with 9 stitches.)
- Chain 1, and turn your work.
- At the 2nd row begin to work your single crochet stitches into the back loops only.
- To do that, insert hook into the back loop of the stitch and work the single crochet as normal. This is also known as the "back loop single crochet".
- Here the first back loop single crochet is complete.
- Continue to back loop single crochet across. You can start to see the ribbed texture to form because you're only catching that back loop.
- Chain 1, turn, and back loop single crochet into each stitch across. Repeat until you have the length that you need.
How to Join the Ribbing
- Chain 1, and turn your work the same as if you were going to work another row. Then fold the ribbing in half so the last row aligns with the free loops of the starting chains.
- Going into the back loops only and into the free loops of the starting chains, slip stitch the two ends together.
- The seam is worked from the wrong side. Below the wrong side is shown.
- Flip your work so the seam falls on the inside. Below is the right side, and it is next to invisible!
Working Along the Ribbing Edge
- Now you can begin to work along the ribbing edge. You can work this round with any type of stitch, but in general, I like to work one round of single crochet stitches.
- Chain 1, then work 1 single crochet into the end of each ribbing row.
- Unless you are shaping, you should have the same number of stitches in your first round as you did for the ribbing rows. I had 30 ribbing rows and 30 stitches for this round.
- Join the round with a slip stitch and continue in pattern.
How to Attach Crochet Vertical Ribbing In the Round
- The last part of this tutorial shows how to attach a crochet vertical ribbing in the round.
- If not already attached, of if you're changing colors, join the yarn with a slip stitch to the edge where you want the ribbing attached.
- Then chain as many as the pattern says or as many as you want. In my case, I chained 10 again.
- Single crochet into the 2nd chain from the hook and into each chain across. Again, you should have one less stitch than the starting chains.
- To make it easier to see the stitches, place a stitch marker in the last stitch made. This is where the first back loop single crochet will go.
- Slip stitch into the same stitch as where you made the join for the chains. Slip stitch into the next stitch. Then place a second stitch marker.
- When making these slip stitches, go under both top loops of the crochet stitches.
- The two slip stitches are complete. Do not crochet into them.
- Turn your work. Do NOT chain 1 at this point. The 2nd slip stitch counts as your turning chain.
- Back loop single crochet into the marked stitch.
- Continue to back loop single crochet to the end of the row. Chain 1, turn, and back loop single crochet back again. The marked stitch is where the first slip stitch goes. You can remove the marker or move it ahead two stitches.
- Slip stitch into the first two stitches. Then turn and repeat as in previous steps until you are all the way around.
- Here the crochet vertical ribbing round is complete. All that is left to do is to make the join.
- The first step is to turn your work inside out. That way you can seam from the wrong side.
- Your hook and the active loop are in an awkward position now. Remove the hook from the loop.
- Insert your hook through the top free loop of the starting chains and pick up the active loop.
- Pull the loop through to secure the top of the ribbing.
- Slip stitch across by catching the free loops of the starting chains and the front loops of the last row worked.
- Here is a slightly different view.
- Here the seam is complete. Finish off and weave in your end.
- Turn your work right side out, and you're done!
Video
Crochet Stitch Tutorials
See More Crochet Stitches


Utterly amazing and clear. Thanks a million