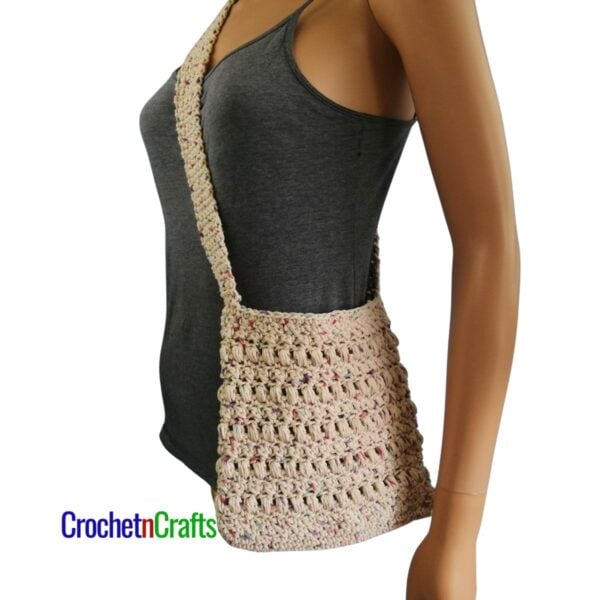
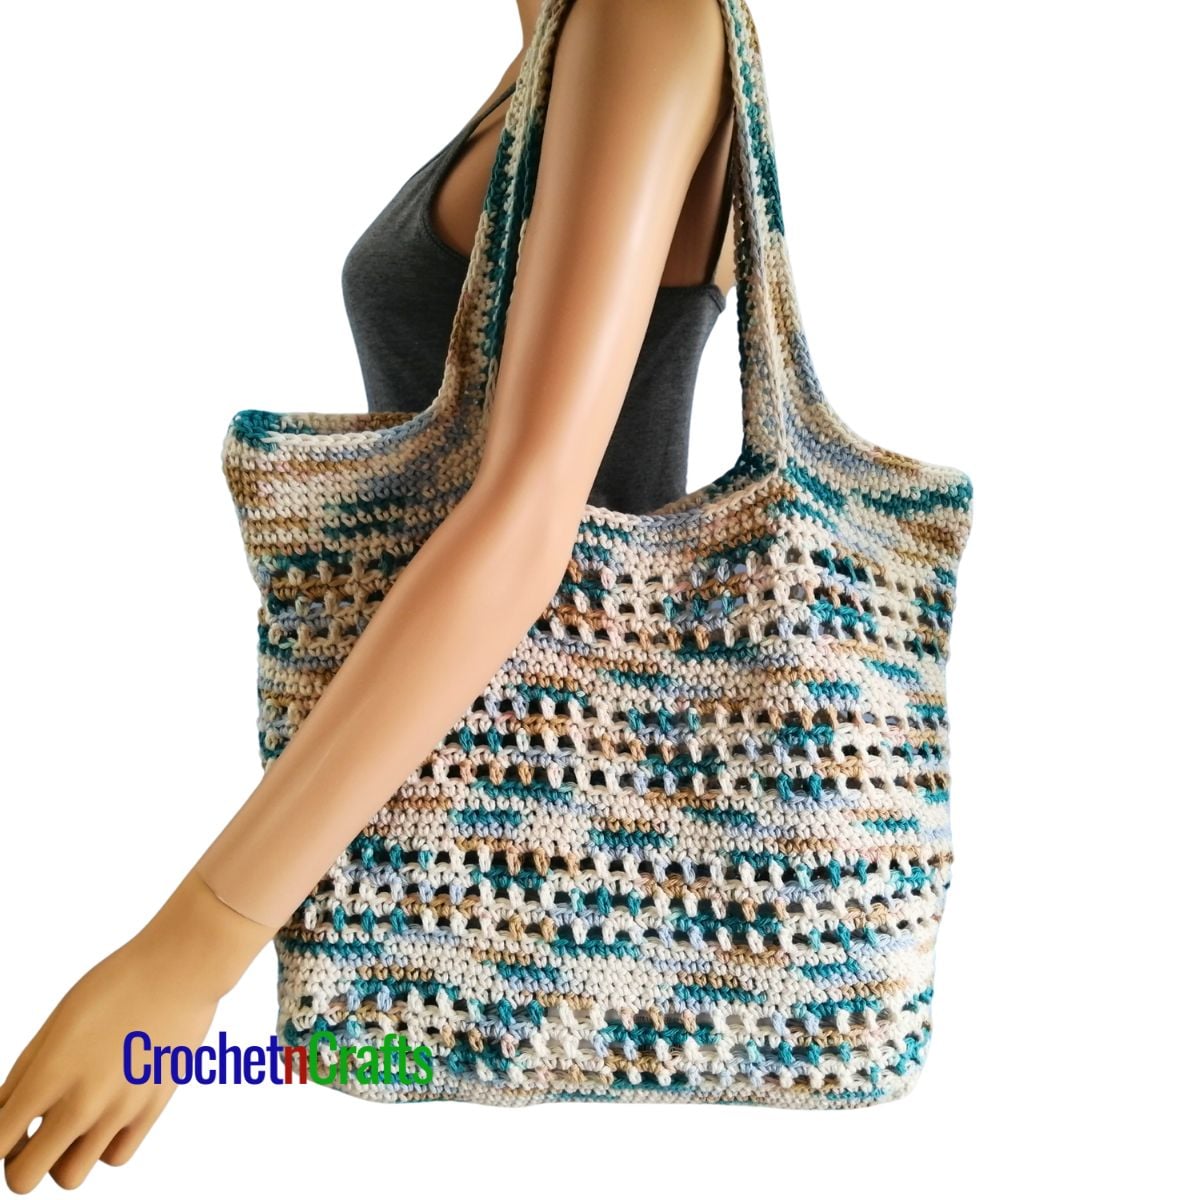
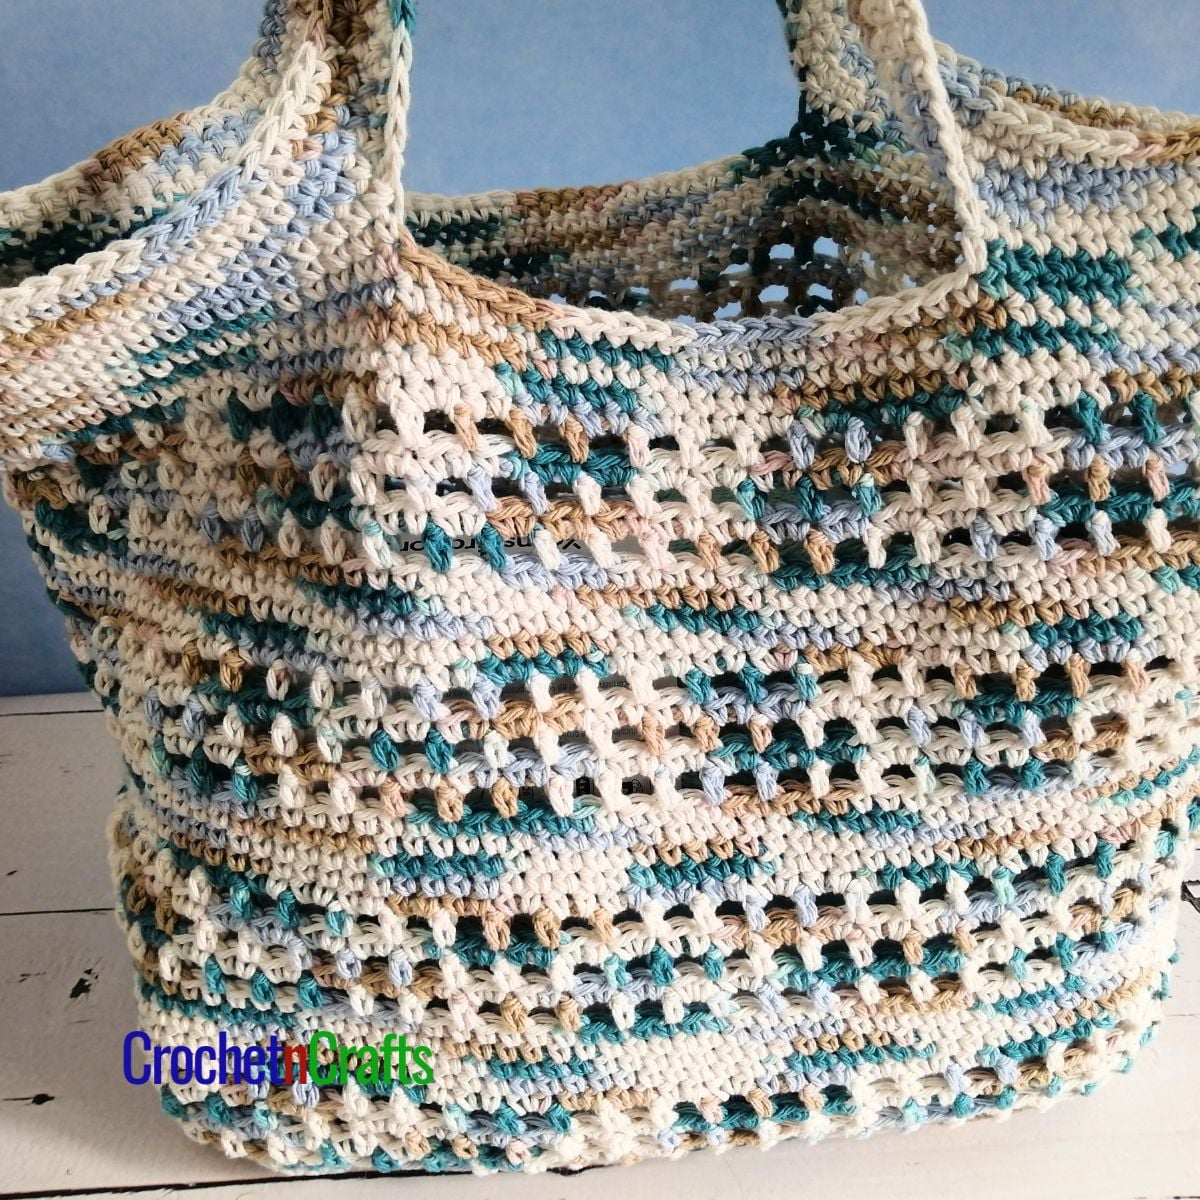
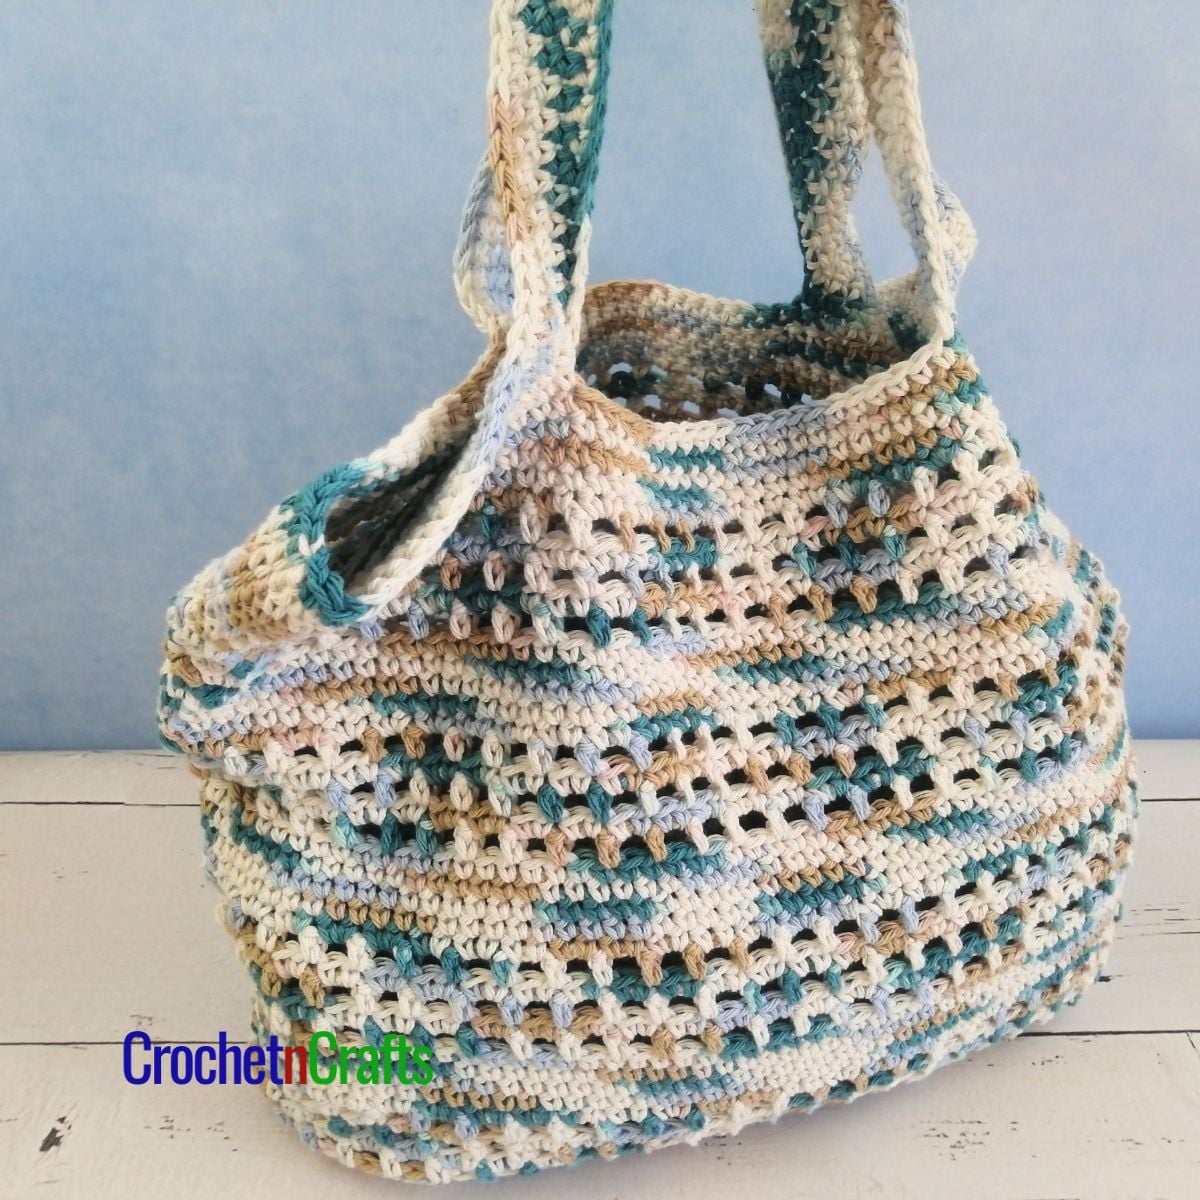
Easy Crochet Tote Bag Pattern for Beginners – Beginner Eyelets

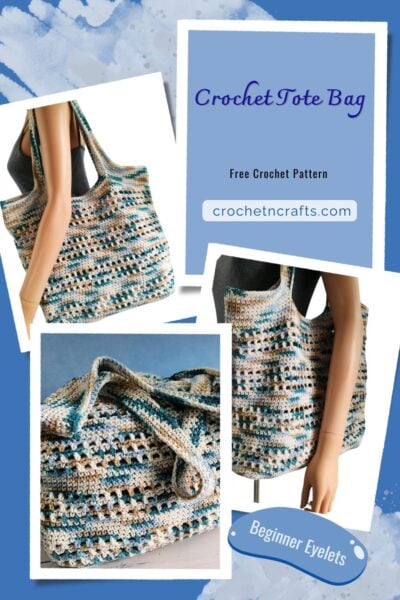
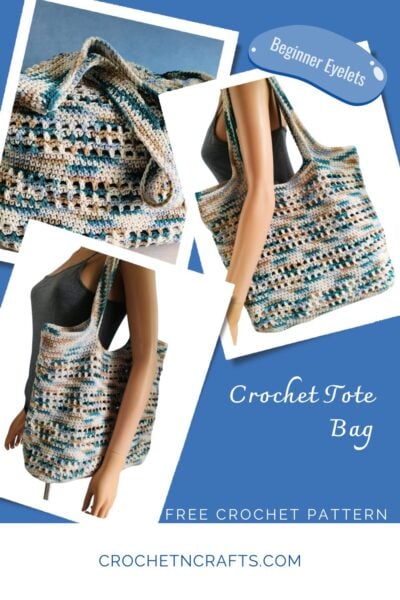
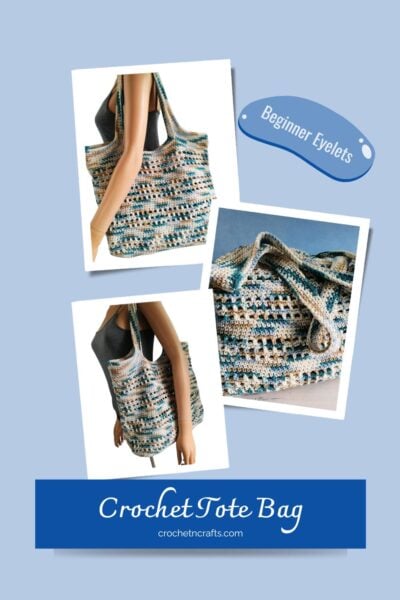

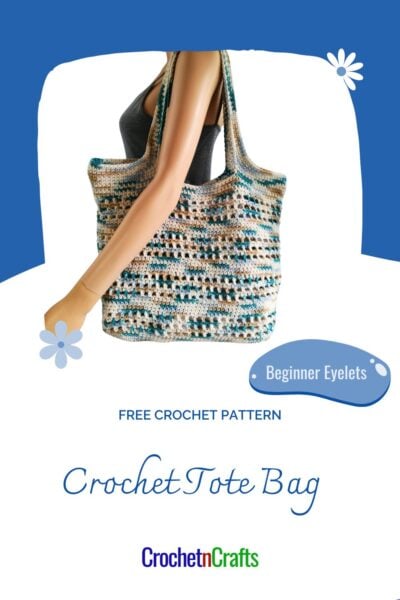
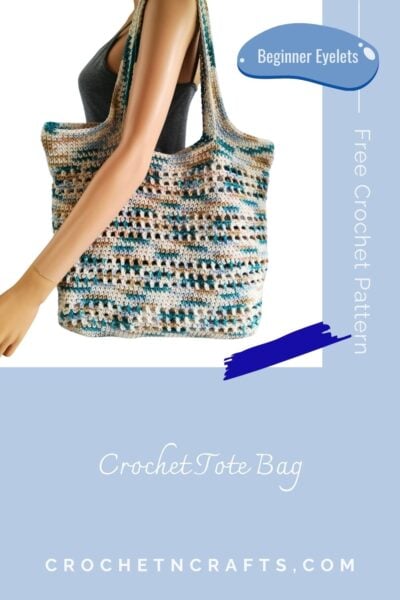

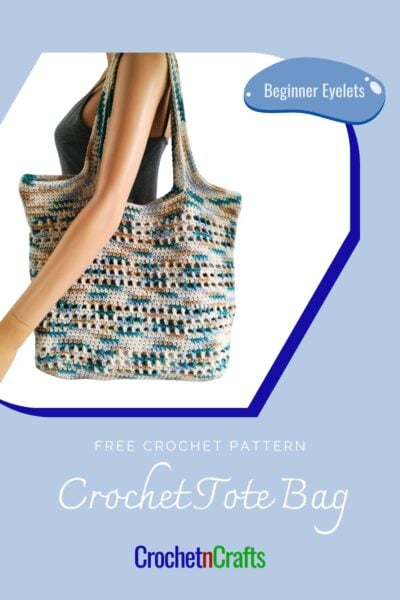
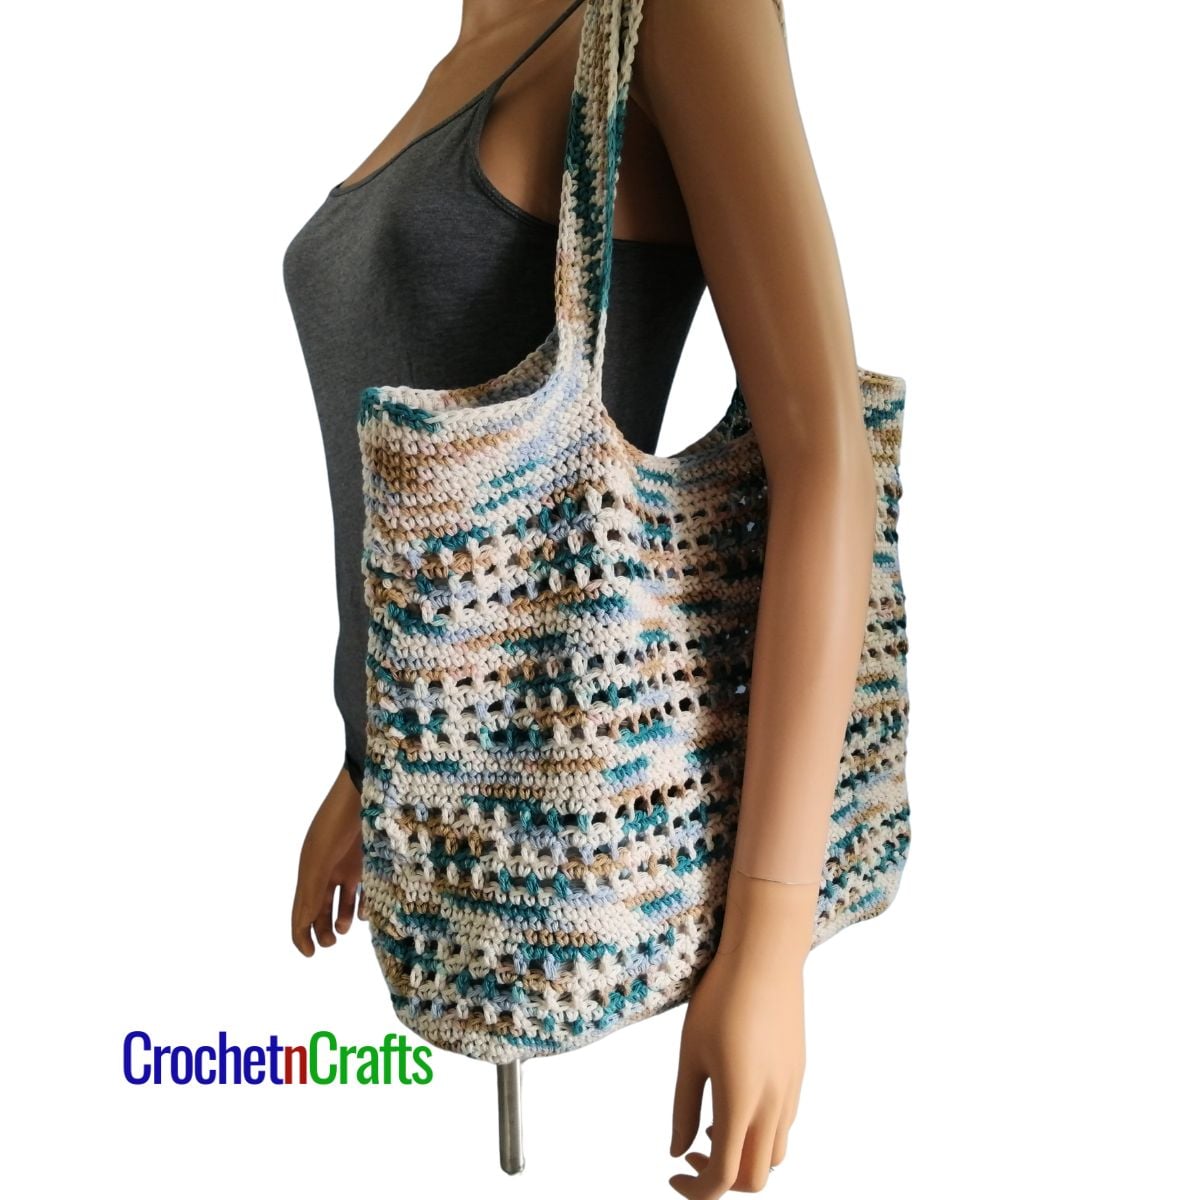
If you can make single crochet stitches and chain spaces, then you can make this easy crochet tote bag pattern for beginners. While ideal for absolute crochet beginners, the open stitches created in this bag are pretty enough that crocheters of all skill levels will want to make this.
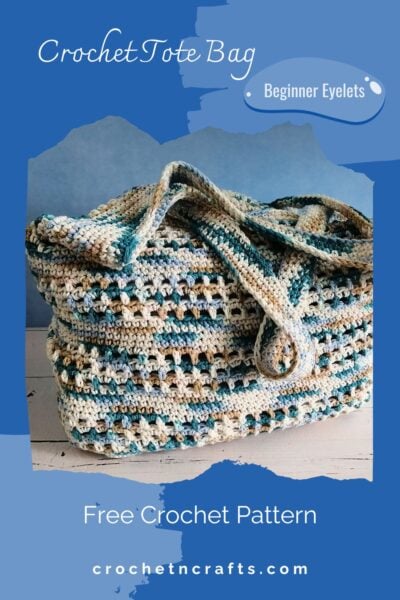
I chose a summer ombre colorway for my yarn, but choose any solid color, or use up your cotton scraps to make a stylish crochet bag for yourself.
For this easy crochet bag pattern, I revisited one of the first crochet patterns that I published: Small Beginner Crochet Bag. The bag is similar, except this one is much roomier. Another awesome bag for beginners is this Single Crochet Bag. One done, line your bag using this crochet bag liner tutorial.

Subscribe for Free Crochet Patterns, Coupons, and Other Crafty Promotions.
You will also receive a PDF copy of the Beads and Diamonds Purse pattern.
Your email will not be shared. Unsubscribe any time. By subscribing, you agree to our privacy policy and terms of use.
Easy Crochet Tote Bag Pattern Information
Skill Level: Beginner
Materials
- Yarn: Bernat Handicrafter Cotton (Worsted Weight, #4; 100% Cotton; 340g/12oz; 524m/673yds) Color: By the Sea, 1 ball
- Crochet Hook: H/8-5.00mm
- Other: Measuring Tape, Scissors, Stitch Markers, Yarn Needle.
Measurements
- Gauge: 13 st = 4″
- Finished Measurements:
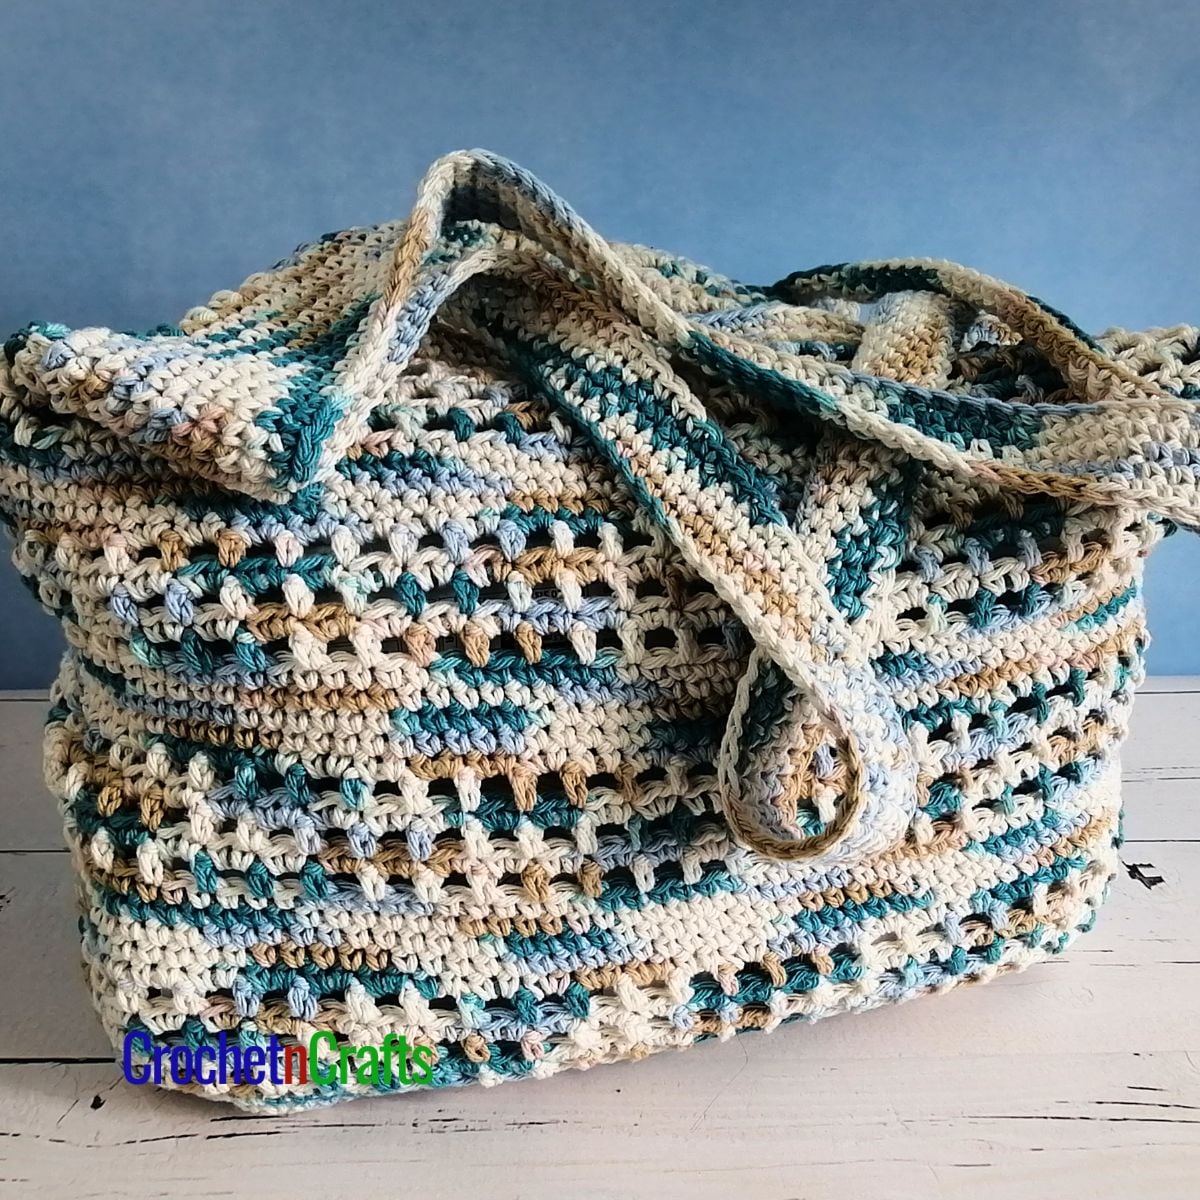
- Base: 14″ by 6″
- Circumference: 35″
- Top to Bottom along the side (not counting the handles): 11″
Crochet Abbreviations
- Ch/Chs = Chain/Chains
- Rep = Repeat
- Rnd/Rnds = Round/Rounds
- Sc = Single Crochet
- Sk = Skip
- Sl St = Slip Stitch
- Sp/Sps = Space/Spaces
- St/Sts = Stitch/Stitches
Easy Crochet Tote Bag Pattern Instructions
This beginner-friendly crochet bag pattern starts at the bottom and is worked up to the top in one piece, including the handles.
The Bottom
Rnd 1: Loosely ch 28, sc in 2nd ch from hook and into next 25 chs, 3 sc in last ch. Working on opposite side of starting chs, sc in free loops of next 25 chs, 2 sc in last ch; join with sl st in first sc. [56 sts]
Rnd 2: Ch 1, 3 sc in same st as join, *sc in next 25 sts, 3 sc in next st, sc in next st*, 3 sc in next st; rep from * to * once; join with sl st in first sc. [64 sts]
Rnd 3: Ch 1, sc in same st as join, *3 sc in next st, sc in next 27 sts, 3 sc in next st*, sc in next 3 sts; rep from * to * once, then sc in last 2 sts; join with sl st in first sc. [72 sts]
Rnd 4: Ch 1, sc in same st as join and into next st, *3 sc in next st, sc in next 29 sts, 3 sc in next st*, sc in next 5 sts; rep from * to * once, then sc in last 3 sts; join with sl st in first sc. [80 sts]
Rnd 5: Ch 1, sc in same st as join and into next 2 sts, *3 sc in next st, sc in next 31 sts, 3 sc in next st*, sc in next 7 sts; rep from * to * once, then sc in last 4 sts; join with sl st in first sc. [88 sts]
Rnd 6: Ch 1, sc in same st as join and into next 3 sts, *3 sc in next st, sc in next 33 sts, 3 sc in next st*, sc in next 9 sts; rep from * to * once, then sc in last 5 sts; join with sl st in first sc. [96 sts]
Rnd 7: Ch 1, sc in same st as join and into next 4 sts, *3 sc in next st, sc in next 35 sts, 3 sc in next st*, sc in next 11 sts; rep from * to * once, then sc in last 6 sts; join with sl st in first sc. [104 sts]
Rnd 8: Ch 1, sc in same st as join and into next 5 sts, *3 sc in next st, sc in next 37 sts, 3 sc in next st*, sc in next 13 sts; rep from * to * once, then sc in last 7 sts; join with sl st in first sc. [112 sts]
The Body of the Bag
Rnds 9-12: Ch 1, sc in same st as join and in each st around; join with sl st in first sc. [112 sts]
Rnd 13: Ch 1, (sc, ch 2) in same st as join, *sk next st, (sc, ch 2) in next st; rep from * around to last st, sk last st; join with sl st in first sc. [56 ch-2 sps]
Rnd 14: Sl st into ch-2 sp, ch 1, work 2 sc into same sp and into each sp around; join with sl st in first sc. [112 sts]
Rnds 15-18: Rep Rnds 13-14.
Rnds 19-52: Rep Rnds 9-18, ending last rep Rnd 12.
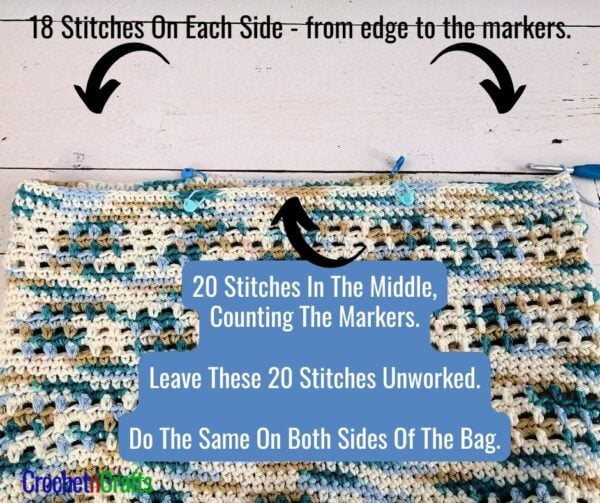
Handles
Lay the bag flat to place your markers for the handles. Count over 18 sts on the sides of the bag and place a stitch marker in the 19th stitch. Counting the stitch markers, you should have 20 sts marked off in the middle. Do the same on the other side. Stitch markers should align on each side of the bag. Do not crochet into the 20 stitches in the middle. Here is a tutorial.
Note: To keep things even, I like to crochet into the back bumps of the chains made for the handles.
Rnd 53: Ch 1, sc in same st as join and into each st up to marked st, *loosely ch 60 (or any number depending on how long or short you want the handles), sk the 20 sts marked off in the middle*, sc in next 36 sts; rep from * to * once; then sc in remaining sts; join with sl st in first sc. [72 sts and 120 chs]
Rnd 54: Ch 1, sc in same st as join and into each st and ch around; join with sl st in first sc. [192 sts]
Rnds 55-59: Ch 1, sc in same st as join and into each st around; join with sl st in first sc. [192 sts] Fasten Off.
Free Crochet Bag Patterns
See More Crochet Bag Patterns.