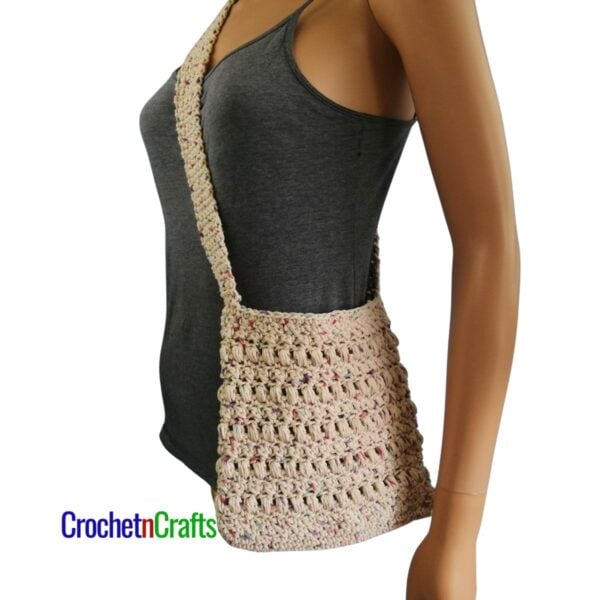
Cross-Over Long DC Pouch
This crochet pouch is another pattern done with the cross-over double crochet stitch. You can use it to hold smaller items together in a big bag, as a small makeup bag, or for whatever else you might need it.

This page is for the pattern only, and I have not provided a tutorial on how to line it or how to insert a zipper. Depending on what you need it for, you might not have to line it, but I would definitely recommend putting in a zipper. If you’d like to see how it is done, let me know and I’d be happy to put together some images for both the lining and the zipper.
If you like this stitch, you might also enjoy the matching patterns: a brim hat, twisted cowl, a pair of fingerless gloves and a cellphone cozie and a coin purse. Another pattern to come with this stitch is a purse. So if you like this one, stay tuned by subscribing to my newsletter and you’ll be notified the same week it is published. Hope you enjoy.
Patons Canadiana


Cross-Over Long DC Pouch
Skill Level
Materials
- Yarn: Patons Canadiana (One 100g/3.5oz. ball),
- Hook Size: 4.50mm,
- Other: Measuring Tape, Scissors, Yarn Needle.
Measurements
- Gauge: Measures 2" across 8 sts and over 4 hdc rows.
- Finished Size: When laying flat it measures 6.5" across and 5" from top to bottom.
Abbreviations
- Bl/bls = Back Loop/Back Loops
- Ch/Chs = Chain/Chains
- Dc = Double Crochet
- FO = Fasten Off
- Hdc = Half Double Crochet
- Hk = Hook
- Rep = Repeat
- Rnd/Rnds = Round/Rounds
- Sc = Single Crochet
- Sc2tog = Single Crochet 2 Stitches Together
- Sk = Skip
- Sl St = Slip Stitch
- St/Sts = Stitch/Stitches
- Crochet Abbreviations and Terms are in American.
Special Stitch Instructions
- Cross-Over Long Double Crochet: Yarn over and insert the hook from front to back into designated stitch. Yarn over at the back and pull through. You should have three loops on your hook. Yarn over and pull through two loops. Yarn over and pull through last two loops.
- Cross Over Long Double Crochet
Note
- The first stitch in the round is the stitch wherein the join was made.
Instructions
- Ch 28,
- Rnd 1: Hdc in 2nd ch from hk and in next 25 chs, 3 hdc in last ch; turn work and hdc in free loops of next 25 chs, work another 2 hdc in last ch; join with sl st. (56 sts)
- Rnd 2: Ch 1, working in bl only, sc in first st and in each st around; join with sl st to first sc. (56 sts)
- Rnds 3-9: Ch 1, hdc in first st and in next 2 sts, cross-over long dc in last st of previous rnd, *sk next st, hdc in next 3 sts, cross-over long dc in skipped st; rep from * around; join with sl st to first hdc. (56 sts)
- Rnd 10: Ch 1, sc2tog over first 2 sts, sc in next 2 sts, *sc2tog over next 2 sts, sc in next 2 sts; rep from * around; join with sl st to first sc. (48 sts)
- Rnd 11: Ch 1, sc in first st and in each st around; join with sl st in first sc. FO.
- Take your zipper and pin it to the inside of the pouch making sure that both ends are aligned. With a needle and thread secure the zipper on both sides. If you like, you can also line the pouch with a small piece of fabric.
- Another thing that you can do is to add a wrist band to it and wear it as a wristlet. If you want to do this, I would recommend you do it before you add the zipper. Or, you can also attach the band to the outside of the pouch, which will work just as well.