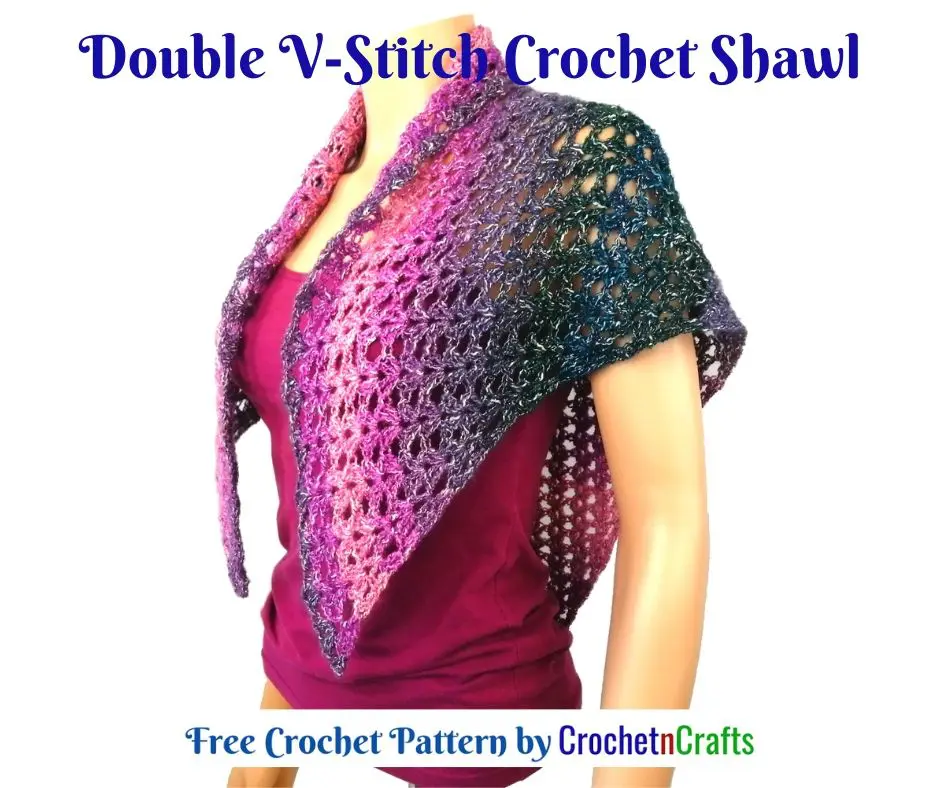
Double V-Stitch Crochet Shawl

Here is a crochet shawl that you can make for anyone in your circle of friends. The v shawl crochet pattern can easily be adjusted to any size you want by doing more or fewer repeats of the pattern rows, thus perfect for making a small neckerchief or an oversized shawl with many styling options.
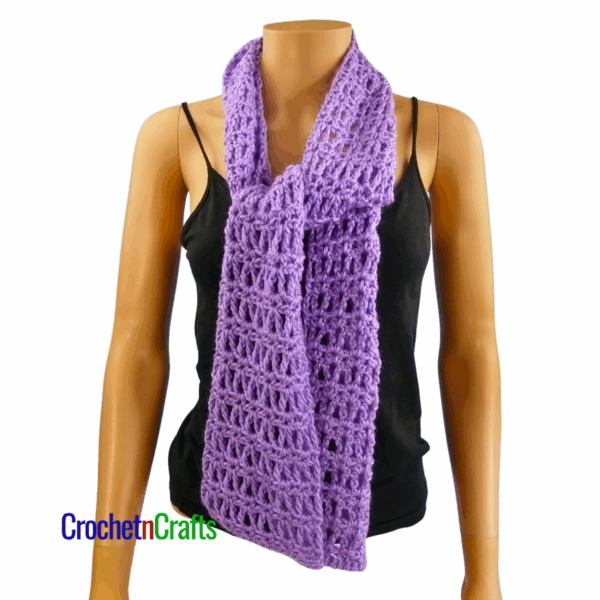
It’s worked up in a split shell, also known as a double v-stitch. It’s one of my favorite stitch patterns, not only because it’s pretty, but also because it’s mindless and relaxing to work on.
Because I used a self-striping yarn, I decided to omit an edging. However, I did provide basic instructions on how to single crochet around. From there, you can then choose any edging you like.


Get Your PDF Copy. Shop Etsy & Save 25% with coupon code: CNC25
You might also enjoy my pattern collection:
9 Crochet Shawls – Lightweight and Rectangular


Subscribe for Free Crochet Patterns, Coupons, and Other Crafty Promotions.
You will also receive a PDF copy of the Crochet Shawl Patterns – PDF Download.
Your email will not be shared. Unsubscribe at any time. By subscribing, you agree to our privacy policy and terms of use.
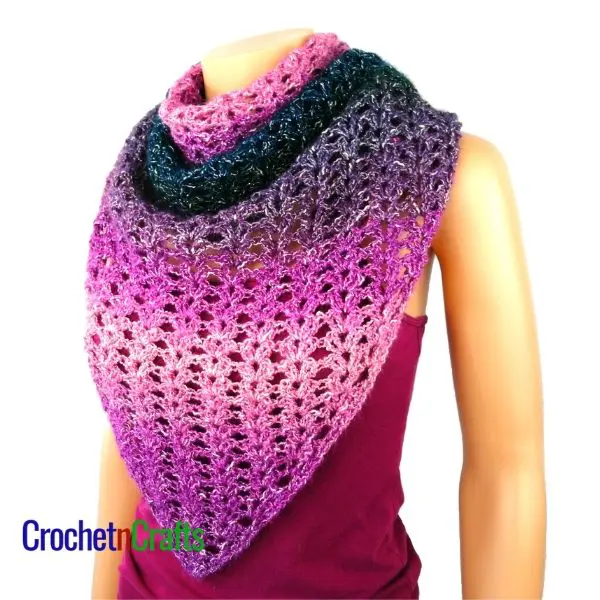
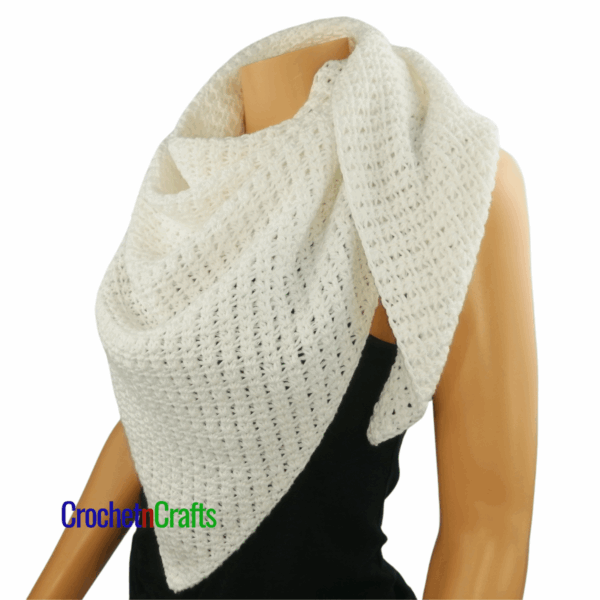
How to Wear a Crochet Shawl
This v-shaped shawl crochet pattern has a long point, which makes it ideal for tying around the neck as a cozy scarf that hangs down at the front. It’s perfect for wearing underneath a light jacket that is open or slightly open.
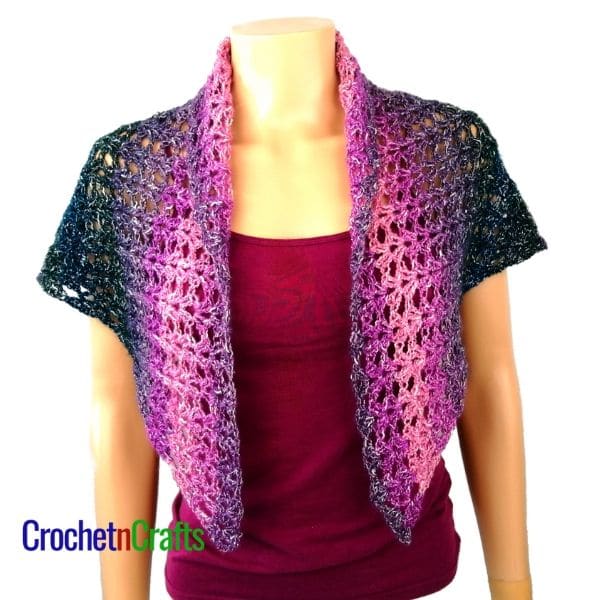
If you want to turn this into an oversized shawl, you would have many other styling options as well. Depending on how big you make it, you can drape it over the shoulders for a cozy shoulder wrap, and in the summer, it can be worn as a beach cover.
V Shawl Crochet Pattern Information
Skill Level: Easy
Materials
- Yarn: Lion Brand Yarns – Shawl in a Ball (Medium Weight, #4; 61% Cotton, 34% Acrylic, 5% Other Fiber; 481yds/440m; 5.3oz./150g) Color: Lotus Blossom, 1 ball
- Crochet Hook: H 5.00mm
- Other: Scissors, Yarn Needle.
Finished Size
45″ wide by 27″ deep.
Abbreviations
- Ch/Chs = Chain/Chains
- Dc = Double Crochet
- Dv-St = Double V-Stitch
- Sc = Single Crochet
- Sk = Skip
- Sp/Sps = Space/Spaces
- St/Sts = Stitch/Stitches
- V-St = V Stitch
Special Stitch Instructions
- Dv-st: (2 dc, ch 1, 2 dc) in designated st or sp.
- V-st: (dc, ch 1, dc) in designated sp.
Double V-Stitch Crochet Triangular Shawl Pattern Instructions
Row 1: Ch 4, 4 dc in 4th ch from hook, (skipped chs count as first dc). Turn. [5 dc]
Row 2: Ch 3 (counts as first dc, now and throughout pattern), dc in first st, sk next st, dv-st in next st, sk next st, 2 dc in last st. Turn. [4 dc and 1 dv-st]
Row 3: Ch 3, dc in first st, ch 1, dv-st in next dv-st, ch 1, 2 dc in last st. Turn. [4 dc, 2 ch-1 sps and 1 dv-st]
Row 4: Ch 3, dc in first st, v-st in first ch-1 sp, dv-st in next dv-st, v-st in next ch-1 sp; 2 dc in last st. Turn. [4 dc, 2 v-sts and 1 dv-st]
Row 5: Ch 3, dc in first st, dv-st in first v-st and into each dv-st and v-st across; 2 dc in last st. Turn. [4 dc and 3 dv-sts]
Row 6: Ch 3, dc in first st, ch 1, dv-st into next dv-st and into each dv-st across; ch 1, 2 dc in last st. Turn. [4 dc, 2 ch-1 sps and 3 dv-sts]
Row 7: Ch 3, dc in first st, v-st in first ch-1 sp, dv-st in next dv-st and into each dv-st across to last ch-1 sp, v-st in last ch-1 sp; 2 dc in last st. Turn. [4 dc, 2 v-sts and 3 dv-st]
Rows 8-50: Rep Rows 5-7, ending last rep at row 5. Fasten Off.
Optional Edging
If you’re working with a solid color and would like to add an edging, do not fasten off at row 50. Turn and continue with Row 51.
Row 51: Ch 1, 2 sc in first st, sc in next st and into each st and ch across to last st, 2 sc in last st. Turn.
Edging: Ch 1, sc evenly around, increasing at each corner so that it lies flat. Join with a slip stitch in the first st. Fasten Off.
More Free Crochet Patterns


V-Stitch Crochet Patterns
See More V-Stitch Crochet Patterns.