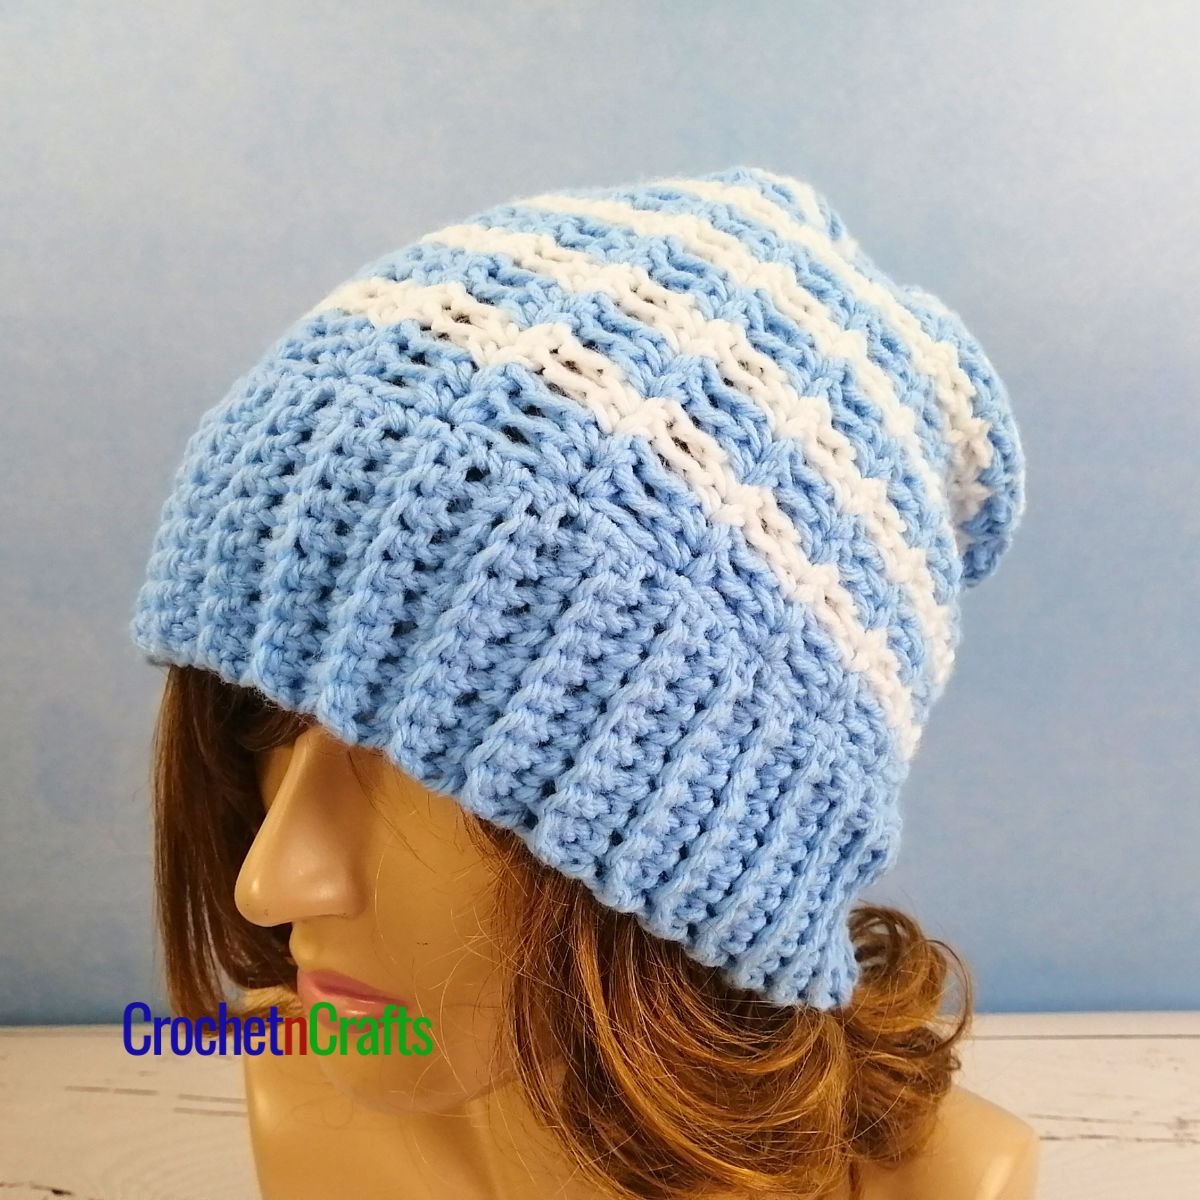
Crochet Hat Pattern – Spaced Spider Stitch

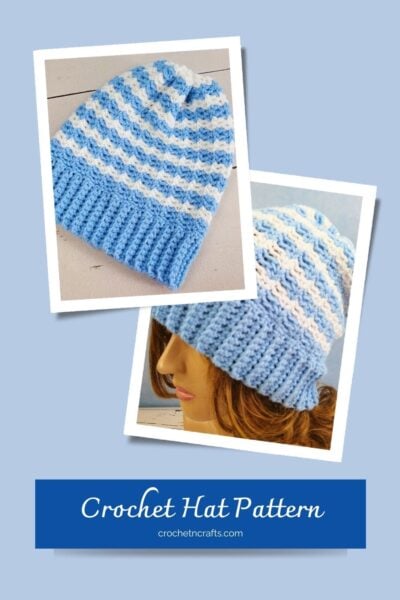


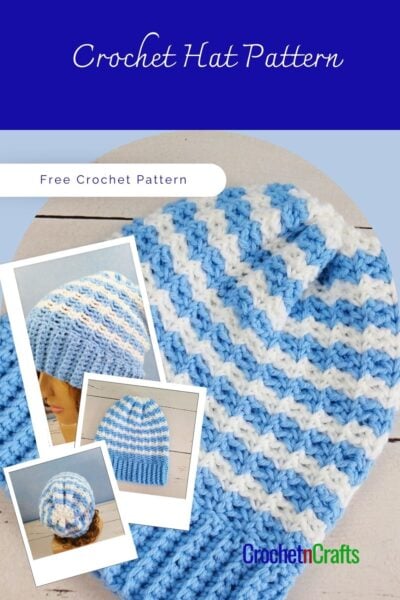


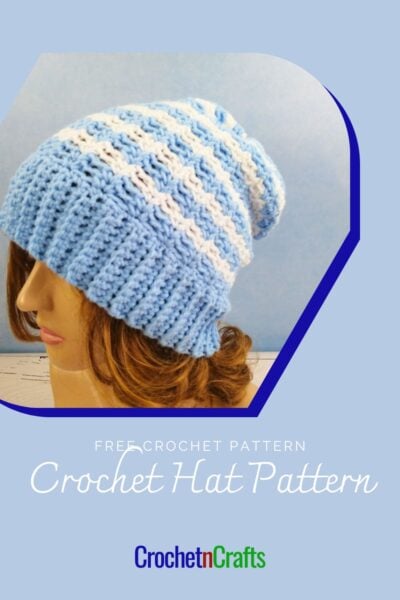
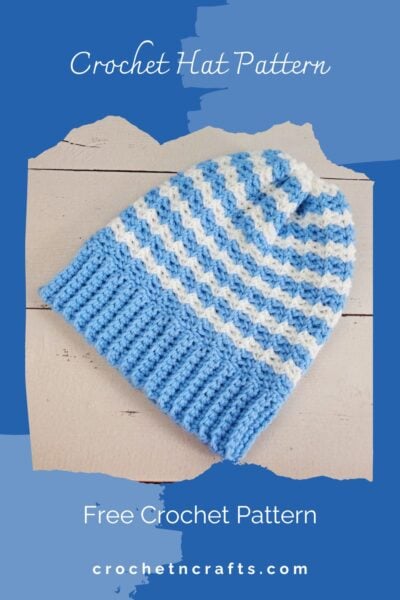
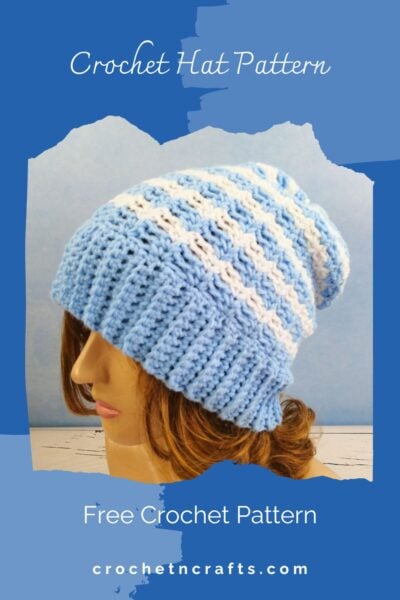
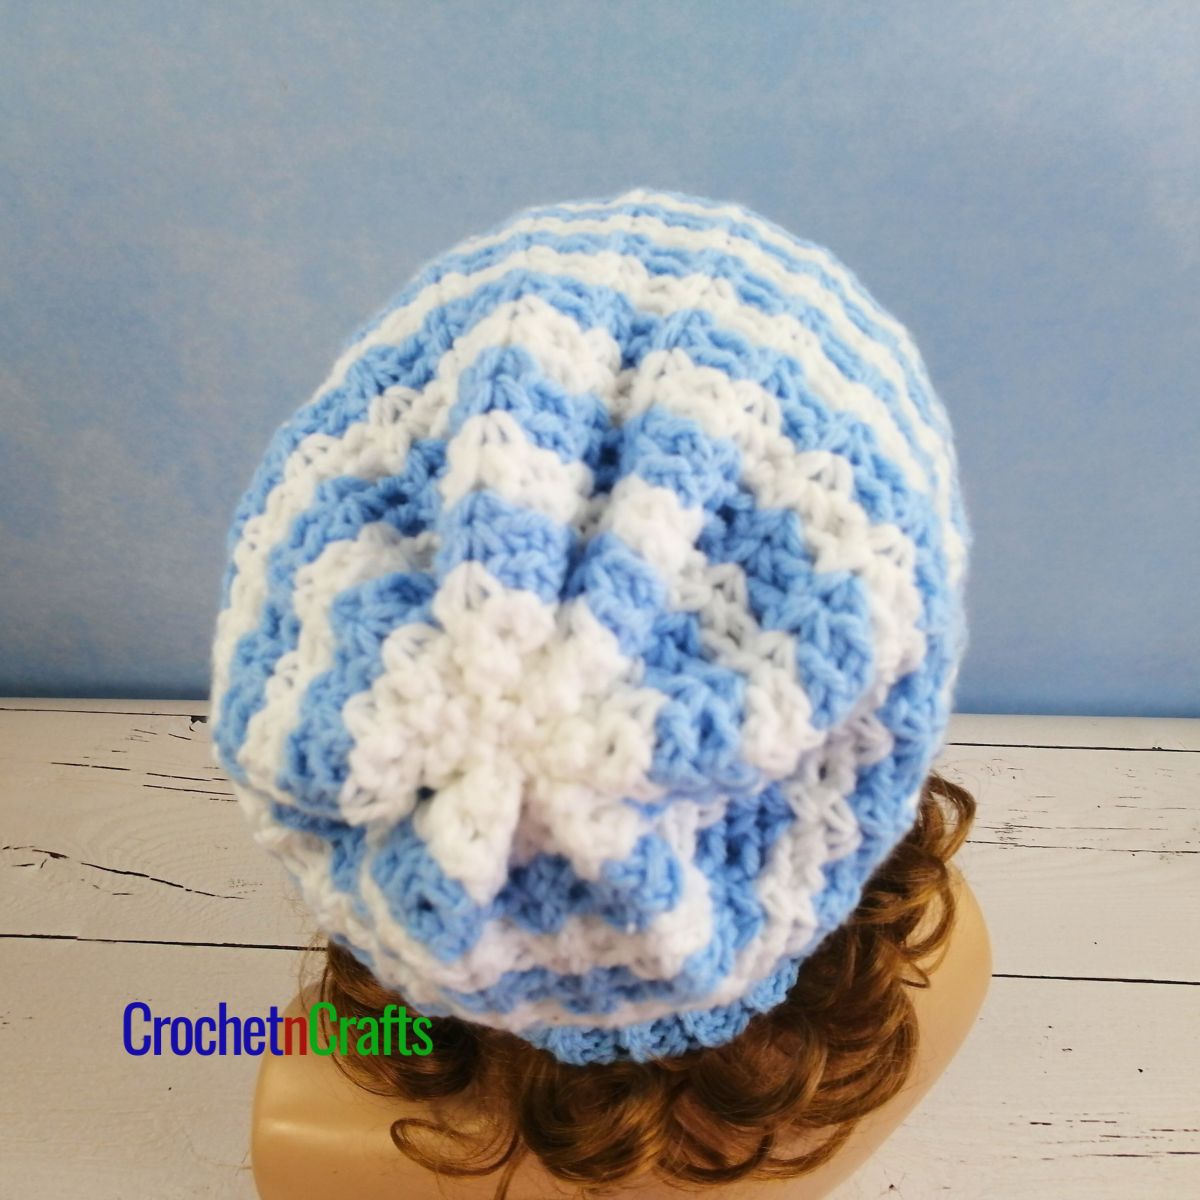
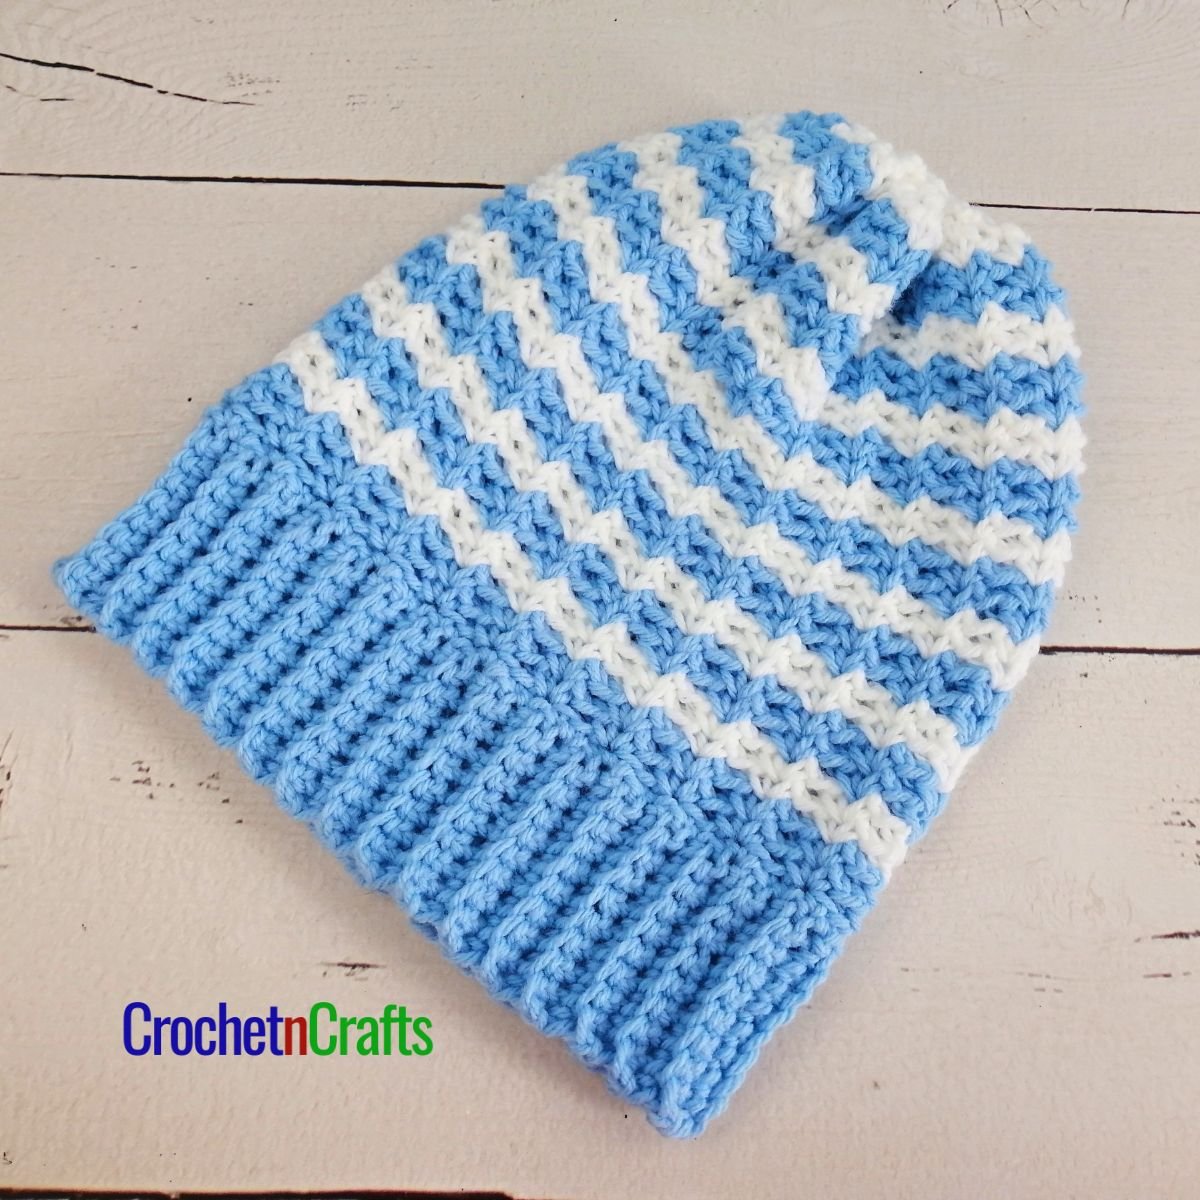
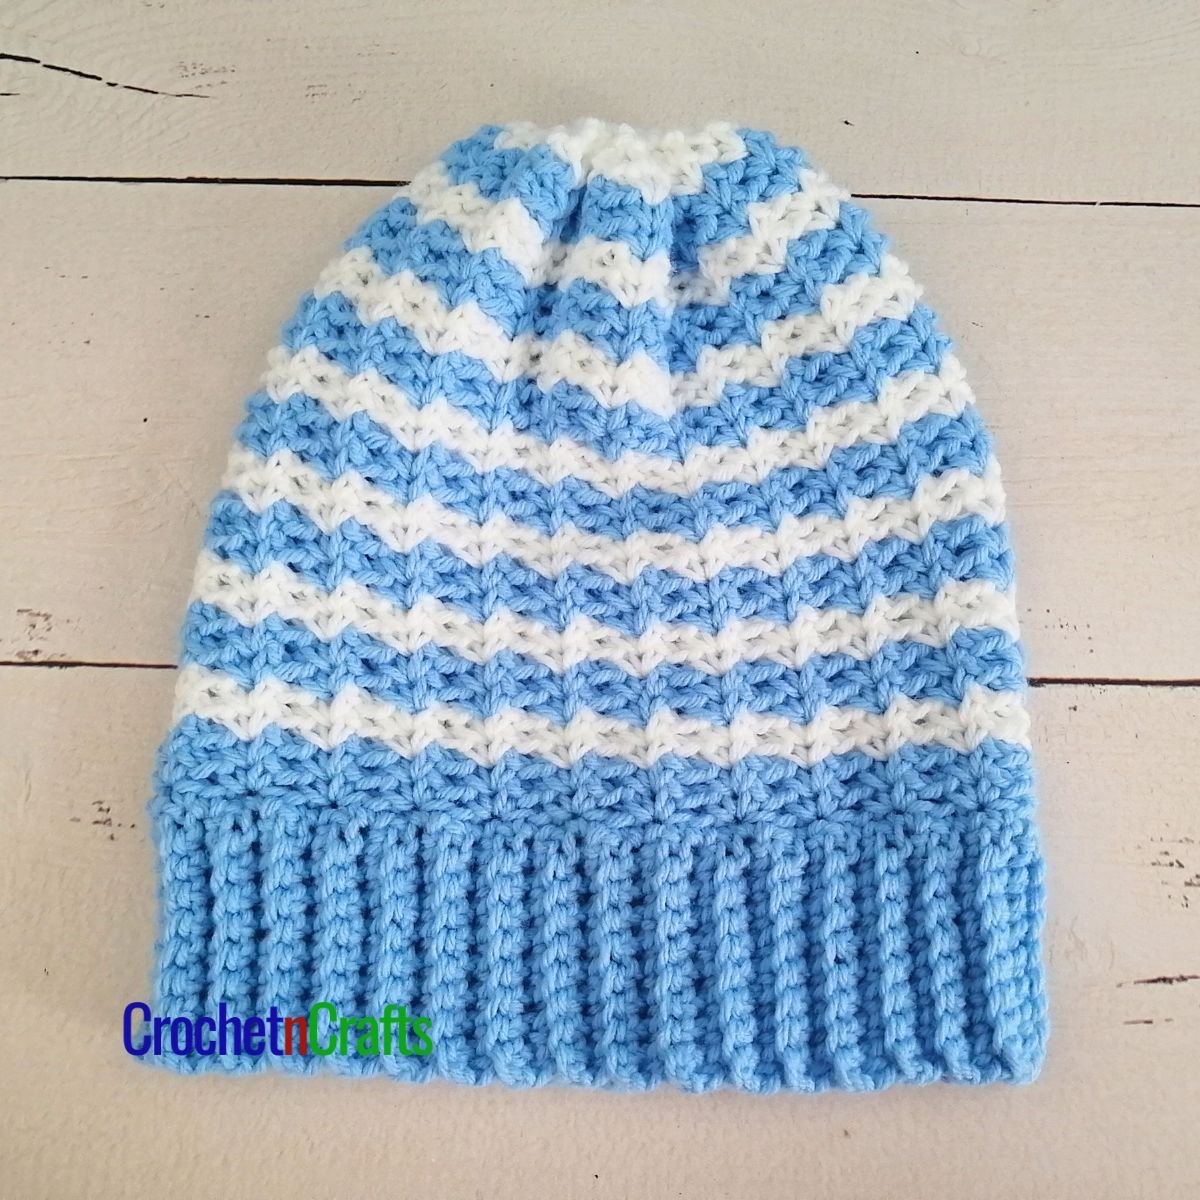
The spider stitch creates a beautiful texture on both sides of the fabric and looks great in solid colors or in stripes, as shown here. For my spaced spider stitch patterns, the stitch is worked with one chain in between the stitches to give you a more drapeable fabric.
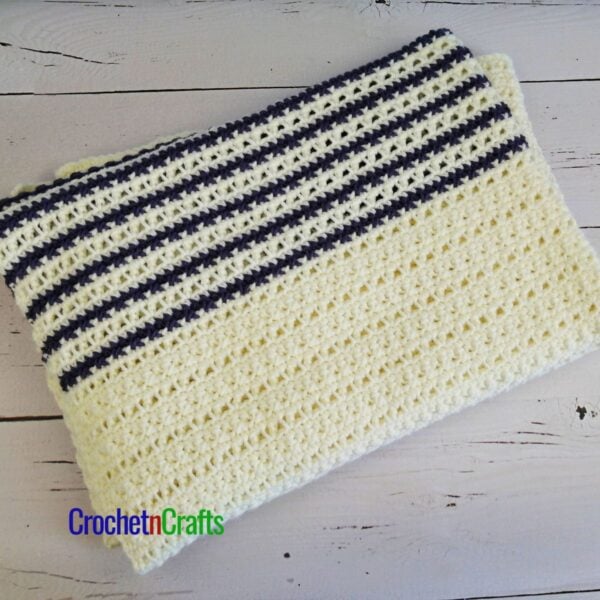
This easy crochet hat pattern is the perfect match for this colorblock and striped scarf. Both are given in only one size, but can easily be customized for any size you need in the multiple provided.

Subscribe for Free Crochet Patterns, Coupons, and Other Crafty Promotions.
You will also receive a PDF copy of the Seeded Lace PDF pattern bundle.
Your email will not be shared. Unsubscribe any time. By subscribing, you agree to our privacy policy and terms of use.
Crochet Hat Pattern Information
Skill Level: Easy
Materials
- Yarn: Lion Brand Yarns – Pound Of Love (Medium, #4; 100% Premium Acrylic; 1020yds/932m; 16oz./454g) Color: Two colors.
- Crochet Hook: J/10-6.00mm
- Other: Measuring Tape, Scissors, Yarn Needle.
Measurements
- Gauge: 5 sp-sts and 4 ch-1 sps (not counting the ch-1s made in the sp-st) = 4″.
- Finished Size: 18.5″ in circumference by 10.5″ tall.
Crochet Abbreviations
- Blsc = Back Loop Single Crochet
- Ch/Chs = Chain/Chains
- Rep = Repeat
- Rnd/Rnds = Round/Rounds
- Sc = Single Crochet
- Sk = Skip
- Sl St = Slip Stitch
- Sp/Sps = Space/Spaces
- Sp-St= Spider Stitch
- St/Sts = Stitch/Stitches
Special Stitch Instructions
Spider Stitch (sp-st): (Sc, ch 1, sc) into designated st or sp.
Spaced Spider Stitch Crochet Hat Pattern Instructions
Ribbing Rows
Row 1: Ch 10, sc in 2nd ch from hook and into each ch across. Turn. [9 sc]
Rows 2-66: Ch 1, blsc in first st and into each st across. Turn. [9 sts] Continue with this row until you have reached a desired circumference, making sure to end in a multiple of 6 for the number of rows.
Ch 1 and join the ribbing rows by slip stitching the last row to the free loops of the starting chs.
See this tutorial on how to crochet ribbing.
Working in the Round (Body of Hat)
Rnd 1 (RS): Working along the ribbing edge, ch 1, sc in the end of the first row and into each row around; join with sl st in first sc. [66 sts]
Rnd 2: Ch 1, (sp-st, ch 1) in same st as join; *sk next 2 sts, (sp-st, ch 1) in next st; rep from * around to last 2 sts, sk last 2 sts; join with sl st in first sc. [22 sp-sts]
Rnd 3: Sl st into ch-1 sp of first sp-st, ch 1, (sp-st, ch 1) in same sp and into each sp-st around; join with sl st in first sc. [22 sp-sts]
Rnd 4: With next color, sl st into ch-1 sp of first sp-st, ch 1, (sp-st, ch 1) in same sp and into each sp-st around; join with sl st in first sc. [22 sp-sts]
Rnds 5-28: Rep Rnds 3 and 4 until you have reached a desired height, changing colors after every two Rnds. Fasten off the first color.
Note
I ended with one Rnd of white (2nd color) before working Rnds 29 and 30, which are also worked in the white.
Rnd 29: Sl st into sp of first sp-st, ch 1, (sc, ch 1) into same sp and into each sp-st around; join with sl st in first sc. [22 sts]
Rnd 30: Ch 1, sc in same st as join and into each st around, leaving all chs unworked. Join with sl st in first sc. [22 sts]
Fasten off, leaving an 8″-10″ tail to weave in through the last round. Pull tight to close and secure. Leave as is, or add an optional pom pom.